Einleitung
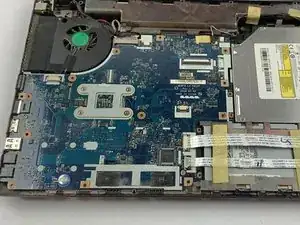
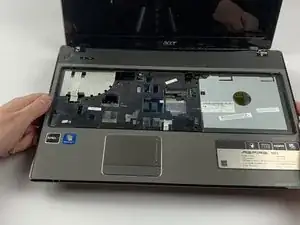
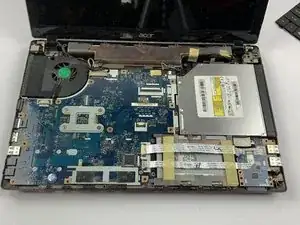
This guide will help you replace the motherboard on this device. Make sure the battery is removed before beginning.
Werkzeuge
-
-
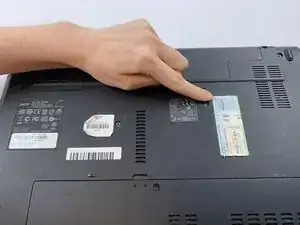
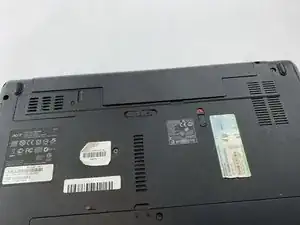
Next to the battery is a switch with a lock symbol on it.
-
Unlock the switch by sliding it to reveal a red unlock symbol.
-
-
-
Pull the other switch completely while the red unlock symbol is still present. The battery pack should pop up a bit.
-
-
-
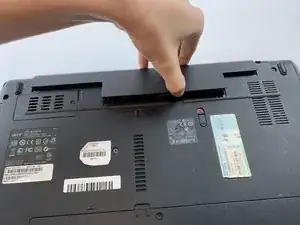
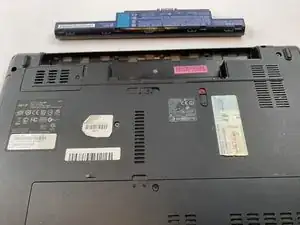
Remove the battery pack via the indentation at the top of the battery in between the two switches.
-
-
-
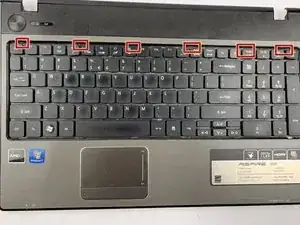
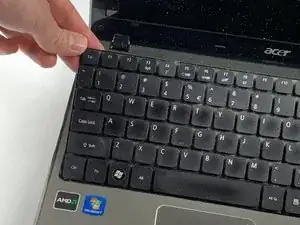
Pull on the edge of the keyboard using a spudger or your hands.
-
As you pull on the keyboard, push the tabs in one by one using small tweezers.
-
-
-
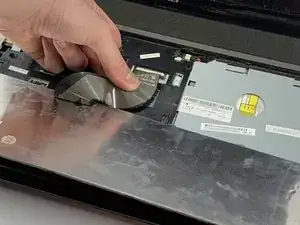
Once you pop it out and its separated, slowly turn it over to reveal its attachment to the connector.
-
-
-
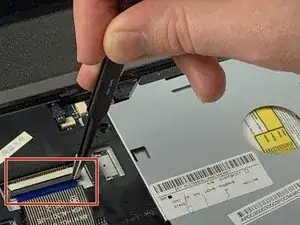
Using tweezers, slide the the tab down. This will release the connector that you can gently pull out of the socket.
-
-
-
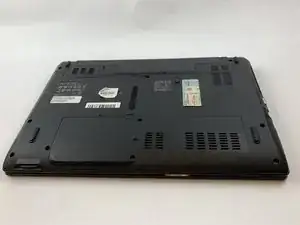
Flip the computer gently so that the back is facing you.
-
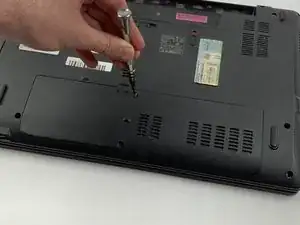
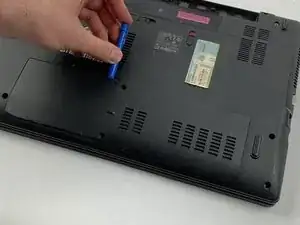
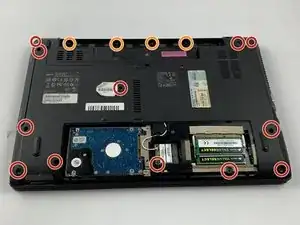
Remove all 12 of the 7.6 mm screws on the backside with a Phillips #0 screwdriver.
-
Remove 4 of the 5.4 mm screws on the backside with a Phillips #00 screwdriver.
-
-
-
Flip the computer back over.
-
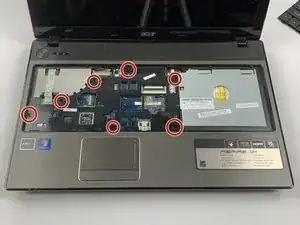
Unscrew the seven 5.6 mm screws located on the top cover using a Phillips #0 screwdriver.
-
-
-
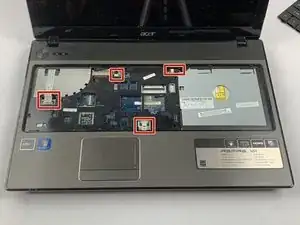
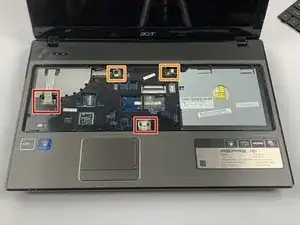
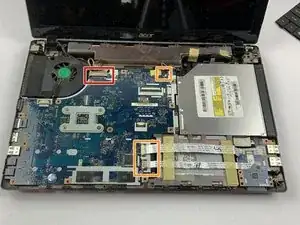
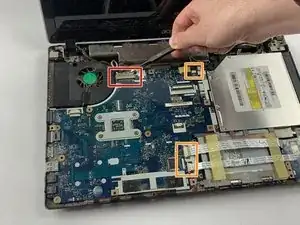
Disconnect the connector using tweezers to pull down the brown tabs.
-
For the smaller right and left speaker cables, pull out the black tab completely also using tweezers.
-
-
-
Using a plastic spudger or your hands, carefully lift up the corner of the top panel.
-
Continue to lift the panel until it is removed completely.
-
-
-
For the video cable connector, use tweezers to pull up on the white tabs to release the connector.
-
Remove the remaining connectors using the same technique from previous steps: pull on brown tabs using a tweezer.
-
-
-
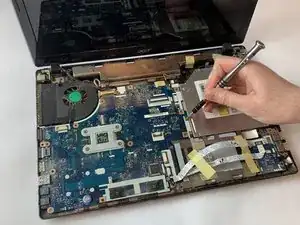
Unscrew the 5.6 mm screws keeping the motherboard in place using a Phillips #0 screwdriver.
-
-
-
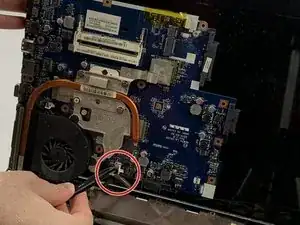
Disconnect the cable attached to the bottom of the motherboard.
-
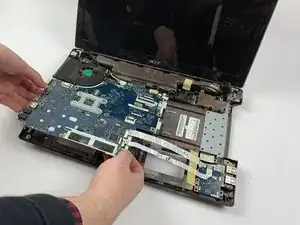
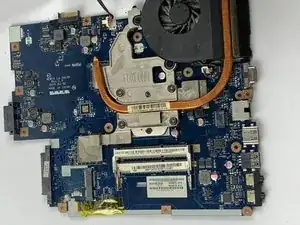
Pull on the brown tab using tweezers until its completely disconnected and remove the motherboard.
-
To reassemble your device, follow these instructions in reverse order.
