Einleitung
Werkzeuge
-
-
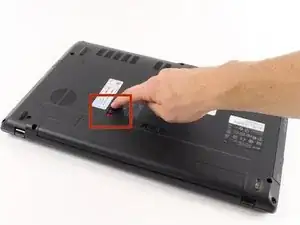
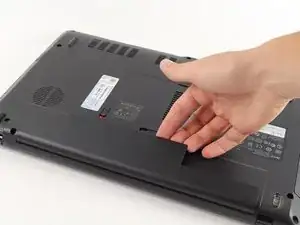
"Unlock" your battery by moving the switch as shown so that an unlocked lock on a red background is shown.
-
-
-
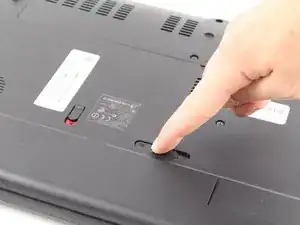
Next move the other switch, while the unlocked symbol is still showing. The battery should pop up, and no longer be flush with the bottom of the laptop.
-
-
-
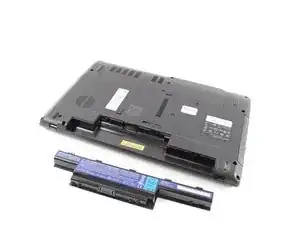
Now remove the battery by lifting it out of the laptop by the side closest to the switches.
-
-
-
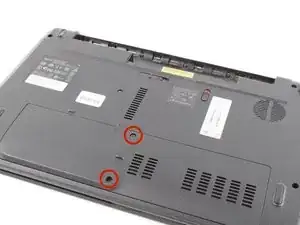
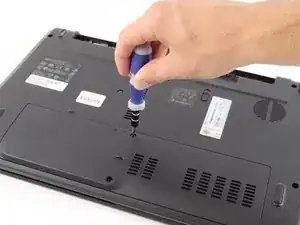
Unscrew both of the screws that are holding the back panel in place with the Philips #00 head.
-
-
-
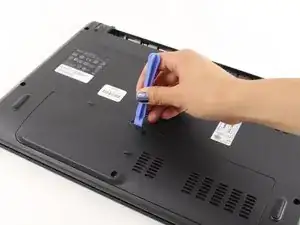
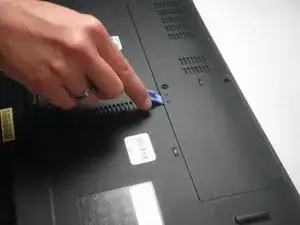
Once both screws have been removed use a plastic opening tool to lift the panel up. Starting with the indented notch , and moving left and right from there.
-
-
-
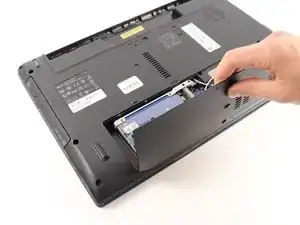
After the panel has been loosened by the plastic opening tool, take your finger, place it in the gap, and remove the panel from the laptop.
-
To reassemble your device, follow these instructions in reverse order.
