Einleitung
Werkzeuge
-
-
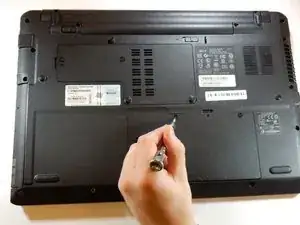
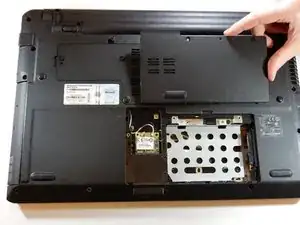
Locate where the hard drive is located on the back side of the laptop and unscrew the two .8cm Long screws.
-
-
-
Find and locate the two screws that are 0.8cm long that are holding the hard drive in place to the back metal plate.
-
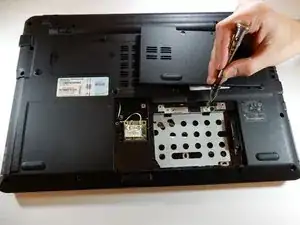
Carefully take a PH #0 screwdriver and remove the two screws.
-
-
-
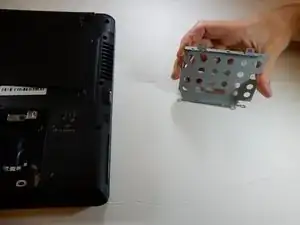
Once you have unscrewed the two screws, carefully slide the hard drive the opposite direction of the screws that you just removed, slide the drive till it is free.
-
Abschluss
To reassemble your device, follow these instructions in reverse order.