Einleitung
This repair guide will give you a step-by-step procedure on how to replace the screen on your Acer Aspire 5534-1146 device.
Werkzeuge
-
-
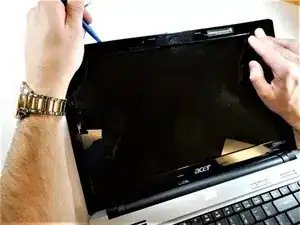
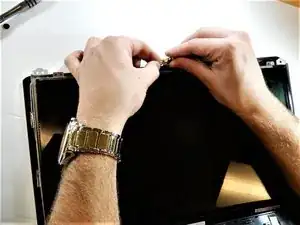
Use the blue spudger to remove the 4 rubber supports from each corner of the screen.
-
After use a PH0 screw bit to remove the corresponding screws underneath.
-
-
-
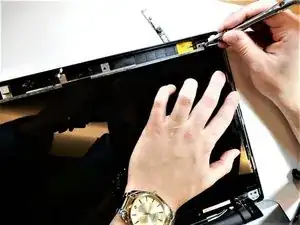
Use a plastic opening tool to carefully release the plastic clips that hold the plastic frame to the back cover.
-
-
-
Remove the 4 screws in the corners underneath the plastic frame that was removed. Screen should then be able to come of the frame.
-
-
-
Take the screen lay it face down on top of the keyboard.
-
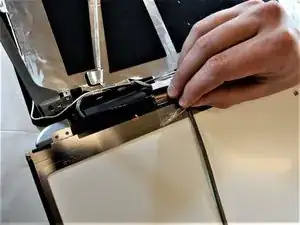
Unplug the cable that is connected to the video card.
-
-
-
Remove the tape, and unplug the display cable on the back of the screen.
-
Pull the tape off of the cable from the back of the screen, and now the screen should be free to come off. You are now ready to install a new one.
-
To reassemble your device, follow these instructions in reverse order.


