Einleitung

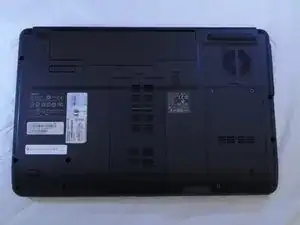
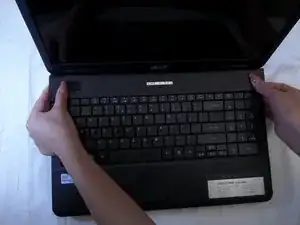
Cleaning the fan is an important part of laptop maintenance. The fan on the Acer Aspire 5734z-4836 is located under the circuit board, so you will first need to remove the battery, keyboard, and front panel.

  1. QCbvoN2lmmcEqECy
    • Before removing the battery, power off your laptop and disconnect the AC adapter.

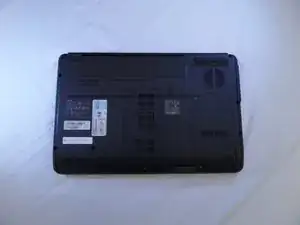
    • Flip your laptop on its back so the battery is facing up and the hinges are facing away from you.

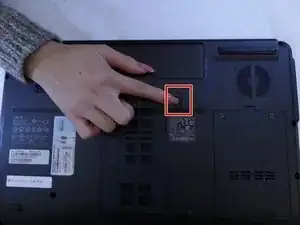
  2. BDxbVKEVLHpFDWEv
    • Slide the right latch down to unlock the battery.

  3. N5YxOtuys6HbhLKM
    N5YxOtuys6HbhLKM
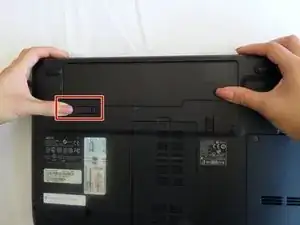
    WAxjOeHbBlLljVZe
    • Slide and hold the left latch below the battery.

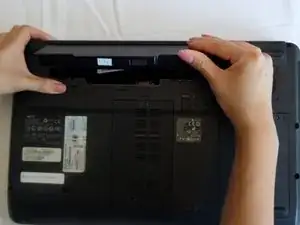
    • While holding this latch in place, pry the battery up from its bottom edge.

    • Lift the old battery out of its compartment.

  4. M2x6ILMLYkDOUKTR
    M2x6ILMLYkDOUKTR
    HBukTpItGNOEM5SG
    5wvRSywLDRDBN2bv
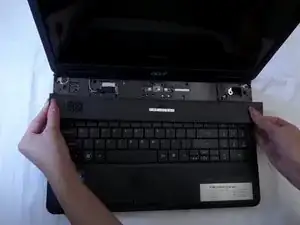
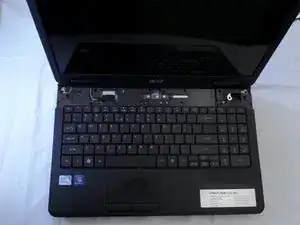
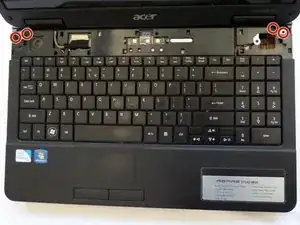
    • Pinch the edges of the plastic covering above the keyboard, and pull away from the laptop until the covering pops off.

    • By using a bit of force some clicks will be heard when removing the cover.

  5. WpZaZJfELhcqYilR
    WpZaZJfELhcqYilR
    QKrvHUOQtmtnuWlt
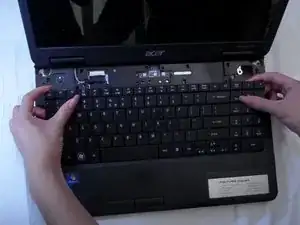
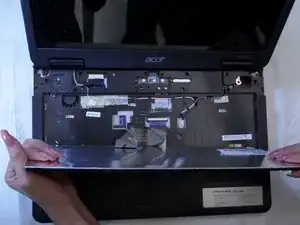
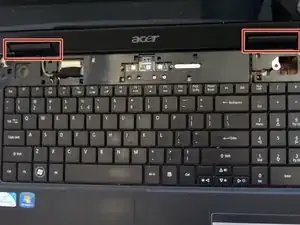
    • Pull the keyboard off gently so not to damage the keyboard ribbon cable.

    • Multiple clicks may be heard as you pull the keyboard off.

  6. 2cwehpQSgJggJeO2
    2cwehpQSgJggJeO2
    eDpADsc5XRQMJo1Z
    AchsBwATHRuWH5iJ
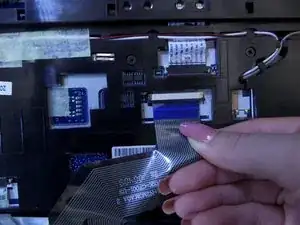
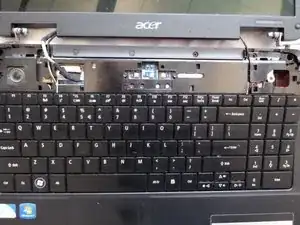
    • Using a spudger or your finger, unlock the ZIF connector holding the keyboard ribbon in place by lifting the black locking lever.

    • Pull the blue keyboard ribbon cable from the ZIF connector.

    • When reinstalling a new keyboard, insert the ribbon in the same way the old keyboard's ribbon was removed.

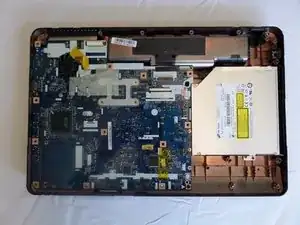
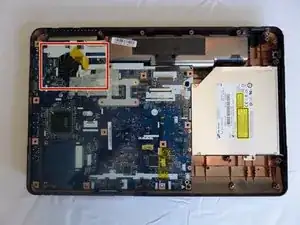
  7. Qr5uavBqwRFMBY45
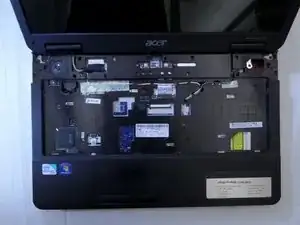
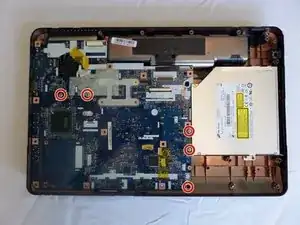
    • Begin with the laptop placed on its bottom and the empty keyboard space facing you.

  8. DMvTxtnK2gYLJ6kW
    DMvTxtnK2gYLJ6kW
    PPDPQBhIFOCfQ1IV
    uAuIg3nFlijgEbNS
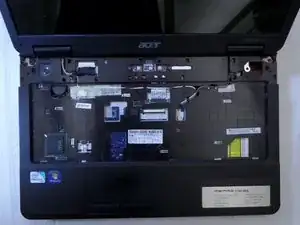
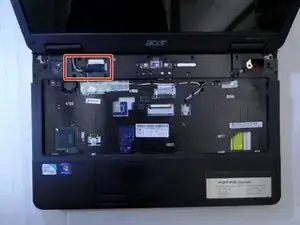
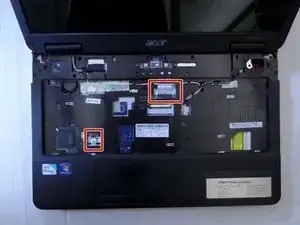
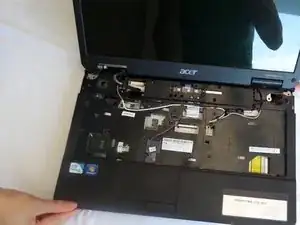
    • Disconnect the screen connector in the upper left of the laptop.

  9. pxIWprdYNMrCjo4F
    pxIWprdYNMrCjo4F
    bc21UeKVPNJNXfTf
    LRRVx64pI2ituaRr
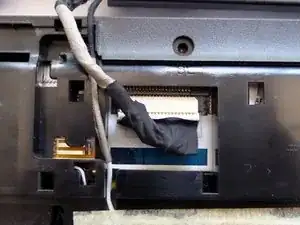
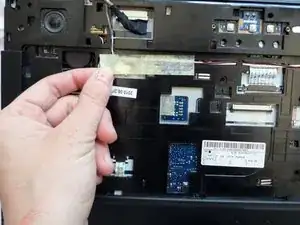
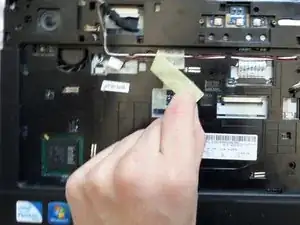
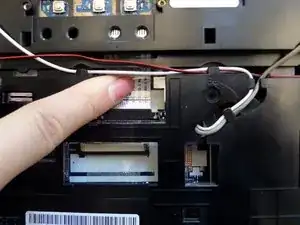
    • Locate the tape on the upper left of the laptop.

    • Peel off the tape, covering the red-and-black wire connector and the white-and-black speaker wires.

  10. cA42uycCFlYgAQx2
    cA42uycCFlYgAQx2
    IXqWEXDaV3obVTrg
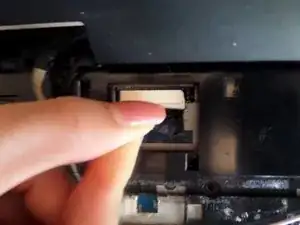
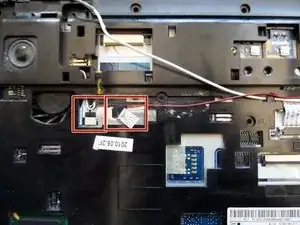
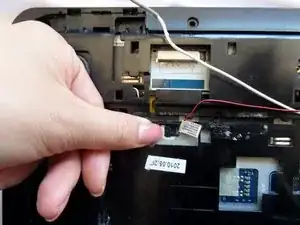
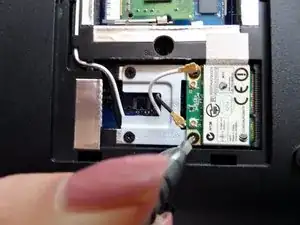
    • Gently disconnect the red-and-black wire connector and the white-and-black speaker wires from the upper-left.

  11. 32mxVfU63pGS6lsw
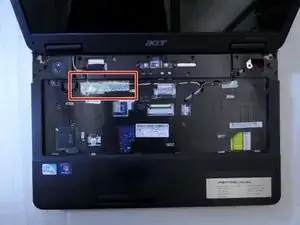
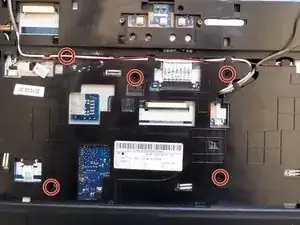
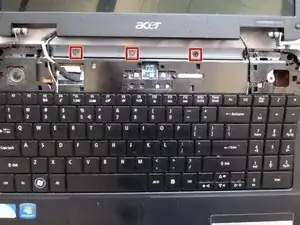
    • Remove the 5 screws in the middle of the laptop using a #00 Phillips Screwdriver.

    • In order to access the screw in the upper left corner, you may have to gently move the red and white wires.

  12. DeMoS1kkt1dZApr3
    DeMoS1kkt1dZApr3
    VwltJV52Nk3DdxcA
    wfF4ZGVVFWBvh1vg
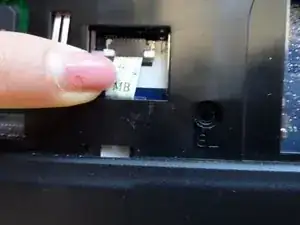
    • Disconnect the two blue and white ribbons by applying pressure downward and pushing them out of their sockets.

  13. SXDb5ihRt6CwIIBW
    SXDb5ihRt6CwIIBW
    EKaZRKhKm1C5jqt6
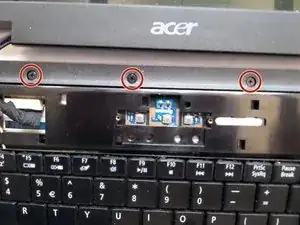
    • Remove the four screws from the upper corners of the laptop using a Phillips #00 screwdriver.

    • The two metal and two plastic connectors will come free. Save them in a safe place.

  14. TW2tNsZscrRJVZWR
    TW2tNsZscrRJVZWR
    6Jb2WiDMt2S5KDqI
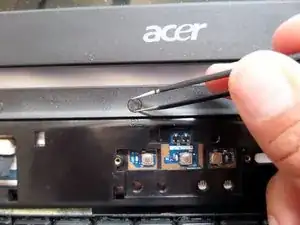
    • Pop off the black plastic hinge coverings.

  15. MRjGRUAofMBHPRaS
    MRjGRUAofMBHPRaS
    DvBSULfCG5teHhWD
    • Peel away the sticky plastic coverings with tweezers.

  16. cCHJhNXw2LDLYcRH
    cCHJhNXw2LDLYcRH
    BobYlVWBddfvWO4G
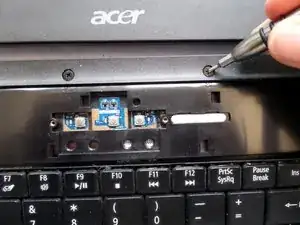
    • Remove the three screws with a #00 Philips Screwdriver.

  17. fs4IMYMWlkYgSRHf
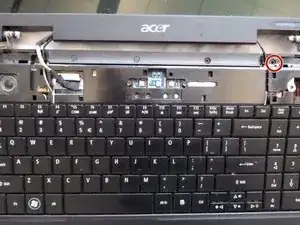
    • Remove the single screw next to the right hinge with a #00 Phillips Screwdriver.

  18. BVbJUAHhCEReMscP
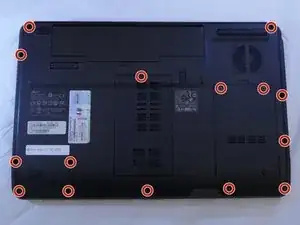
    • Flip the device so the bottom of the laptop is face-up.

  19. WhxIDXlQuFoaTuWx
    WhxIDXlQuFoaTuWx
    lC6T6DCfAaUhSHpF
    Mw3PkLBcDov2MgbD
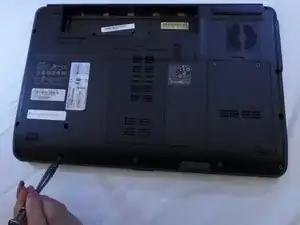
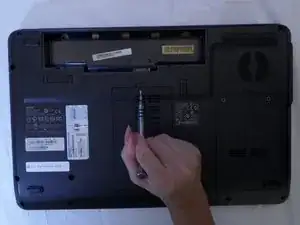
    • Remove the fifteen screws from the back of the laptop with a Phillips #00 Screwdriver.

  20. PrWGMKHrJBxdLfJ2
    PrWGMKHrJBxdLfJ2
    qBMuiu2DwYBG5lA5
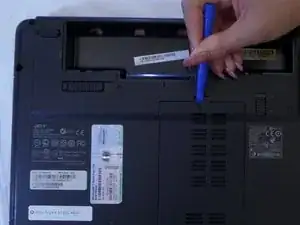
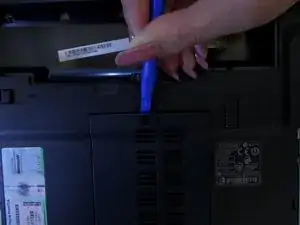
    • Pry mid-back panel off.

    • Use a plastic opening tool.

  21. AMEKtcfdUNKbO2rg
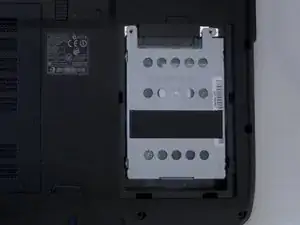
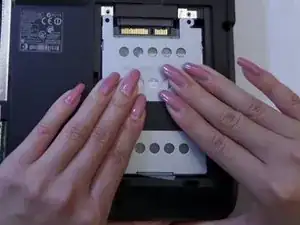
    • Lift the hard-drive cover in the bottom right corner off the laptop.

  22. yeEmHGKaIhJA1yMJ
    yeEmHGKaIhJA1yMJ
    vfYXJJKaHY3pXVdu
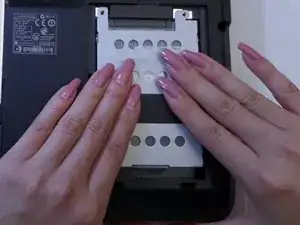
    • Slide down the hard-drive out of the laptop.

  23. DXXW3pFSwBSLKnFB
    DXXW3pFSwBSLKnFB
    pw2oHLB54HTKndMf
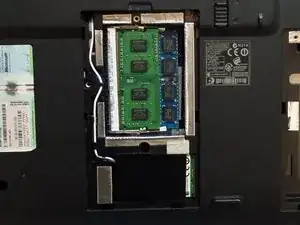
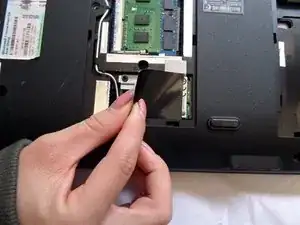
    • Peel away the black plastic covering under the mid-back panel.

  24. lBKRUqSHVSSjyLPt
    lBKRUqSHVSSjyLPt
    bRvgy4GlkEyVuFTq
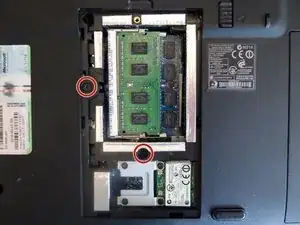
    • Remove the two screws on the left and bottom of the circuit board with a #00 Phillips Screwdriver.

  25. KaVwW5NX532b2LBt
    KaVwW5NX532b2LBt
    Zm4qaiPhNpFeCPbi
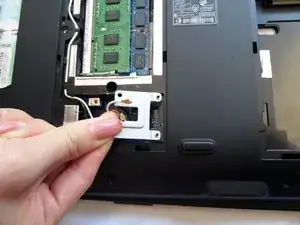
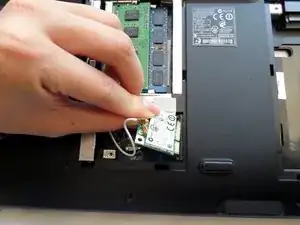
    • Disconnect the black and white wires on the small circuit board by gently pulling them out of their sockets.

  26. CRHjEKCCKrp2Ig3S
    CRHjEKCCKrp2Ig3S
    vAxQvqeOHiNFnhKX
    • Remove the four screws from the metal piece beneath the circuit with a Phillips #000 Screwdriver.

  27. QUUkAbHiMEwKCOBS
    • Life the metal plate free and place it somewhere for safe-keeping.

  28. tGsTNROZINkGogYG
    • The small circuit board will pop up easily. Carefully remove it

  29. LOqVm5oLeXGRPKFW
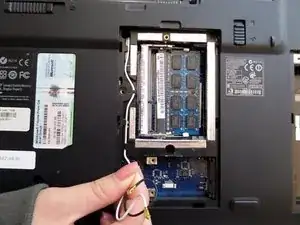
    • Gently extract the black and white wires. They will pull free from the base through the hole in the upper left corner.

  30. 3ZRGA6qLo2gQYdrB
    3ZRGA6qLo2gQYdrB
    XSWKKIblAZAEXihD
    LrbKwFPQDUZ4h56T
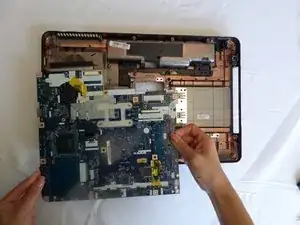
    • Flip to the front and gently lift the front of the laptop off of the base.

    • Some wires will be pulled up from the base so be careful not to pull it away too quickly.

  31. gTC31IlgNTIBmOPm
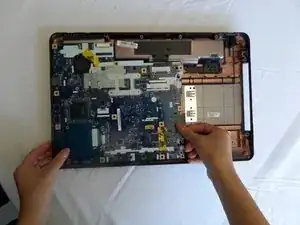
    • Position the back panel so that the circuit board is face-up.

    • Location of the fan is in the upper-left corner.

  32. fuCOpgQJlE2F2fmI
    • Unscrew five screws from the circuit board using a #00 Phillips screwdriver.

    • Two screws are located below the fan, and three are along the circuit board's right edge.

    • Take note of the one black screw that goes in the lower-right corner.

  33. XpTJQoJlUJEpS5QM
    XpTJQoJlUJEpS5QM
    FNtprdCpJCpaFhmN
    WwiPOWBYiFkROdTX
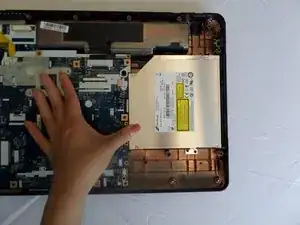
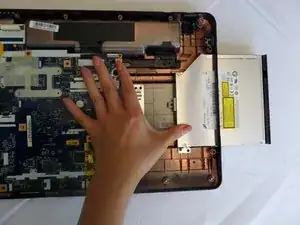
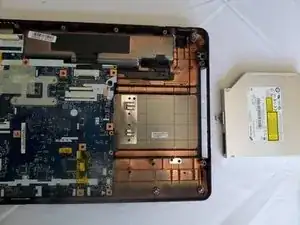
    • The large, silver box next to the circuit board is the optical disk drive, gently slide to the right to remove it.

    • Do not apply too much pressure on the optical disk drive, as you may risk damaging the disk drive's connector.

  34. xF22PVHpPMoDhxJ6
    xF22PVHpPMoDhxJ6
    nyrYOIbKql3xceTW
    dFgRWwqDXMuDoZTy
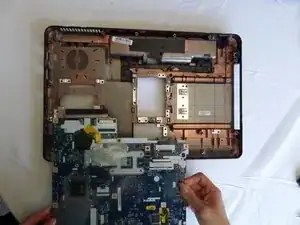
    • Lift the circuit board out of the back panel and turn it over so the fan is facing up.

  35. nomRJKSITpRLmpIx
    nomRJKSITpRLmpIx
    nUsYiCiAlcBctsed
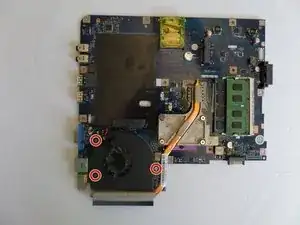
    • Locate the three screws around the fan

    • Gently extract three fan screws using #0 Phillips.

  36. 5CZyeZTsUcLCoIPY
    5CZyeZTsUcLCoIPY
    uQUWUcpekx1LqEBZ
    BCfZ6psVc4hURjUC
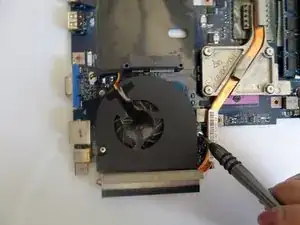
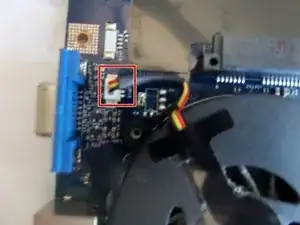
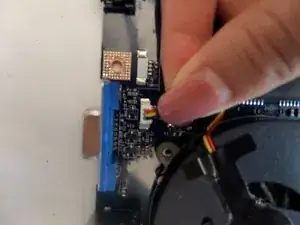
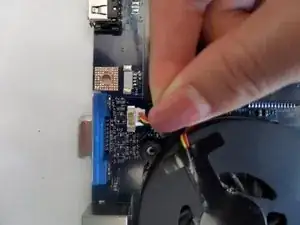
    • Disconnect the white fan connector.

    • Grip gently the wire and pull the wires up toward you.

  37. PIyRx6BZSdLo6iqX
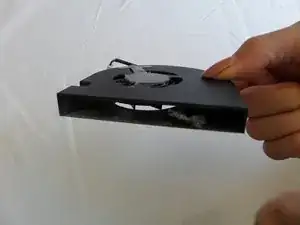
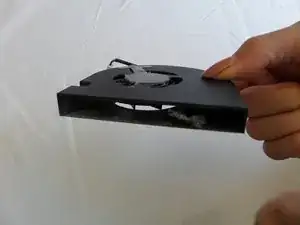
    • Remove the fan from the circuit board.

    • Due to the accumulated dust inside the fan, you may want to use a small brush to clean off dust.

Abschluss

To reassemble your device, follow these instructions in reverse order.
Steven Loon

Mitglied seit: 12/09/16

291 Reputation

0 Kommentare