Einleitung

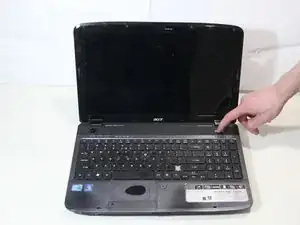
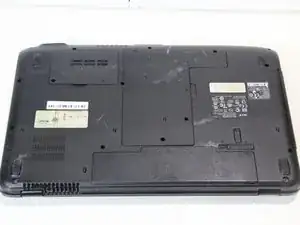
This guide will show you how to replace the hard drive in your Acer Aspire 5740-5780. A hard drive stores documents, applications, and the operating system for your laptop.

Indications that your hard drive is failing may include continuous crashes, error messages, or your laptop failing to turn on at all.

Before replacing your hard drive, make sure to back up all of the data stored on it so you don’t lose your documents or applications. Be sure to unplug your laptop from a power source and turn it off completely before beginning the replacement process.

  1. ZpShRmccjUYxGSp5
    ZpShRmccjUYxGSp5
    H4hqVtvMFYjKcO4f
    • Turn the laptop off and remove the power cord.

  2. CxmpT2LNZJLQwncE
    CxmpT2LNZJLQwncE
    2V2vnfGXcRVHlx3j
    • Press in the SD Card or the SD Card Dummy if no SD Card is there. Remove card when it pops out.

  3. ZDfe4MDGPUnBDr2L
    • Flip the laptop over on its face, so that the back is showing.

  4. 1QCqo2PfGavcHm4v
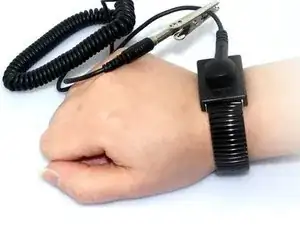
    • Put grounding strap on one of your wrists and attach the other end to a large metal object (recommended method).

    • If you don't have a grounding strap an alternative approach is to touch a metal object that is either large or connected to the earth. Then avoid doing things that would accumulate static electricity on your body.

    • Touching the internals of your device while you aren't grounded could destroy your laptop.

  5. yiaftX3bXLpWKLcc
    yiaftX3bXLpWKLcc
    oSN4vWDekYSPOnyr
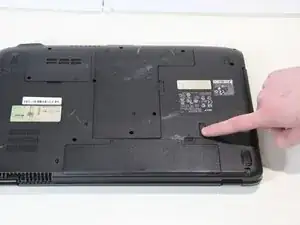
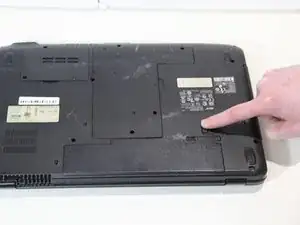
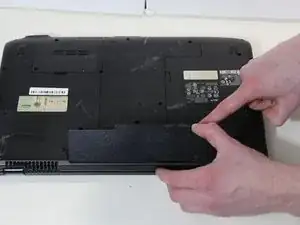
    • Unlock the battery by flipping a switch near the release latch.

  6. vnnZnGNpmbGfUYIh
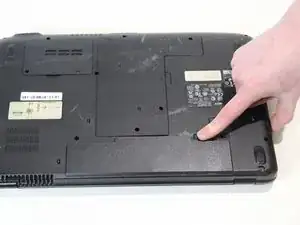
    • Slide the release latch to the left to release the battery from the PC.

  7. 2CsLFr1sDPFiW2pQ
    2CsLFr1sDPFiW2pQ
    wAKmnBxDfuBEsQU5
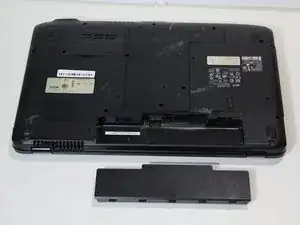
    • Use your hands to pry the battery free of the computer.

  8. b5ZAEZckYCgZTPKR
    b5ZAEZckYCgZTPKR
    XZryXbhRuyOYfKay
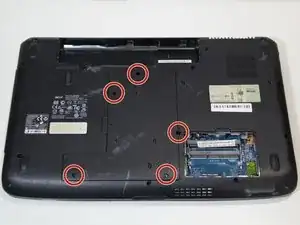
    • Unscrew the 2 captive screws and 3 M2.5 x L8 screws holding back cover in place.

  9. dqnleeFElNNNchPw
    dqnleeFElNNNchPw
    xDdPIqBwLBhsuLqr
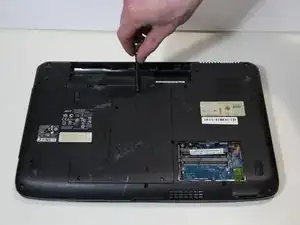
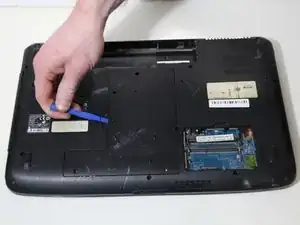
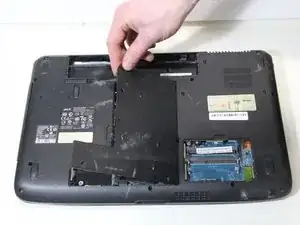
    • Use spudger to pry open the back panel.

    • Then lift panel off of the computer.

  10. ygUscQccUBY2SBg3
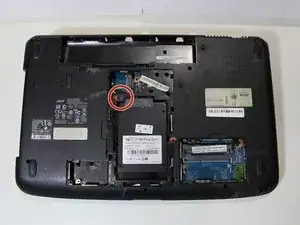
    • Remove the one M2 x L4 screw that secures the hard drive in place.

    • Screw not shown in picture.

  11. hL2eKpNFKuZGaq55
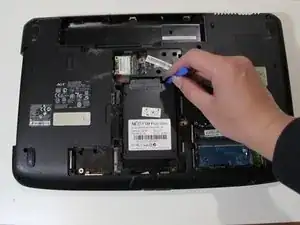
    • Using an opening tool or your hands, slide the hard drive out of its connector.

  12. MCFkmERtiAORhRhI
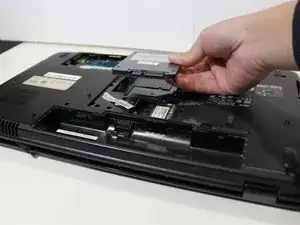
    • Lift the hard drive out of the computer.

Abschluss

To reassemble your device, follow these instructions in reverse order.
Dwyer Deighan

Mitglied seit: 25/03/18

340 Reputation

0 Kommentare