Einleitung

  1. pbS1U5ogBrKvUoeP
    pbS1U5ogBrKvUoeP
    uI6LWmTN1CUWAtaD
    PDbCBoTCAH1U3lP1
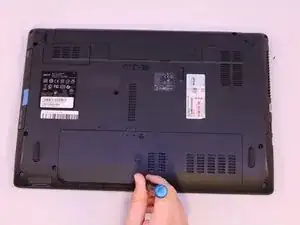
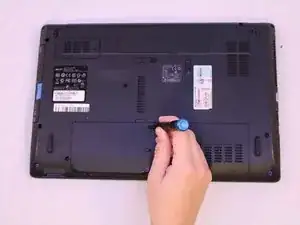
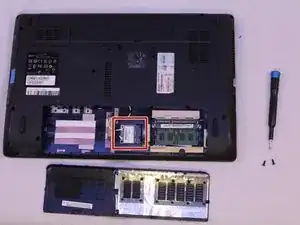
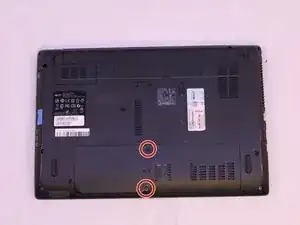
    • Begin on the back side of your laptop, locate these two screws then remove them with the JIS #0 driver bit.

  2. WjgocDf1QI1uNGLw
    WjgocDf1QI1uNGLw
    A4n5SMkdFweG4WDj
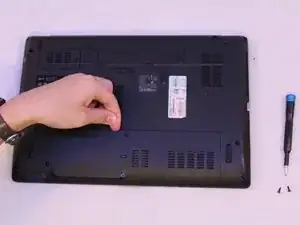
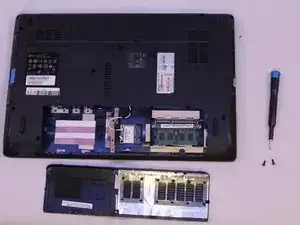
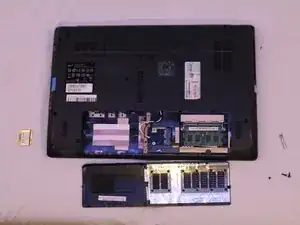
    • Once screws are removed you can pry up the panel to reveal some of your computers components.

  3. AdQPQDKnC1GPPsrH
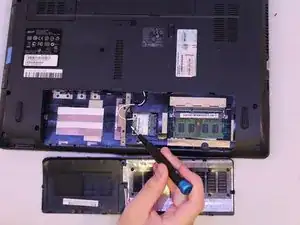
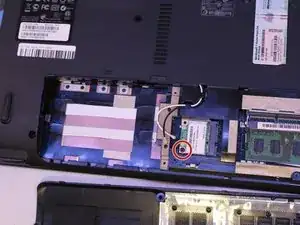
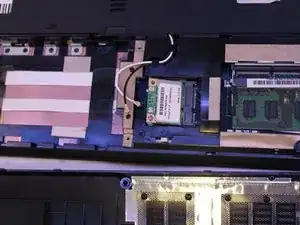
    • Locate your computers WIFI chip; it will have black and white wires attached to it.

  4. XhVtnVCNhe2dVP6K
    XhVtnVCNhe2dVP6K
    MiBOyBp5JqanRahb
    jLm3EsSsO3OTSG5X
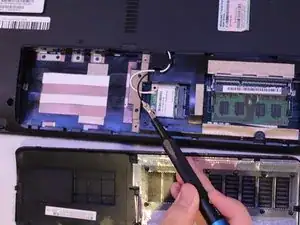
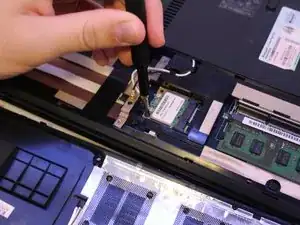
    • Using your fingers or a spudger, remove the black and white cables from the chip, at the connector.

  5. LBBJfXe4tNYVVkcE
    LBBJfXe4tNYVVkcE
    rPH2Na3CqD2XypXd
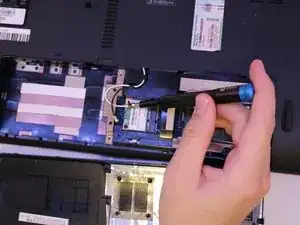
    • Using the same JIS#0 screw driver remove the single small 1/4 inch long screw.

  6. VVGjeVrG5ATJ2TLd
    VVGjeVrG5ATJ2TLd
    DvaOTAXbRS62ekgK
    moSgQ2dHcgIZGryW
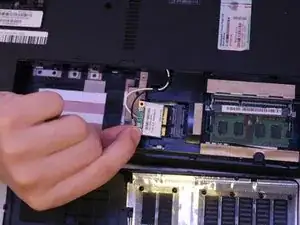
    • Now that the chip is released just gently remove it from its connector seat.

Abschluss

To reassemble your device, follow these instructions in reverse order.
Alex Imbery

Mitglied seit: 24/01/19

133 Reputation

0 Kommentare