Einleitung
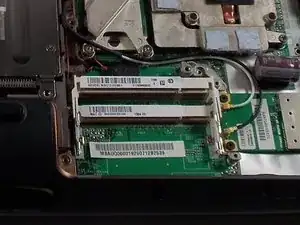
This guide will show you how to replace the memory in your Acer Aspire 6530-6522. You will need to do this f you are upgrading to more memory, or if your memory has become damaged or faulty and you have a new one.
Werkzeuge
-
-
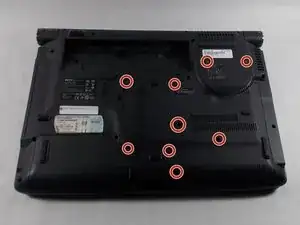
The lock switch can slide either towards or away from the battery. If it is pushed towards the battery, the release switch is locked and the battery can not be released.
-
Slide the switch away from the battery.
-
-
-
The battery release switch is just to the inside of the battery and slides parallel to it.
-
Push the switch to the side. It is not just an open or close switch, it actually pops the battery up so you will feel some resistance.
-
-
-
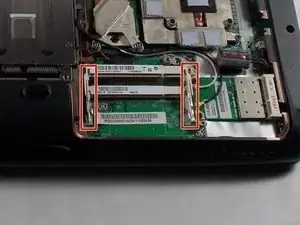
Pull the release latches outward. The memory module should lift up.
-
Pull the memory up and out at about a 45 degree angle.
-
Repeat for the second module (if necessary).
-
To reassemble your device, follow these instructions in reverse order.


