Einleitung
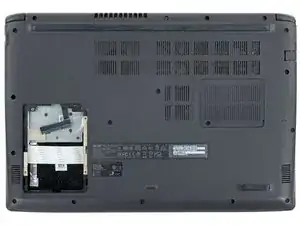
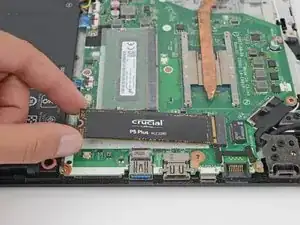
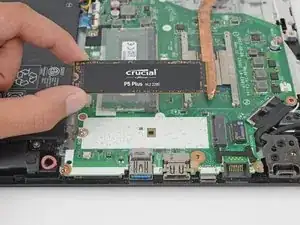
Use this guide to replace the SSD on your Acer Aspire A515-51G.
Before you perform this repair, if at all possible, back up your existing SSD. If you are replacing the SSD where your operating system is installed, familiarize yourself with a disk cloning utility so you’ll be ready to migrate your data to the new SSD.
Be sure to completely power off and unplug your laptop. Make sure the laptop is not in standby, sleep, or hibernation mode.
Werkzeuge
Ersatzteile
-
-
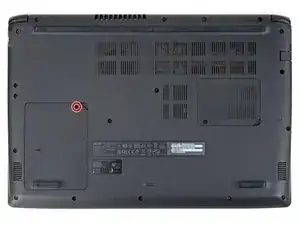
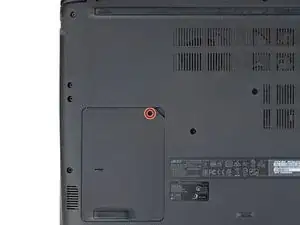
Use a Phillips screwdriver to remove the screw securing the HDD hatch on the bottom left of the lower case.
-
-
-
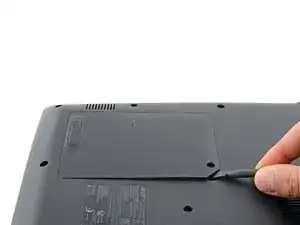
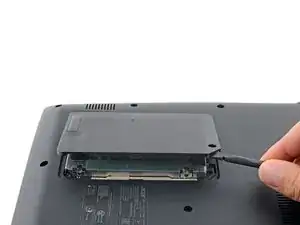
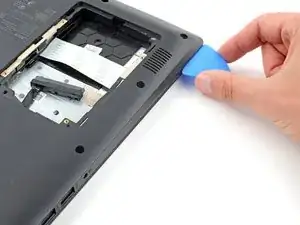
Insert the flat end of a spudger under the cutout on the top right corner of the HDD hatch and pry it up.
-
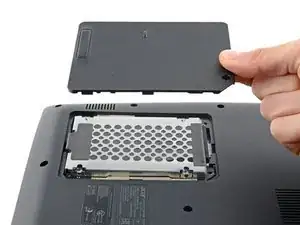
Remove the HDD hatch.
-
-
-
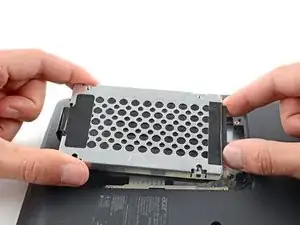
Firmly grip the HDD assembly and HDD cable connector head.
-
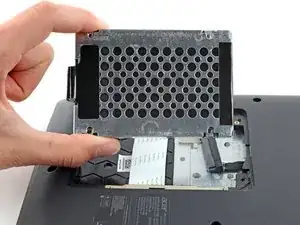
Pull the HDD cable connector out of its socket.
-
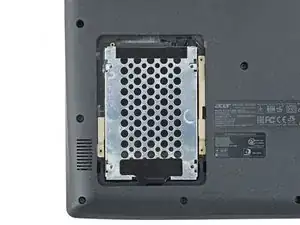
Remove the HDD assembly.
-
-
-
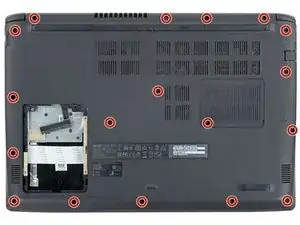
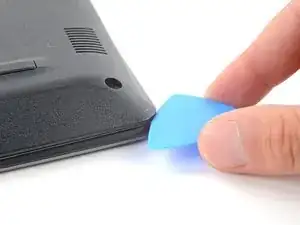
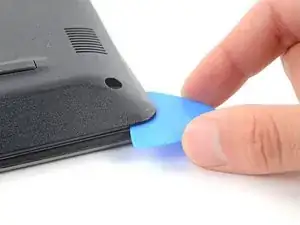
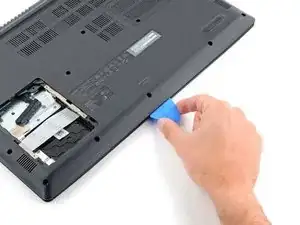
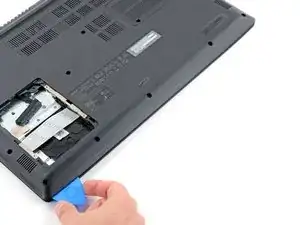
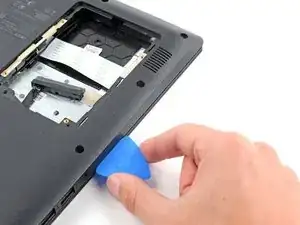
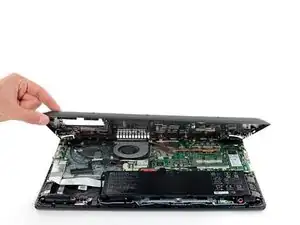
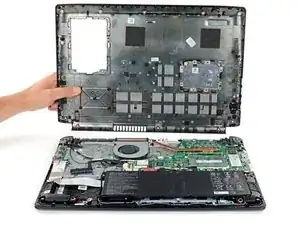
Continue sliding the opening pick along the perimeter of the lower case to release the remaining clips.
-
-
-
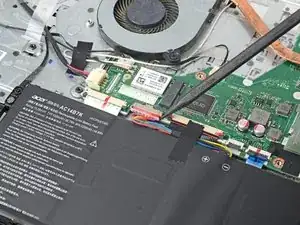
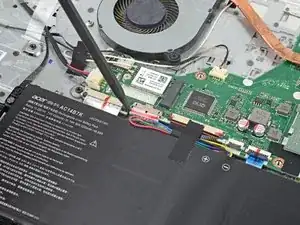
Use the pointed end of a spudger to push each side of the battery connector until it comes out of the socket.
-
-
-
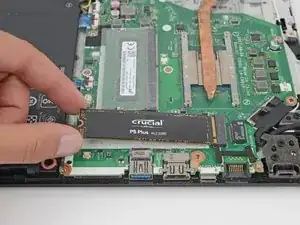
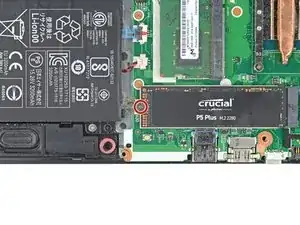
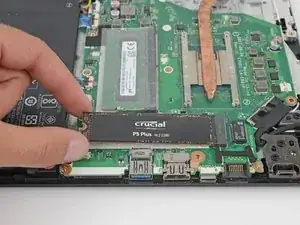
Pull the SSD out of its socket and remove it. Keep the SSD as parallel to the motherboard as possible when pulling on it.
-
To reassemble your device, follow these instructions in reverse order.
Take your e-waste to an R2 or e-stewards certified recycler.
Repair didn't go as planned? Try some basic troubleshooting, or ask our Acer Aspire answers community for help.
Ein Kommentar
WARNING, WARNING WILL ROBINSON!!
Before you remove the lower case, you MUST remove the HDD as it is attached to the lower case. If you pull the lower case up with HDD still attached you will rip the HDD cable off the motherboard. So ...
Unscrew the HDD hatch.
Pull HDD hatch on lower right off carefully.
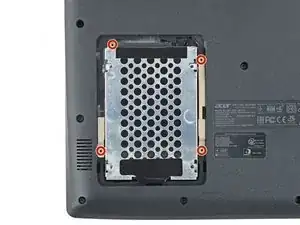
Unscrew the four black screws holding the HDD assembly to lower case.
Carefully pull the HDD cable off the HDD (careful here, you could rip cable off motherboard).
Carefully pry HDD assembly upwards (with spunger) and remove HDD.
Now proceed with rest of remining steps.
Would someone be able to attach photos to these steps. I don't have the ability to do so, easily.
