Einleitung

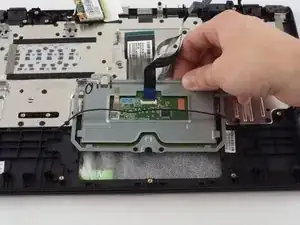
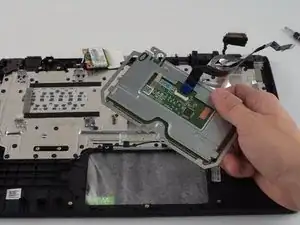
This guide will walk you through the process of replacing the Touchpad on an Acer Aspire E 11.

  1. i4WR4cFYVGOisOqM
    i4WR4cFYVGOisOqM
    BaFRFM2ppqym2JSq
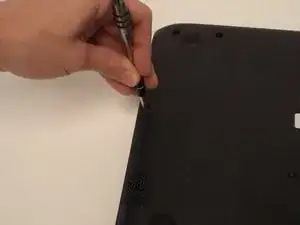
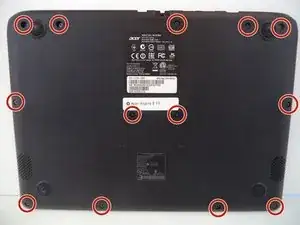
    • Unscrew the thirteen 6.2mm Phillips #1 screws located on the bottom of the device.

  2. TZL5FX2ilFLlG5uI
    TZL5FX2ilFLlG5uI
    GNEETvtqebxQcXbb
    Spgdp4YBRQnUeLeW
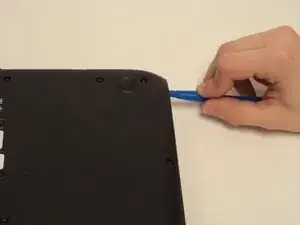
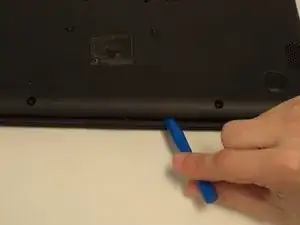
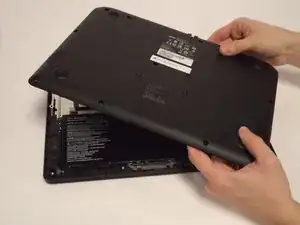
    • Lift the back panel using a plastic opening tool. Slowly make your way around the device until the back panel comes off.

  3. N4XOd6bSWsD1T5Qc
    N4XOd6bSWsD1T5Qc
    6kdsGCbH4PNiYUnZ
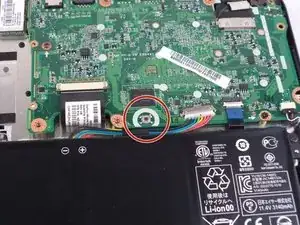
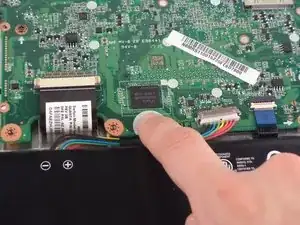
    • Press and hold the small black button located on the motherboard just above the battery for five seconds.

    Whats this button for actually? What does it do?

    Wadi Wahab -

  4. m4DlPOvHr5lqfLRl
    m4DlPOvHr5lqfLRl
    dpedXEQBsiVQTSCx
    WjZ1xnnZNoVUYrVm
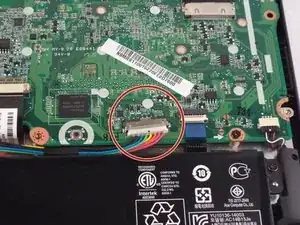
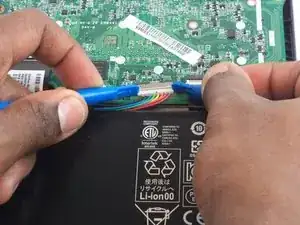
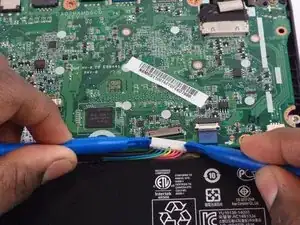
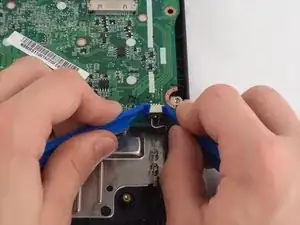
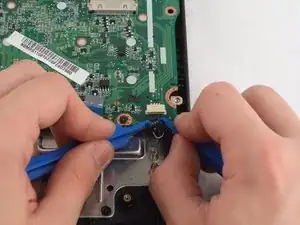
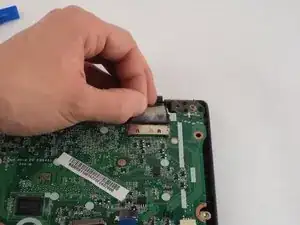
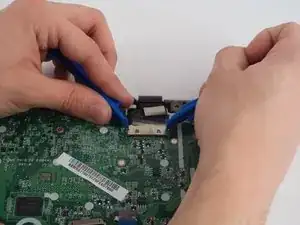
    • Using two plastic opening tools tightly grab the connector going from the battery to the motherboard and pull to unplug.

  5. EoNka2WCdY25nSp6
    EoNka2WCdY25nSp6
    4IcxsdDhqjUe5s6n
    WDtUw2H3VDUNJXrH
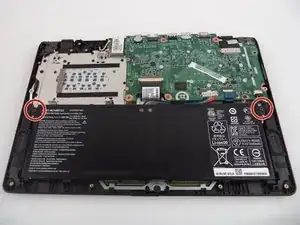
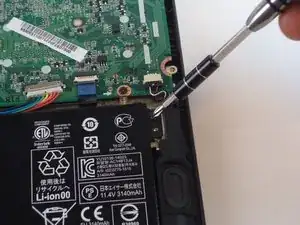
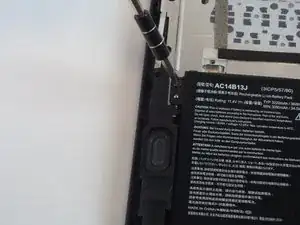
    • Unscrew two 6.2 mm Phillips #1 screws on the right and left sides of the battery.

  6. 4avPE23iSQBw1CUM
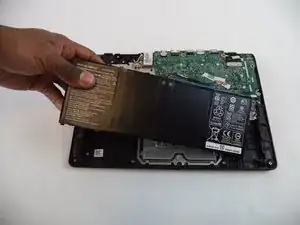
    • Carefully remove the battery by lifting it out of the casing.

    The E-11 that I have has 2 screws on each end of the battery. 1 at the upper left corner, 1 at the lower left corner, 1 at upper right corner and 1 approx 1" below upper right and inboard approx 1/2". Battery #AC13C34 (3ICP5/60/80).

    [deleted] -

  7. qygixOyQ1US3nuMW
    qygixOyQ1US3nuMW
    LeSlpAlRclujLXkm
    sBgeXEUV1fcDYI4d
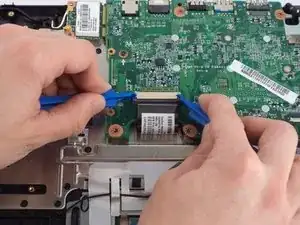
    • Locate the keyboard cable on the motherboard. Using, two plastic opening tools on each side of the connector, pull the two gray tabs outward and then remove the cable from the motherboard.

  8. SCaPpQNK1dTgGsUJ
    SCaPpQNK1dTgGsUJ
    56HFOUvpYBd6vySK
    FRlniGXER6ZFdWAN
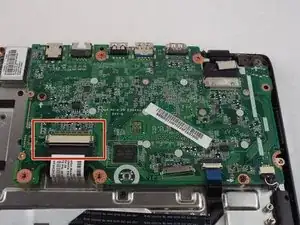
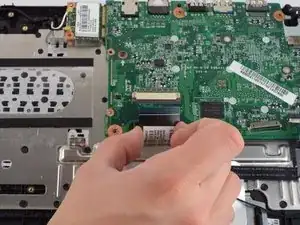
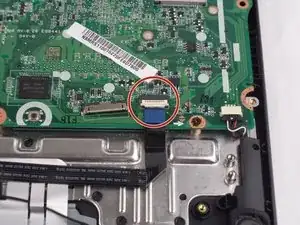
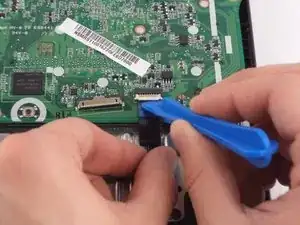
    • Use a plastic opening tool to carefully lift the white hinge up on the touchpad cable connector, and gently remove the cable from the motherboard.

  9. fjiwccBXMxmXpUV6
    fjiwccBXMxmXpUV6
    VDXdknFvIsQuyOWU
    LG25DGlEgAZBIPRO
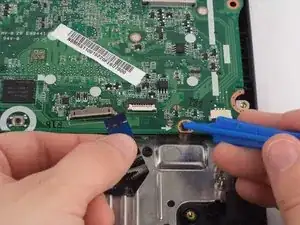
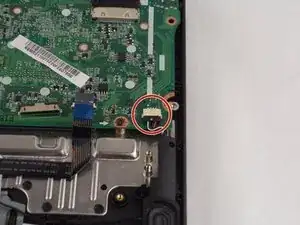
    • Use two plastic opening tools to grip each side of the connector for the speaker cable and gently pull the cable from the motherboard.

  10. EMHol53UyFFcy3TU
    EMHol53UyFFcy3TU
    WaeqMISZRFtqaxn5
    WFXKDlYuawyt6YNE
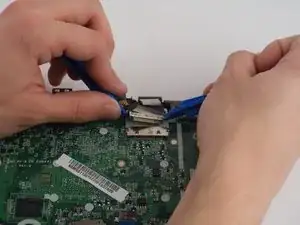
    • Remove the tape on the connector for the display cable.

    • Use two plastic opening tools to grip each side of the connector and gently pull the display cable from the motherboard.

  11. yHXCekkYcShuHNFf
    yHXCekkYcShuHNFf
    3vPhmCW2KnZTEdWO
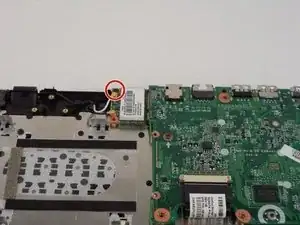
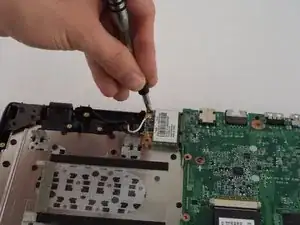
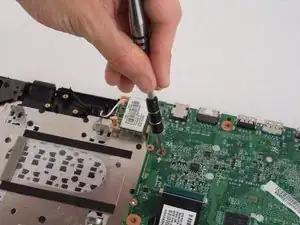
    • Remove one 6.2 mm Phillips #1 screw from the wireless chip on the left side of the motherboard.

  12. K1NLbKKJ2CONXOxj
    K1NLbKKJ2CONXOxj
    NDsLKJZJxafKHnMt
    EICsRjBxQJ2yQ4mk
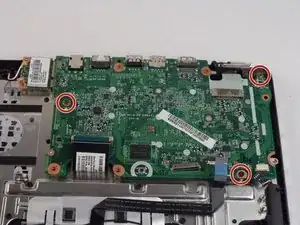
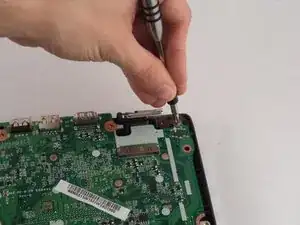
    • Remove three 6.2 mm Phillips #1 screws that attach the motherboard to the laptop casing.

  13. NmK5Ji1IdBkJMdxZ
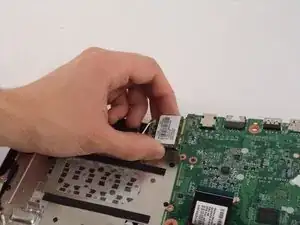
    • Return to the wireless chip and gently pull it from the connector on the side of the motherboard.

  14. 1esmeUYUH5MGOLR5
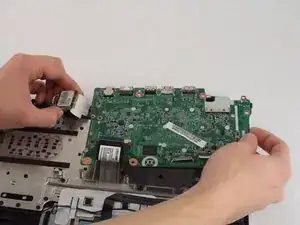
    • The motherboard can now be lifted out from the laptop casing.

  15. KKldbwFolhHcJKRg
    KKldbwFolhHcJKRg
    BhJjhPHkAnDXCBZt
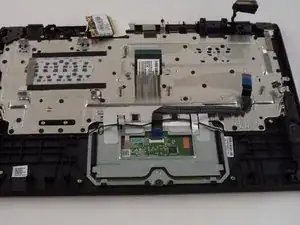
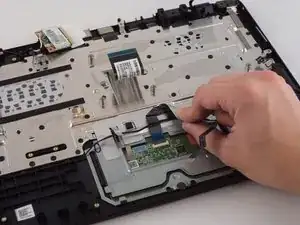
    • Start by peeling off the touchpad cable that is stuck to the computer.

  16. NHSin3rWA3ptDdwK
    NHSin3rWA3ptDdwK
    MXRw4liL4sDvknPl
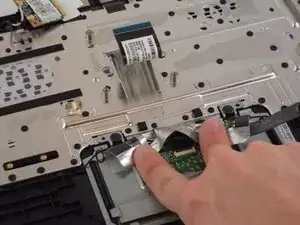
    • Peel back the silver tape revealing two 6.2 mm Phillips #1 black screws.

    • Remove the three 6.2 mm Phillips # 1 black screws.

  17. 3caJnjS1PlnjTYWH
    3caJnjS1PlnjTYWH
    gPJRWTLgfoJaAPkQ
    IZIWIwUfH34jaWSM
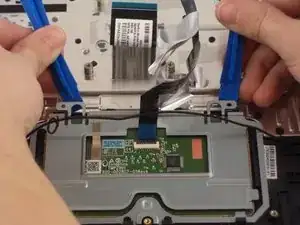
    • Once unscrewed, use the plastic opening tools to lift and slide out the touchpad. Be careful not to damage the speaker wire that runs across it when removing.

Abschluss

To reassemble your device, follow these instructions in reverse order.

Stephen Robinson

Mitglied seit: 04/02/16

164 Reputation

Ein Kommentar

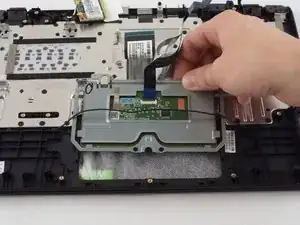
Some of the bullet points can be broken up into information points or divided into more bullet points per step. Also, make sure that the exposure is high enough so that some of the images are brighter and visible.
Jaie Hillery -