Einleitung
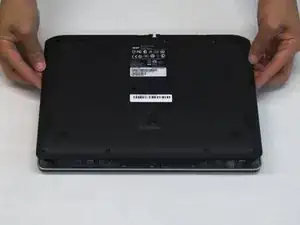
Should you wish to replace or upgrade the memory in your laptop, this guide will show you how to access and remove your old RAM.
-
-
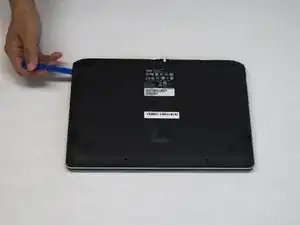
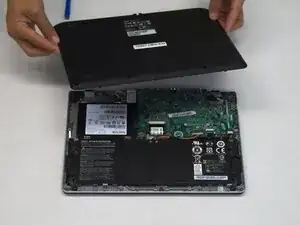
Insert your plastic opening tool between the bottom case and the rest of the laptop.
-
Using the plastic opening tool as a lever, apply downward pressure on the tool to lift the bottom up.
-
Make your way around the case with the tool, every so often applying downward pressure to lift the bottom up.
-
Lift the bottom off the laptop.
-
-
-
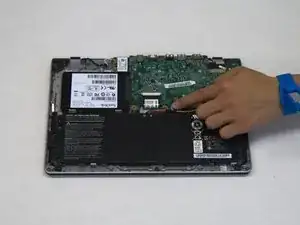
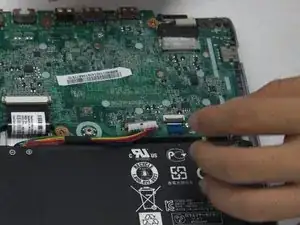
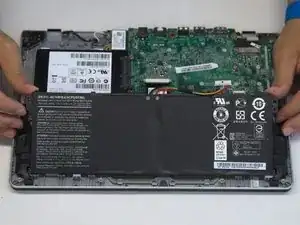
Press and hold the battery discharge button on the motherboard for 5 seconds to drain the battery.
-
-
-
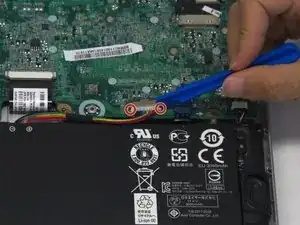
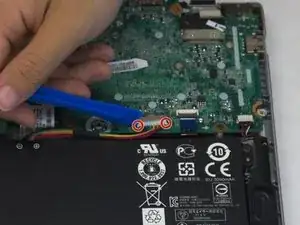
Dislodge the battery's connector to the motherboard by using the plastic opening tool as a lever on the two small plastic tabs that stick out on either side of the connector.
-
-
-
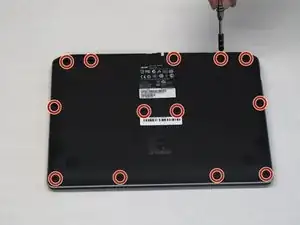
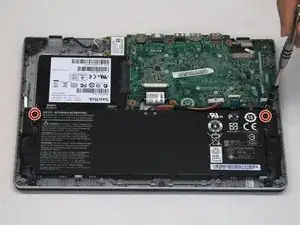
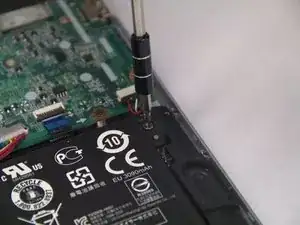
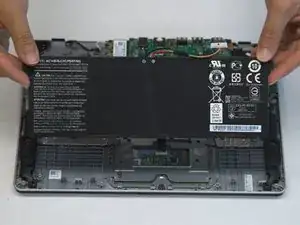
Unscrew the two 6.2 mm Phillips #1 head screws on either side of the battery as indicated.
-
-
-
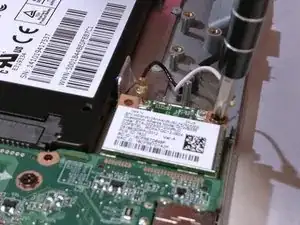
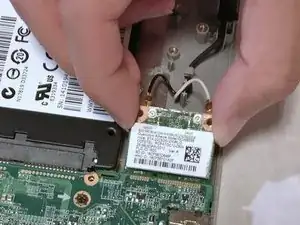
Remove the two antenna cables from the wireless card. These should snap lightly out of place when lifted upwards.
-
-
-
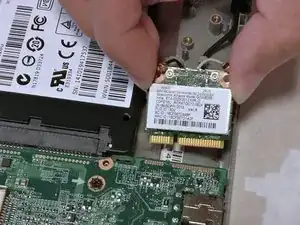
Remove the 6.2mm #1 Phillips head screw attaching the wireless card to the case.
-
Pull the wireless card horizontally away from the motherboard to remove it from the connector.
-
-
-
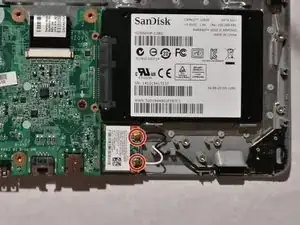
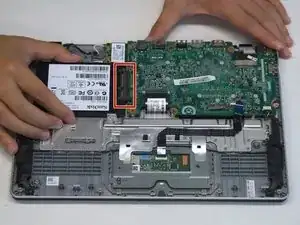
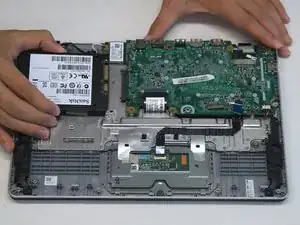
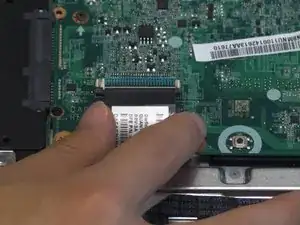
Holding the laptop in place, slide the hard drive horizontally out from the SATA connector.
-
-
-
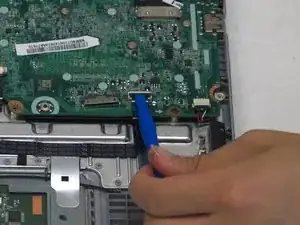
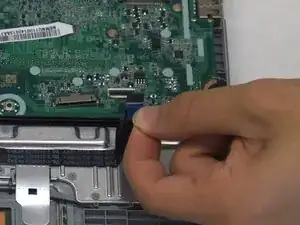
Lightly pry upwards on the black plastic tab to release the touchpad cable, then gently pull the cable from the connector.
-
-
-
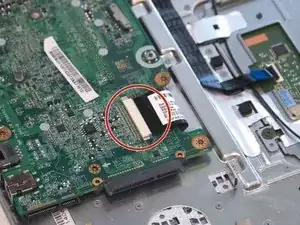
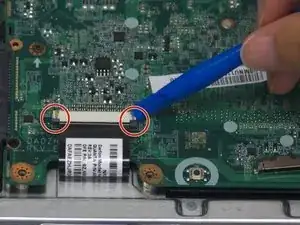
Find the keyboard cable. Pull the two gray plastic tabs outwards to release the ribbon. Gently pull the cable from the connector.
-
-
-
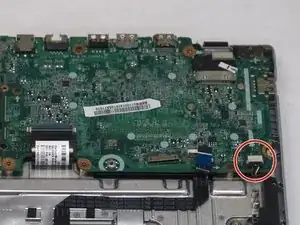
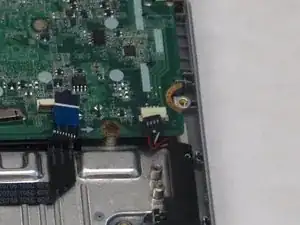
Pull down gently on the black speaker cable connector to disconnect it from the motherboard.
-
-
-
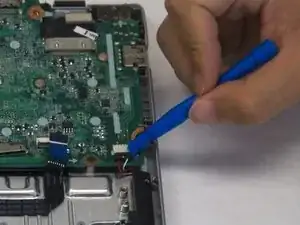
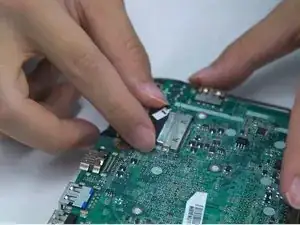
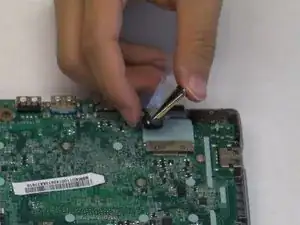
Peel up the tape adhering the display cable to the connector on the motherboard.
-
Slide the display cable horizontally out of the connector to remove it from the motherboard.
-
-
-
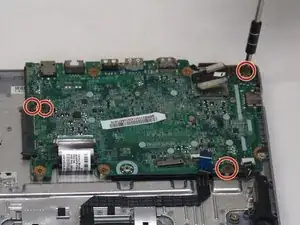
Unscrew the four 6.2mm Phillips #1 screws attaching the motherboard to the case.
-
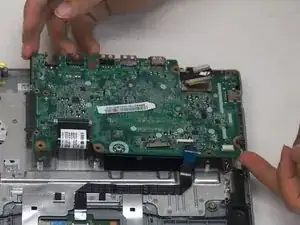
With all the screws and cables detached, lift the motherboard directly upwards out of the case.
-
-
-
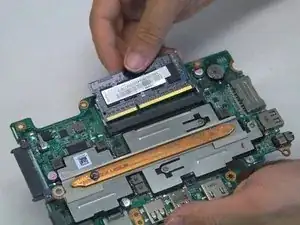
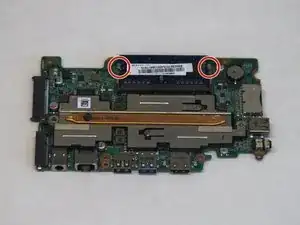
Flip over the motherboard after removing it from the case.
-
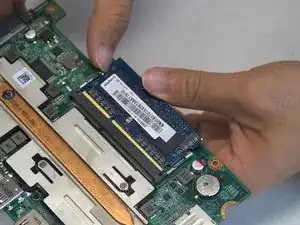
Apply pressure outward on the metal tabs on either side of the RAM stick to release them from the notches on the stick.
-
After the tabs have been released, slide the RAM out of the slot.
-


To reassemble your device, follow these instructions in reverse order.
Ein Kommentar
Thank you for this very well done step by step guide! I updated the RAM in this computer with no issues because of your procedure. FYI - I am a fellow Gaucho graduate way back from the Class of 1981.