Einleitung
The fan in your computer is meant to keep your computer from overheating. Overtime, the fan might start making loud noises because of an accumulation of dust that prevent the fan from running properly, and thus the computer becomes hot.
Werkzeuge
-
-
Carefully place the closed computer on a flat surface, with it oriented screen down.
-
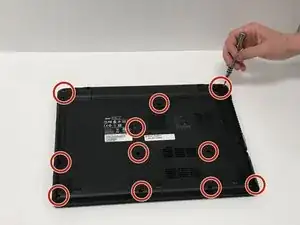
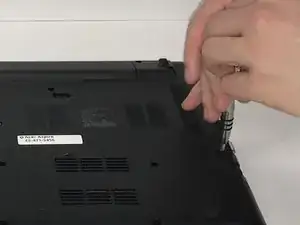
Now you need to use the Phillips #0 Screwdriver to remove all 17 of the M2.5X8 mm screws. Use the red circles on the diagram to help you locate these screws.
-
-
-
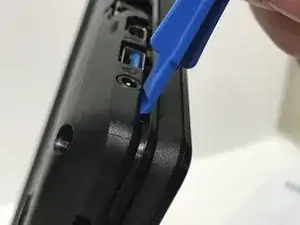
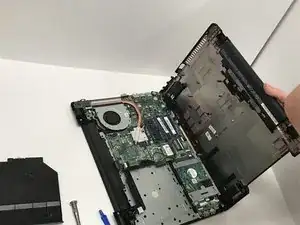
Place cover and screws aside and you are now free to access the different components of this laptop.
-
-
-
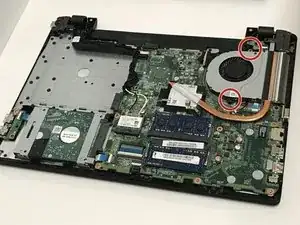
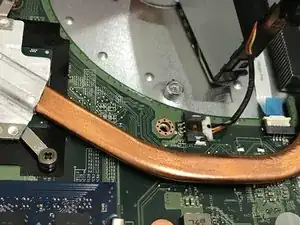
Using a screwdriver, remove the two M2.5X8 mm screws holding the fan in its place. The screws are located opposite of each other, as shown by the red dots on the picture.
-
-
-
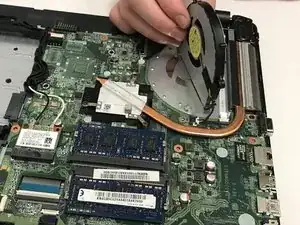
After removing the screws, carefully pick up the fan and rotate it slightly to locate the wire that is still connecting the fan to the computer.
-
-
-
Disconnect the fan from the laptop by carefully unplugging the wires connecting the fan to the computer. The fan should now be completely detached from the computer.
-
-
-
Using a can of compressed air, gently blow out the dust. Do this outside for better results and blow in the direction of the wind. Compressed air may not be able to fix all the problems, If your fan is over 1 year old and still does not run correctly after you tried using the compressed air, the fan will need to be replaced.
-
To reassemble your device, follow these instructions in reverse order.
