Einleitung
Werkzeuge
-
-
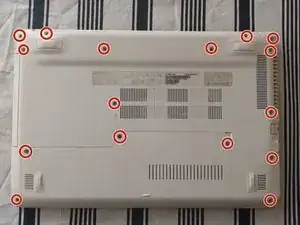
Unscrew all 16 screws holding the back panel.
-
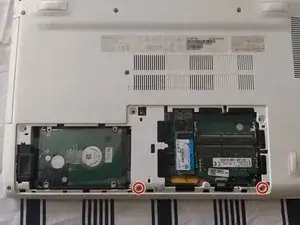
Open the HDD, SSD and RAM cover and unscrew all visible screws that hold the panel. Now is a good idea to upgrade those parts if you want.
-
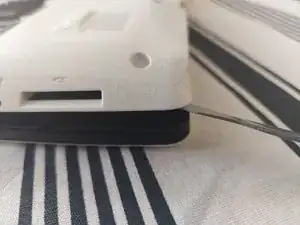
Use a prying tool to separate the top and bottom pieces.
-
-
-
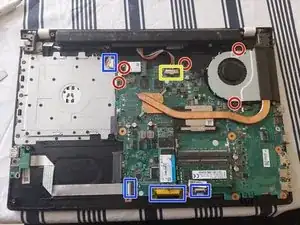
Disconnect all visible connectors, starting with the battery (Yellow), they the other ones (Blue). After that remove the screws attaching the motherboard to the panel.
-
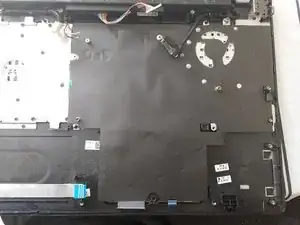
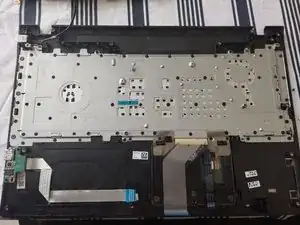
After that remove the black protective film, without damaging it. Now the keyboard should be revealed.
-
-
-
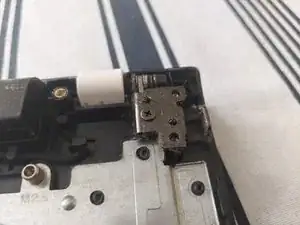
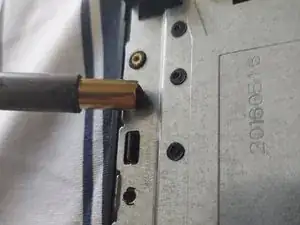
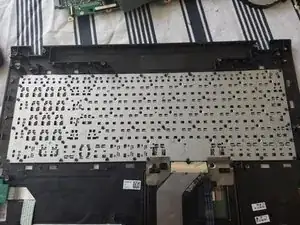
Use a soldering iron with a big tip, to melt the plastic rivets that hold the metal case for the keyboard.
-
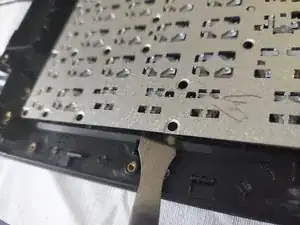
Use a prying tool the remove the metal case.
-
Remove the old keyboard, place the new one and dont forget to place the metal case on top of it.
-
To reassemble your device, follow these instructions in reverse order.

