Einleitung

When removing the network card, be sure to note the positions of the black and white cables on the network card before removing them to ensure that you put them back in the correct space.

  1. TONesCkVXKEjQiPs
    TONesCkVXKEjQiPs
    PGZg3YeJXnxfTDqT
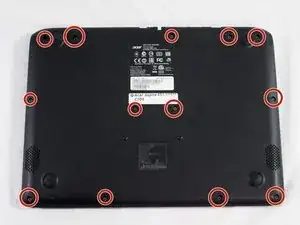
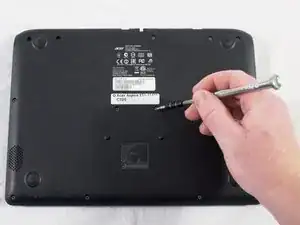
    • Unscrew the 13 6.2mm screws located on the bottom of the laptop using the JIS #0 screwdriver.

  2. YVYLjhyyxgPZif5g
    YVYLjhyyxgPZif5g
    eUI6lsyD1UcvawsY
    Sr1YUqPh2xIjB5c2
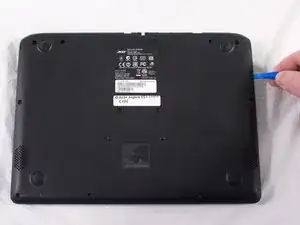
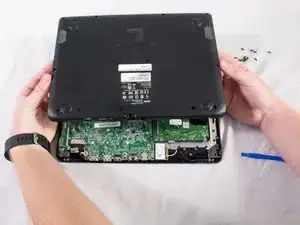
    • Using a plastic opening tool, gently pry the lower case off. Place aside.

  3. qoBQWSDKufBjO6Up
    qoBQWSDKufBjO6Up
    BxZo1liJoQmBHDyE
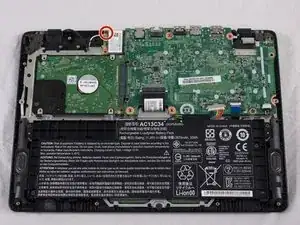
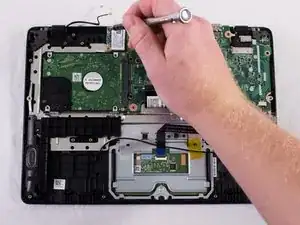
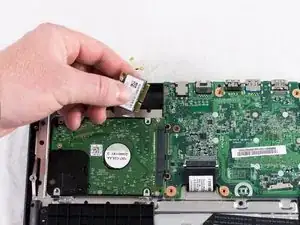
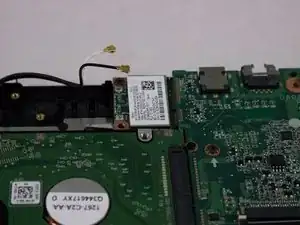
    • You will see a white rectangular piece next to the upper left-hand corner of the motherboard that is connected with a black cord and a white cord; this is the network card.

    • Unscrew the one 6.2mm screw in the upper left-hand corner of the network card.

  4. YwhkZBFCotHOGt1v
    YwhkZBFCotHOGt1v
    eqPGtBw2vBDTAvsl
    bbtM4TukqyiqFLfm
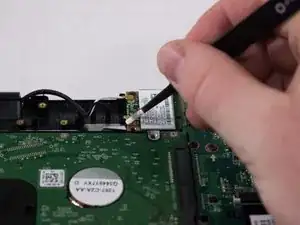
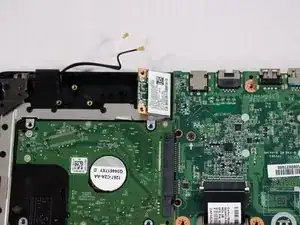
    • Remove the black and the white cords from the network card.

    • Slide the card out of the motherboard and replace it with the new one.

Abschluss

To reassemble your device, follow these instructions in reverse order.
Payton Stewart

Mitglied seit: 25/09/17

101 Reputation

0 Kommentare