Einleitung

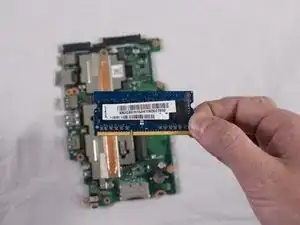
To replace the RAM is an in-depth procedure as it's located under the motherboard. There are a lot of screws from the various parts but they're all the same size so it doesn't matter where they go back in.

  1. TONesCkVXKEjQiPs
    TONesCkVXKEjQiPs
    PGZg3YeJXnxfTDqT
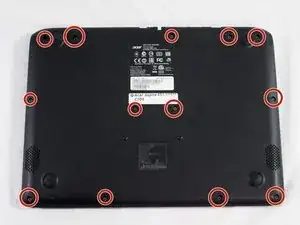
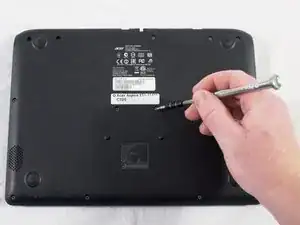
    • Unscrew the 13 6.2mm screws located on the bottom of the laptop using the JIS #0 screwdriver.

  2. YVYLjhyyxgPZif5g
    YVYLjhyyxgPZif5g
    eUI6lsyD1UcvawsY
    Sr1YUqPh2xIjB5c2
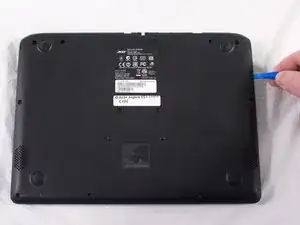
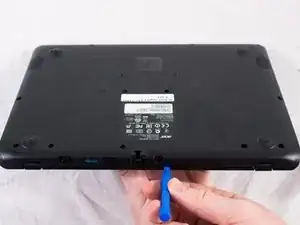
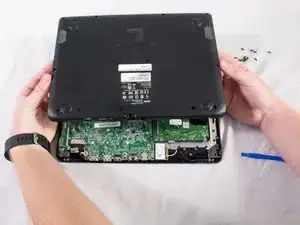
    • Using a plastic opening tool, gently pry the lower case off. Place aside.

  3. kgPnaAVe3GD6YWrR
    kgPnaAVe3GD6YWrR
    536Zdkca1SemB1Qb
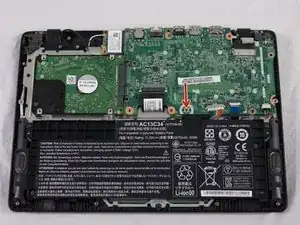
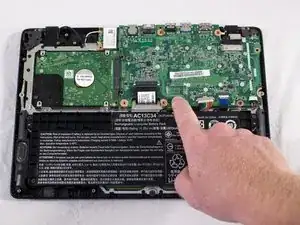
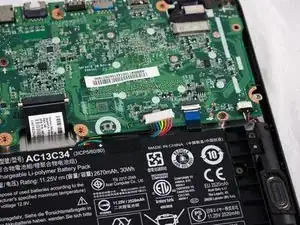
    • Locate the small black button surrounded by a white circle near the battery on the motherboard.

    • Press and hold the button for five seconds.

  4. iAFgTMZNFT6lFcdd
    iAFgTMZNFT6lFcdd
    6vL2HWDcCOUuwXTC
    oFFtRw2yjkvL2CZl
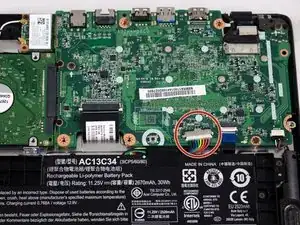
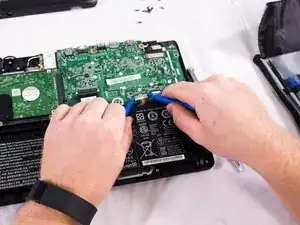
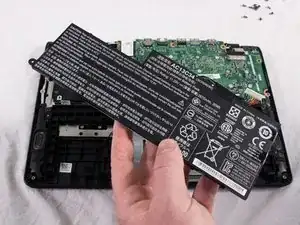
    • Using your fingers or the small plastic opening tools, disconnect the battery connection from the motherboard by pinching and pulling back on both sides of the connector.

  5. UJtJXoAcbvH1Fnyp
    UJtJXoAcbvH1Fnyp
    G6GEroBVg5JQHtH1
    EveueCciSWnJdcIj
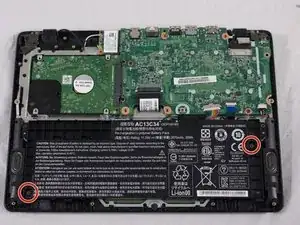
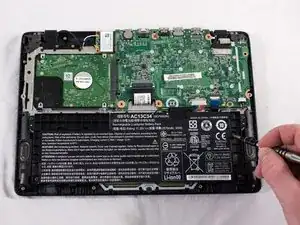
    • Locate the two 6.2mm black screws holding the battery in place and unscrew them.

    • Gently lift and remove the battery.

  6. AYUjHQWSOBWuvHVZ
    AYUjHQWSOBWuvHVZ
    lDSPAFn1DbSYUXQK
    U63GGWUm4lEtIIOK
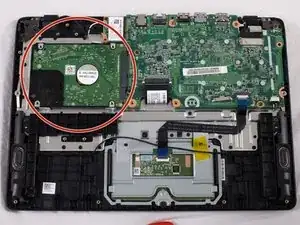
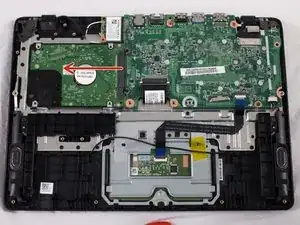
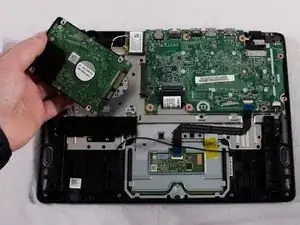
    • Locate the hard drive and slide the hard drive to the left until it disconnects from the mother board.

  7. qoBQWSDKufBjO6Up
    qoBQWSDKufBjO6Up
    BxZo1liJoQmBHDyE
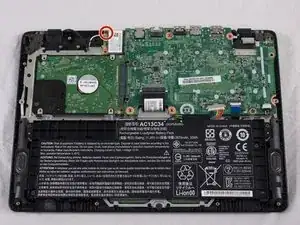
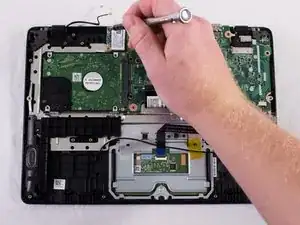
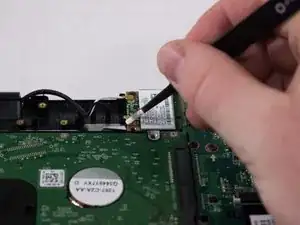
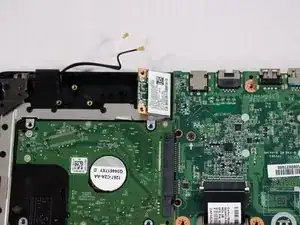
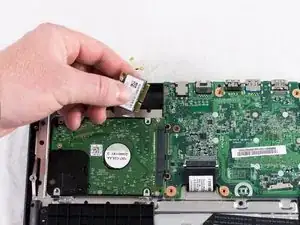
    • You will see a white rectangular piece next to the upper left-hand corner of the motherboard that is connected with a black cord and a white cord; this is the network card.

    • Unscrew the one 6.2mm screw in the upper left-hand corner of the network card.

  8. YwhkZBFCotHOGt1v
    YwhkZBFCotHOGt1v
    eqPGtBw2vBDTAvsl
    bbtM4TukqyiqFLfm
    • Remove the black and the white cords from the network card.

    • Slide the card out of the motherboard and replace it with the new one.

  9. KPq2eAAV3fADoMyd
    KPq2eAAV3fADoMyd
    mARJUDtnIHx2EyBr
    DeAIucHImMKHy1hs
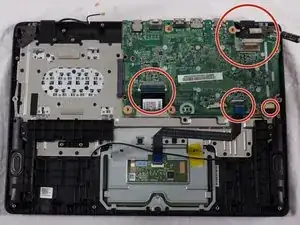
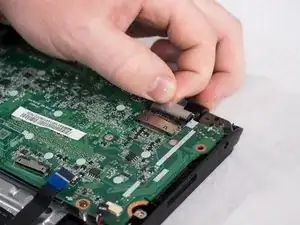
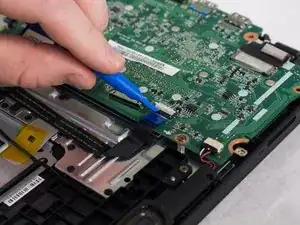
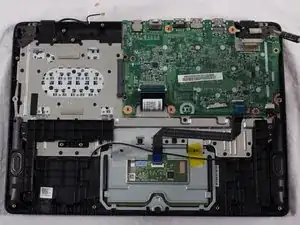
    • Disconnect the remaining connectors from the motherboard.

  10. i2J4v2gDNjyF43hR
    i2J4v2gDNjyF43hR
    1LRPDhZNY2YCx53Y
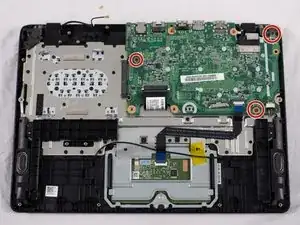
    • Unscrew the three 6.2mm screws as indicated by the picture.

  11. OUNHdIvDGsvW2HhB
    OUNHdIvDGsvW2HhB
    1D1gf5DAbBDj6YS2
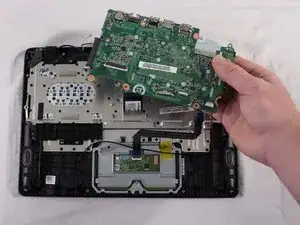
    • Flip the motherboard over.

  12. MIilHSAuP3UUcyRn
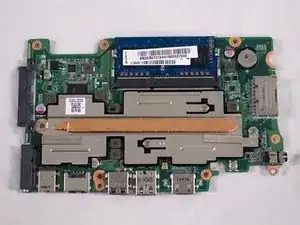
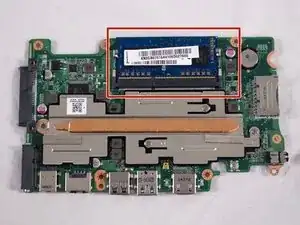
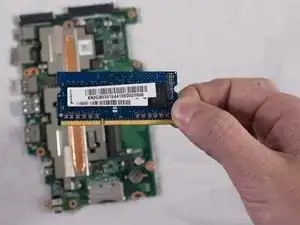
    • Locate the RAM

  13. PTcZcNYbDGVCCcbX
    PTcZcNYbDGVCCcbX
    2GqPSYyr2hJERB5L
    6PIydy314cgBJvB3
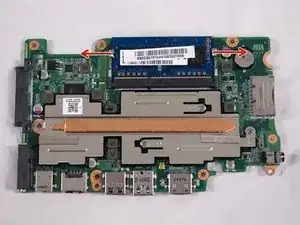
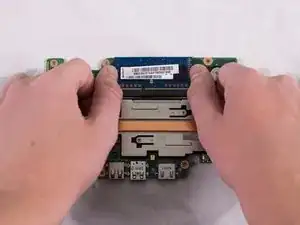
    • Gently push the two metal clips that hold the RAM to the side, as indicated by the picture.

    • It should pop up once done.

  14. Afxc6OoSb3uhKiX2
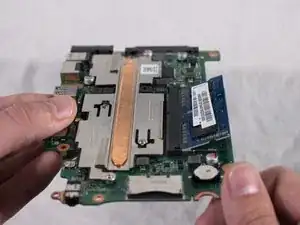
    • Pull the RAM out.

    Hi can i replace the ram 2gb to 8gb?

    If so, please give indicate the mhzequency of the ram and brand.

    Thanks

    Christian Calderon -

Abschluss

To reassemble your device, follow these instructions in reverse order.
Mason Devinney

Mitglied seit: 25/09/17

388 Reputation

0 Kommentare