Einleitung

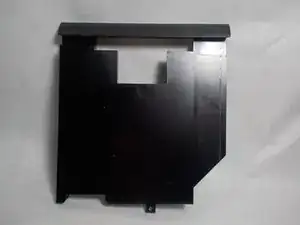
You may need to replace the disk drive in your Acer Aspire ES1-512-C80E if it does not function properly. To access the disk drive, the back cover of the device will need to be removed. The process of replacing the disk drive should take between 10-20 minutes.

  1. eaeT42qSv5odTXHh
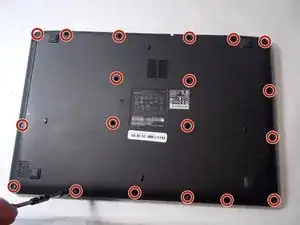
    • Place the device upside down on a flat surface.

    • Using a Phillips #00 screwdriver, remove all nineteen 1.2mm screws that secure the bottom cover of the device.

  2. ghIKAJIiFRCbKDmL
    ghIKAJIiFRCbKDmL
    OgIIq15nNajrPcnm
    aDtWRhGpKPcDcciv
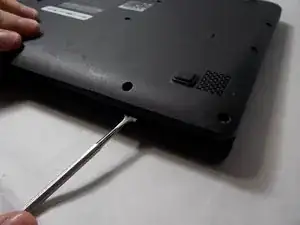
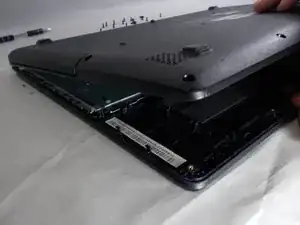
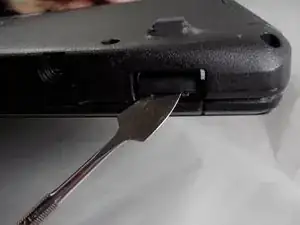
    • Pry around the edges with a spudger to remove the back cover.

    • The two hinges on the back require additional force to be popped open.

  3. PQNQklrLTI3qLbEB
    PQNQklrLTI3qLbEB
    QTHrEVcB4LRSCDf4
    Y2vcIoDdLQkUpMPB
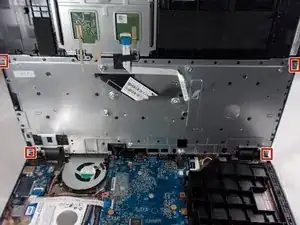
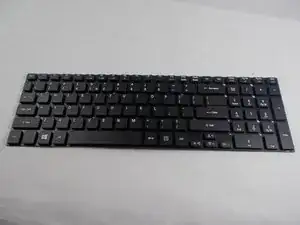
    • The keyboard is the silver piece located by itself on the upper half of the laptop.

    • Using a Phillips #00 screwdriver, remove the four 1.2mm screws from the keyboard.

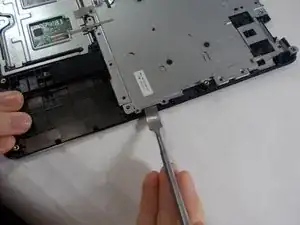
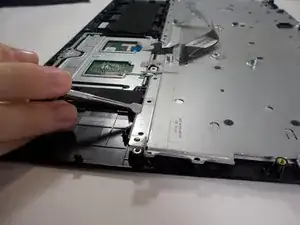
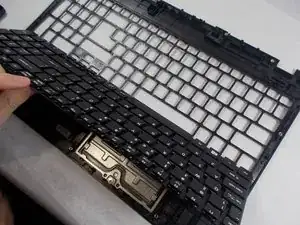
    • Using a spudger, go around the edges and pry off the keyboard.

    • All black clips will have to be removed before the keyboard can be removed.

  4. lCEZ4g5uptoXiNoJ
    lCEZ4g5uptoXiNoJ
    MEqRMF4dqPrFdvlJ
    TKdkhWrORMiSrBLe
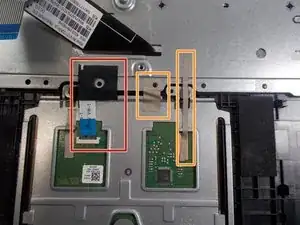
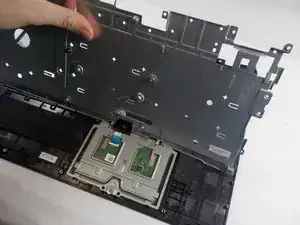
    • Remove the ribbon cable connection from the keyboard.

    • Peel back the two pieces of tape to separate the keyboard.

    • Remove the keyboard from under the plastic covering.

    • Remove the silver plate back cover of the keyboard from the bottom base.

  5. ElA3fTWPtWgxMTWR
    ElA3fTWPtWgxMTWR
    vslKLh1gCG6WOHTD
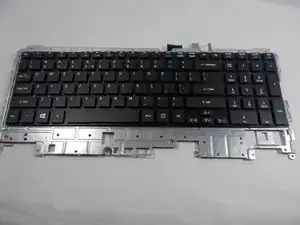
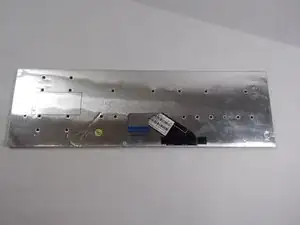
    • Remove the large silver plate from the keyboard.

    • You can not remove the silver backing with the attached wire from the back of the keyboard.

  6. bWChV1U6nGctrTn2
    • The keyboard is removed and ready to be replaced.

  7. shgQp2nRkXUpVKps
    shgQp2nRkXUpVKps
    X1DswBLUwOEgTuYW
    2Cw2GHAqtLlyigOY
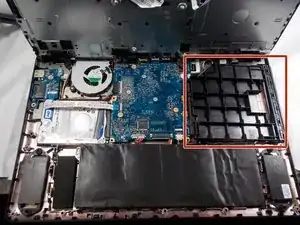
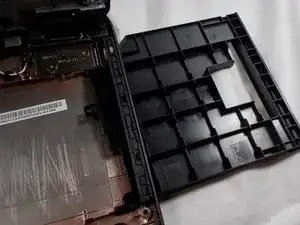
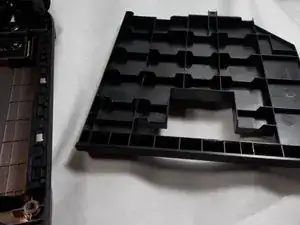
    • Push the disk drive out of the side slot.

Abschluss

To reassemble your device, follow the steps in reverse order.
Peter Bulman

Mitglied seit: 31/10/19

228 Reputation

0 Kommentare