Einleitung
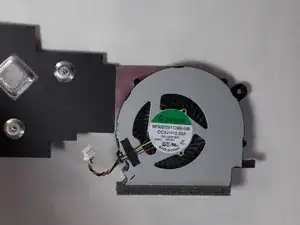
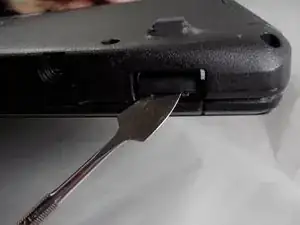
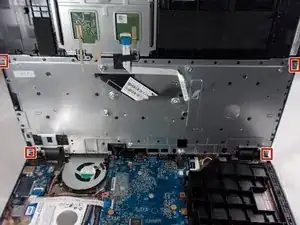
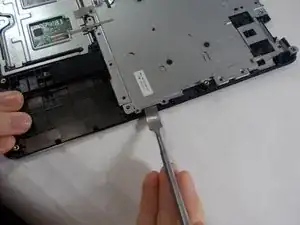
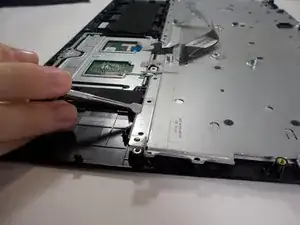
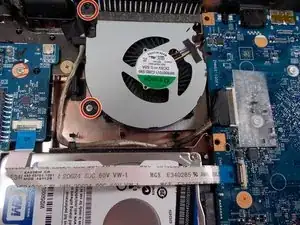
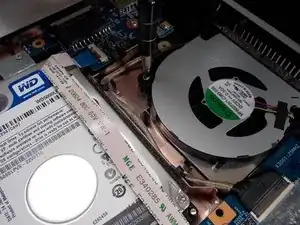
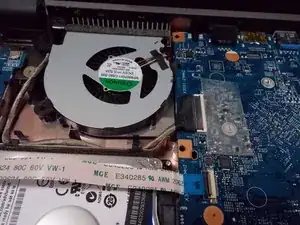
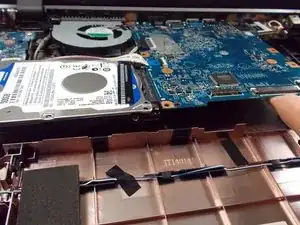
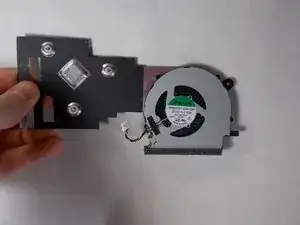
You may need to replace the fan in your Acer Aspire ES1-512-C80E if you experience problems such overheating or loud noises. To do this, you will need Phillips #00/#000 screwdrivers, and a spudger. Additionally, you will need a replacement fan. To access the fan, the back cover of the device will need to be removed. The process of replacing the fan should take between 15-25 minutes.
Werkzeuge
Ersatzteile
-
-
Place the device upside down on a flat surface.
-
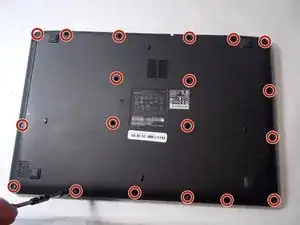
Using a Phillips #00 screwdriver, remove all nineteen 1.2mm screws that secure the bottom cover of the device.
-
-
-
Using a Phillips #00 screwdriver, remove the four 1.2mm screws from the keyboard.
-
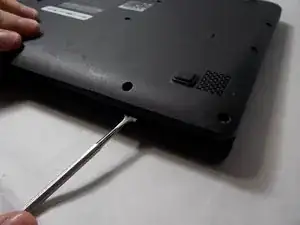
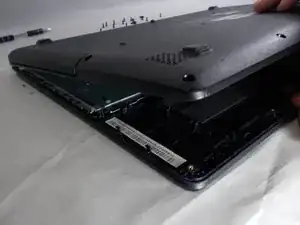
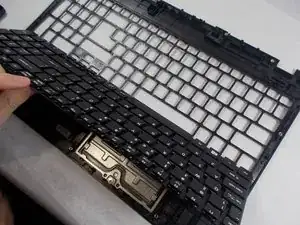
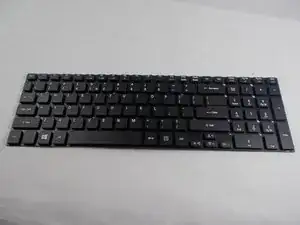
Using a spudger, go around the edges and pry off the keyboard.
-
-
-
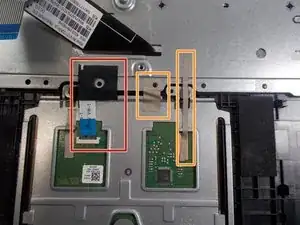
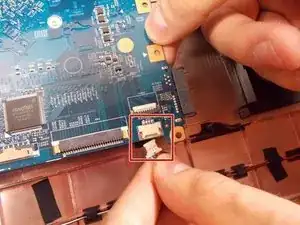
Remove the ribbon cable connection from the keyboard.
-
Peel back the two pieces of tape to separate the keyboard.
-
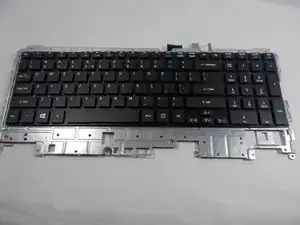
Remove the keyboard from under the plastic covering.
-
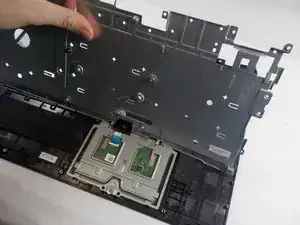
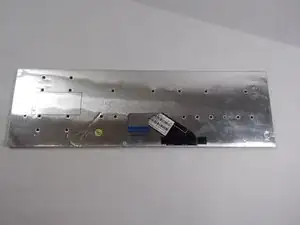
Remove the silver plate back cover of the keyboard from the bottom base.
-
-
-
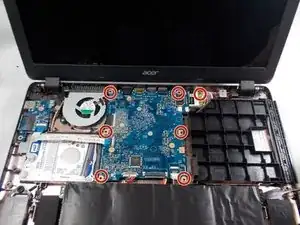
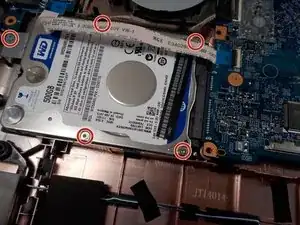
Remove twelve 1.2mm Phillips #000 screws from the motherboard, wireless LAN card, and hard drive.
-
-
-
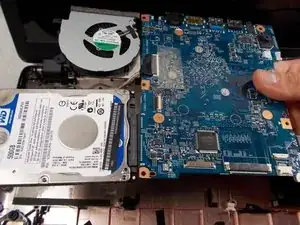
Lift the fan, hard drive, motherboard, and wireless LAN card out of the device.
-
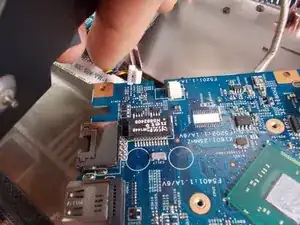
These components are still connected with wires. Remove all plugs that may be attached to other components in order to isolate the group of components.
-
-
-
Flip over the motherboard.
-
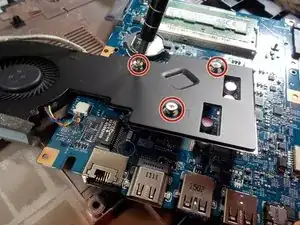
Remove all three 1.2mm Phillips #00 screws that attach the fan to the motherboard.
-
-
-
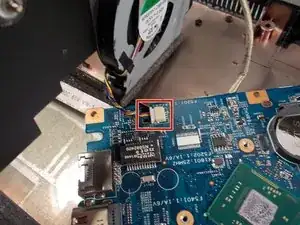
The fan and motherboard are still connected with wires. Remove any plugs that may be attaching the components
-
Remove the fan from the motherboard.
-
To reassemble your device, follow these instructions in reverse order.
