Einleitung
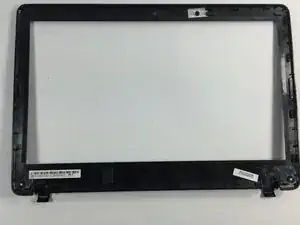
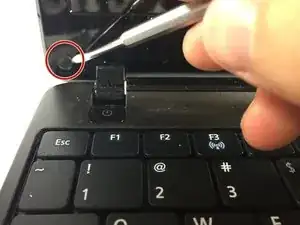
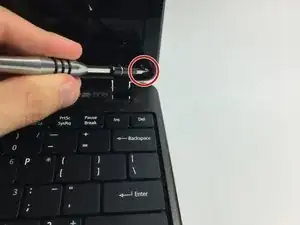
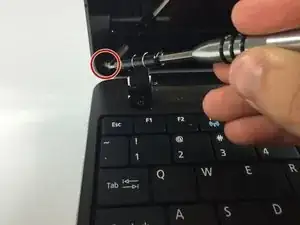
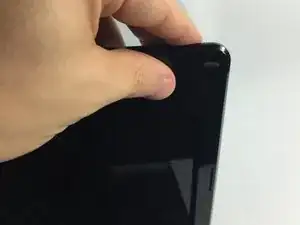
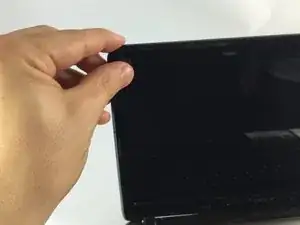
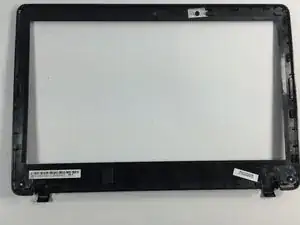
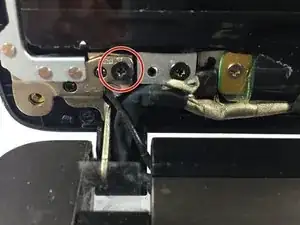
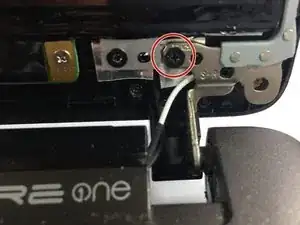
If your Acer Aspire One 722 isn’t producing clear visuals - distorted, cracked, or dented - use this repair guide to safely replace the screen.
Before using this guide, inspect the screen for debris that may be interfering with the visual quality. Be sure to test the quality of the screen by turning on the device to confirm the screen is faulty and is in need of replacement.
Step 5 requires you to slowly remove the glass casing from the device. Visit your local electronics store that recycles used materials to safely dispose of the faulty screen.
Before beginning, make sure to power off your device completely and disconnect from any external power source.
Werkzeuge
-
-
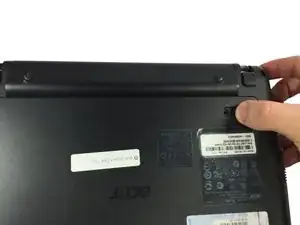
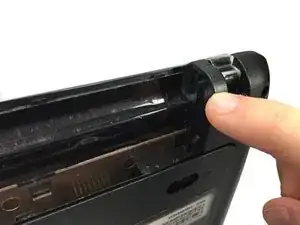
Slide the button below the battery to the right while simultaneously pulling the battery out.
-
-
-
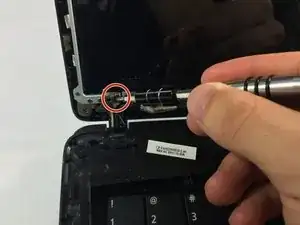
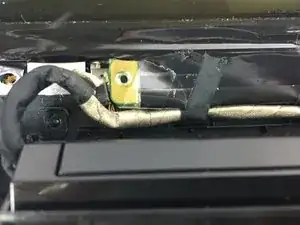
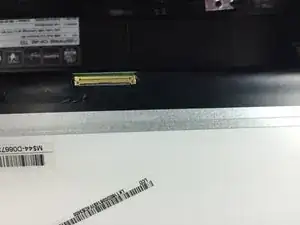
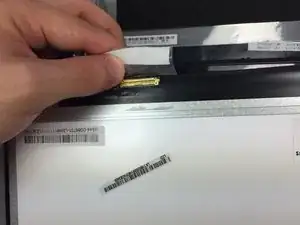
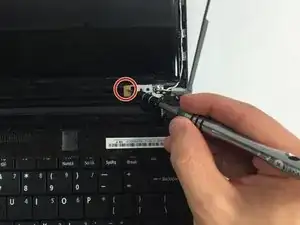
On the bottom left of the screen there is a cord attached. Remove the tape that is attached to the screen.
-
To reassemble your device, follow these instructions in reverse order.
