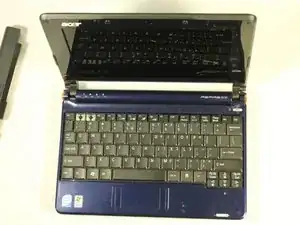
Einleitung
This guide is simple to follow. The Speaker can easily be removed and installed within minutes.
Werkzeuge
-
-
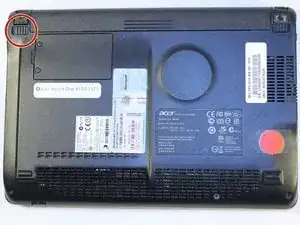
Flip device over so that the battery is farthest from you.
-
Identify the switch on the upper left corner and push it left to be in "unlocked" position.
-
-
-
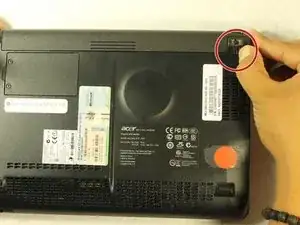
Identify the latch on the upper right hand corner. Drag and hold the latch to the right.
-
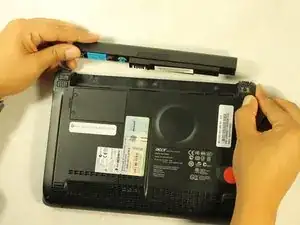
Pull the battery out.
-
-
-
Now flip device back over to show the keyboard.
-
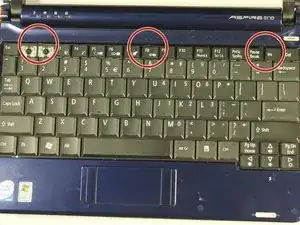
Locate the three tabs at the top of the keyboard.
-
-
-
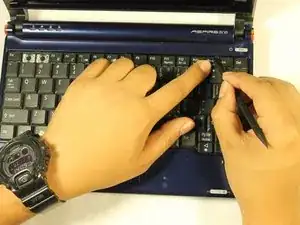
Start on the top-right and use the spudger to push off the tab from the keyboard.
-
Move to the middle tab while still holding the right side up so the tab doesn't fall back into place.
-
Continue to hold up keyboard while disconnecting the last tab.
-
-
-
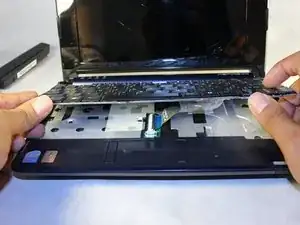
Here you can see that the keyboard is still attached to the device.
-
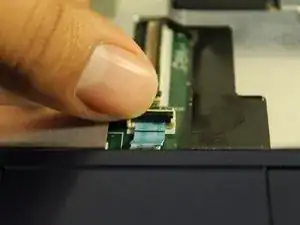
Use the Spudger to lift the ZIF (Zero Insertion Force) to release the keyboard ribbon.
-
Once tab is lifted, the keyboard ribbon should come right out.
-
-
-
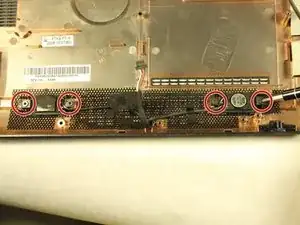
Close and flip the device over so you can have a good view of all the screws.
-
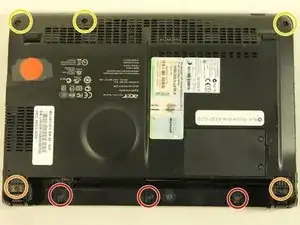
Locate and remove the three 3.9mm screws where the battery was removed from.
-
Locate and and remove the two 5.8mm screws located underneath the bumpers.
-
Locate and remove the three 5.8mm remaining screws at the top of the device.
-
-
-
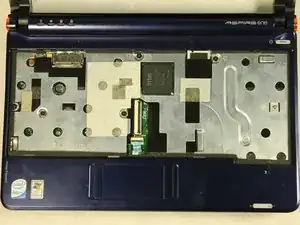
Flip and reopen device to where you can view the internal panel.
-
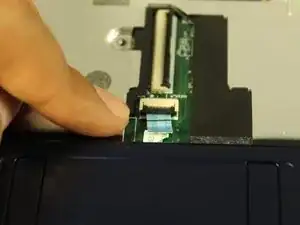
Locate the ZIF connecting the mouse panel to the motherboard.
-
Flip up the black plastic hinge and carefully pull out the ZIF connector.
-
-
-
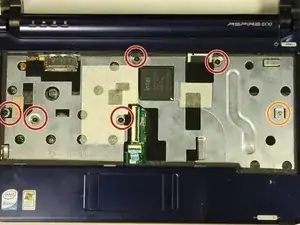
Locate and remove all five 4.7mm black screws.
-
Locate and remove the one 4.3mm silver screw.
-
-
-
Pick a corner and slowly lift up the panel while running your finger underneath to pop off the seals.
-
-
-
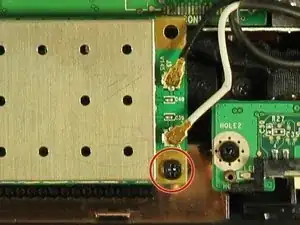
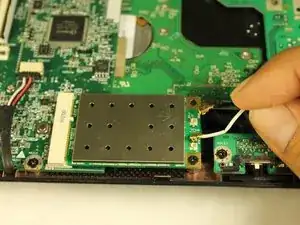
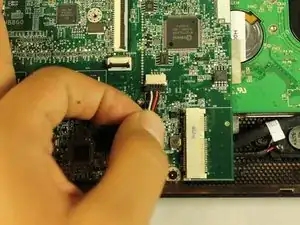
Carefully disconnect the black and white cable from the internal wireless card.
-
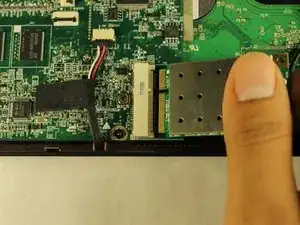
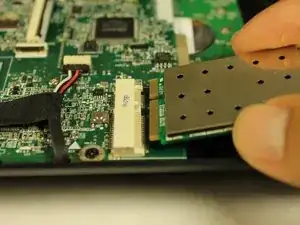
Pull the internal wireless card straight out.
-
-
-
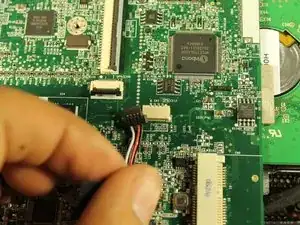
Locate the display cable in the upper left corner of your device.
-
Carefully disconnect the display cable.
-
-
-
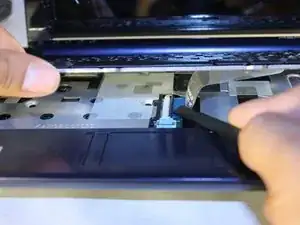
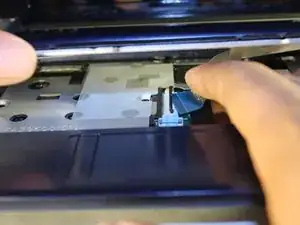
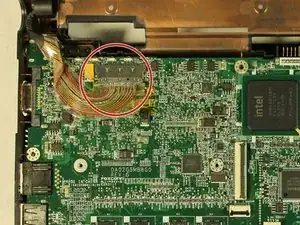
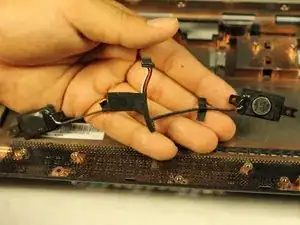
Locate the speaker cable at the bottom of the mother board.
-
Carefully pull the cable to disconnect the speaker from the mother board.
-
-
-
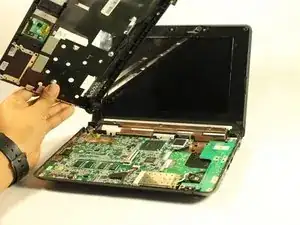
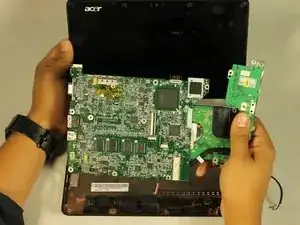
Locate and remove the last two remaining 4.7mm screws in the upper left corner of the motherboard.
-
Gently lift the motherboard off the device frame.
-
-
-
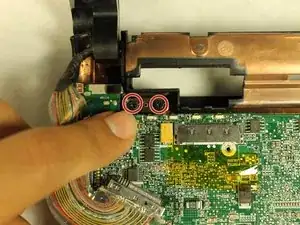
Locate and remove the 3.9mm screws holding the speakers in place.
-
Gently lift up the speakers from the frame.
-


To reassemble your device, follow these instructions in reverse order.