Einleitung
The guide to replacing an individual key is effective if the hinge holding the key is broken. The pieces are very small so it is important to be careful so that no pieces get broken.
Werkzeuge
-
-
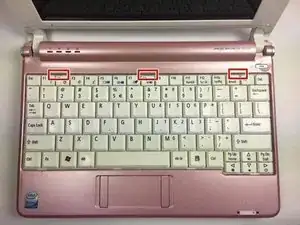
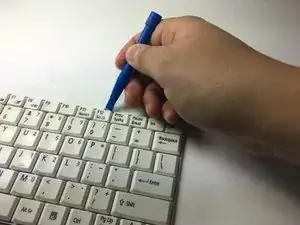
To remove the keyboard, place the Blue Plastic Opening Tool at the 3 indentations above the keyboard as shown.
-
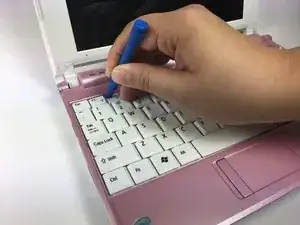
Slip the Blue Plastic Opening Tool in the space between the keyboard and the pink plastic casing and push down.
-
Pushing down on all 3 indentations should cause the keyboard to pop upwards slightly.
-
-
-
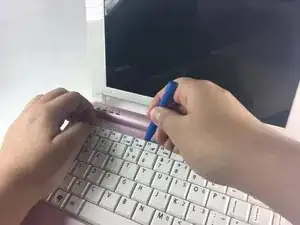
Use the Blue Plastic opening tool and your fingers to pull up the top part of the keyboard as shown.
-
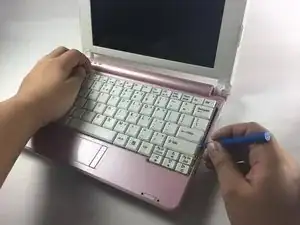
Use the Blue Plastic Opening Tool to separate the right side of the casing from the keyboard as shown.
-
After you have successfully moved the keyboard out from under the notch, pull the keyboard up.
-
-
-
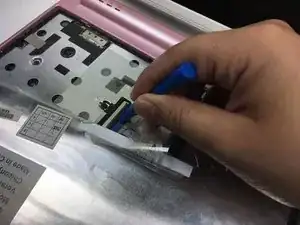
Using the Blue Plastic Opening Tool, pull up on the keyboard connector to completely detach the keyboard from the base of the laptop.
-
-
-
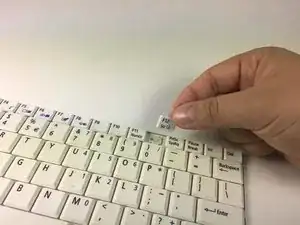
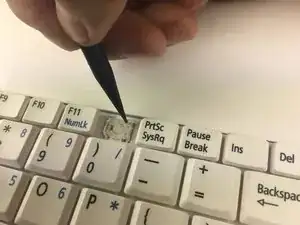
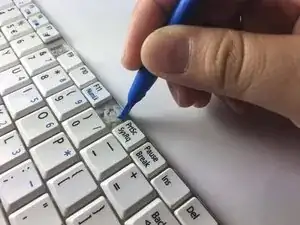
Using the Blue Plastic Opening Tool, remove the white plastic piece of your desired key.
-
Place the Blue Plastic Opening Tool on the right side of the individual key, then gently pull up to detach the clips underneath.
-
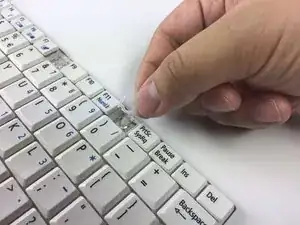
Remove the key from the hinges by sliding the key to the left.
-
-
-
Two ends need to be unhooked. They are located at the top and bottom of the key on the right side.
-
Using the Spudger, push the small, clear-colored end of the hinge out of the hook.
-
-
-
Using the Blue Plastic Opening Tool, push the plastic hinge to the left to detach the hinge after the ends on the right are detached.
-
Remove the plastic hinge by pulling the plastic hinge upwards.
-
To reassemble your device, follow these instructions in reverse order.
