Einleitung
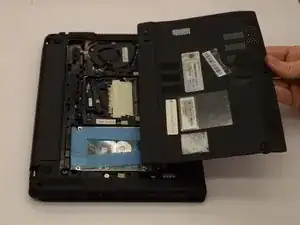
The removal of the back cover is necessary to be able to replace any other parts of the laptop. The removal is a two step process which involves removing the battery and one screw.
Ersatzteile
-
-
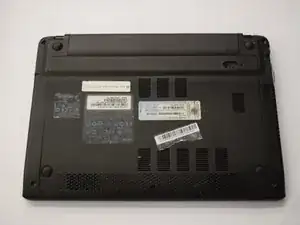
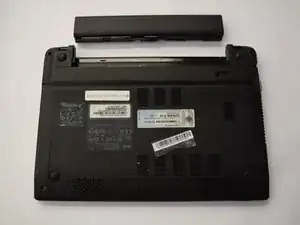
Orient the ACER Aspire One to where the bottom of the laptop is facing upward as shown in the picture.
-
-
-
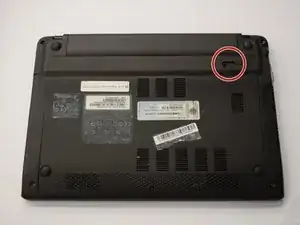
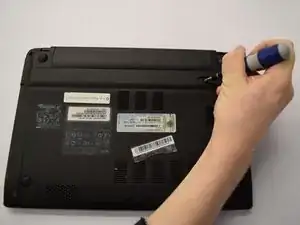
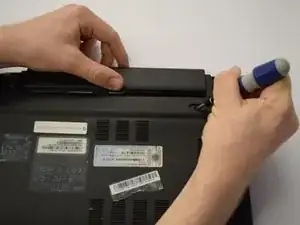
Insert a spudger and slide the tab to the right.
-
Hold the tab in the right-hand position and firmly push or pull the battery upward to remove it from the laptop.
-
-
-
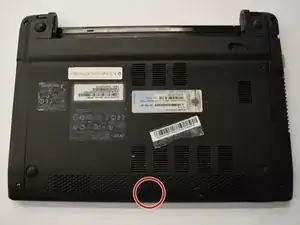
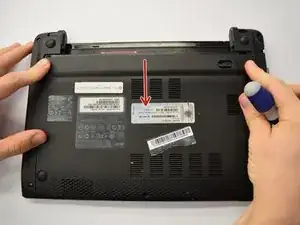
Locate the single 6 mm Phillips screw in the lower middle of the back plate.
-
Remove the screw using a Phillips #0 Screwdriver.
-
Abschluss
To reassemble your device, follow these instructions in reverse order.
