Einleitung
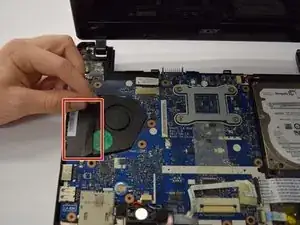
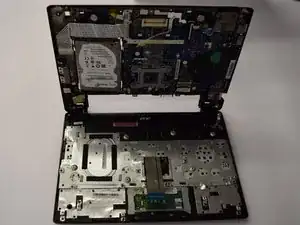
A broken or dusty fan can cause many problems with a laptop such as overheating, which can lead to it spontaneously shutting down or short battery life, or a loud grinding noise . Using this guide to replace or clean out dust from the fan offers an easy solution to these problems.
Werkzeuge
-
-
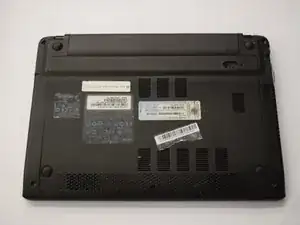
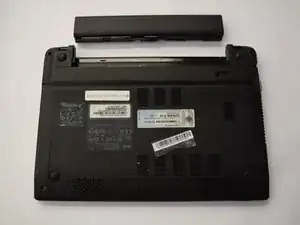
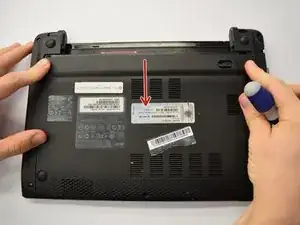
Orient the ACER Aspire One to where the bottom of the laptop is facing upward as shown in the picture.
-
-
-
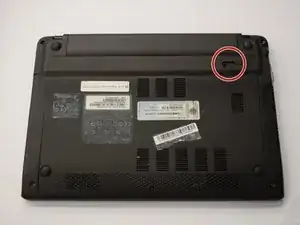
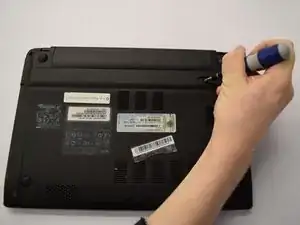
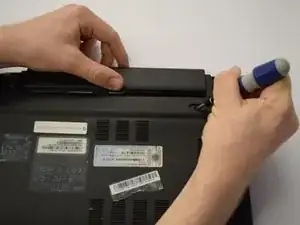
Insert a spudger and slide the tab to the right.
-
Hold the tab in the right-hand position and firmly push or pull the battery upward to remove it from the laptop.
-
-
-
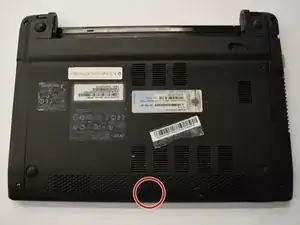
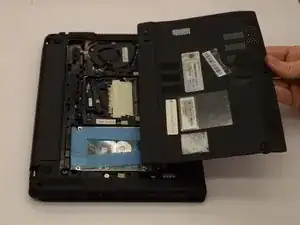
Locate the single 6 mm Phillips screw in the lower middle of the back plate.
-
Remove the screw using a Phillips #0 Screwdriver.
-
-
-
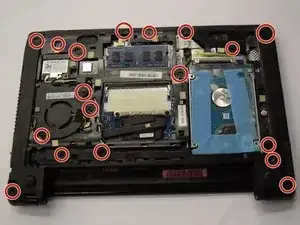
Locate the eighteen 6 mm Phillips screws that are required to remove the keyboard.
-
Remove all screws using a Phillips #0 screwdriver.
-
-
-
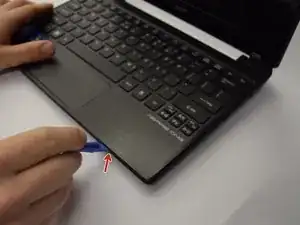
Orient the laptop to where the open screen is facing towards you.
-
Slide the spuldger into the indicated crease.
-
Firmly slide spudger all the way around the laptop to pry the keyboard away from the bottom of the laptop.
-
-
-
Remove the green dotted ribbon cable by sliding it straight out of the clamp holding it in using a plastic spudger.
-
Locate the two tabs that are holding the larger black ribbon cable in place.
-
Remove the larger black ribbon cable by pressing in the tabs and sliding it straight out of the clamp holding it in using a plastic spudger.
-
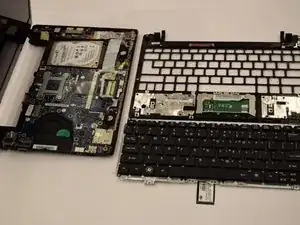
To remove the keyboard, lift the keyboard straight away from the rest of the laptop.
-
-
-
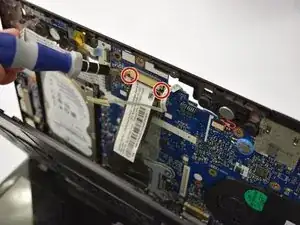
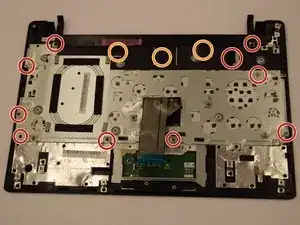
Locate the ten 6 mm Phillips screws that connect the keyboard to the rest of the laptop and remove them with a Phillips #0 Screwdriver.
-
Locate the four 6 mm Phillips screws hidden beneath black tape by lifting up the black tape and remove them with a Phillips #0 Screwdriver.
-
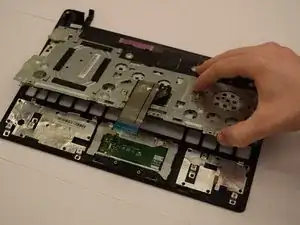
To remove keyboard from the rest of the laptop, pull keyboard straight up.
-
-
-
Orient the laptop to where the bottom of the laptop is facing upwards.
-
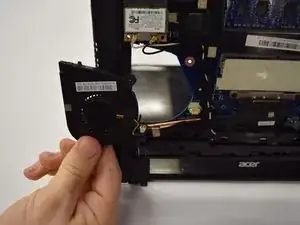
Locate the port that connects the fan to the laptop.
-
Use a nylon spudger to firmly pull out the cable from the port.
-
Pull the fan straight out to remove it from the rest of the laptop.
-
To reassemble your device, follow these instructions in reverse order.
Ein Kommentar
don’t know if i’ll tackle this. have had mine at least 5 yrs. heating up and shutting off now. maybe i’ll try it along with new heat sink paste and if that helps give it to my son, as i just bought a new Acer. thanks for the clear instructions.
