Einleitung
Werkzeuge
-
-
Power the laptop off.
-
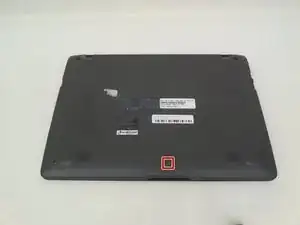
Flip the laptop over and position it so the opening faces you.
-
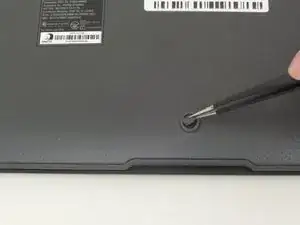
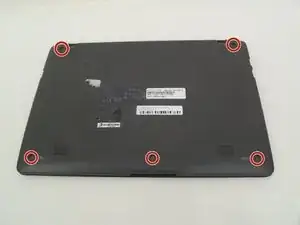
Remove the rubber foot located near the opening side of the device using tweezers.
-
-
-
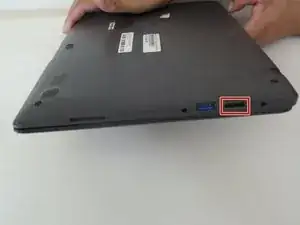
Identify the HDMI port located in the side of the laptop opposite to the power button.
-
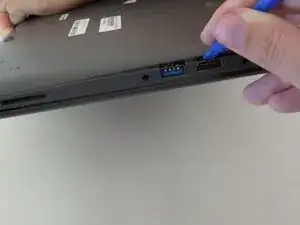
Insert the plastic opening tool into the divet of the back panel located above the HDMI port.
-
Pry along the laptop frame until the back panel comes loose.
-
-
-
Rotate the device so the opening faces you again.
-
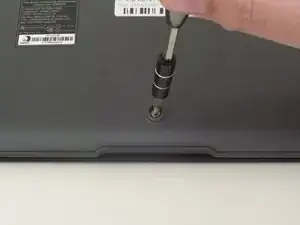
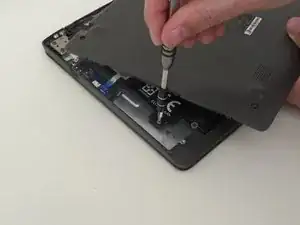
Hold the back panel away from the laptop and remove the 4-mm screw using the PH0 screwdriver.
-
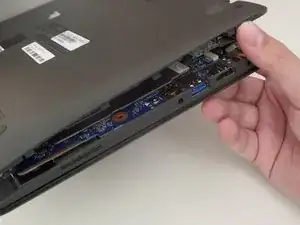
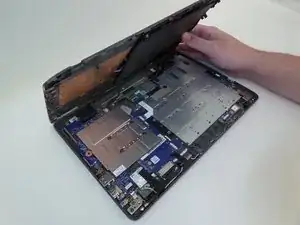
Lift the back panel gently.
-
-
-
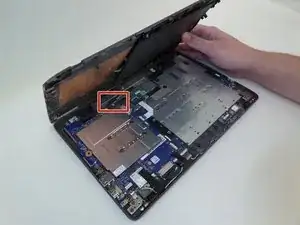
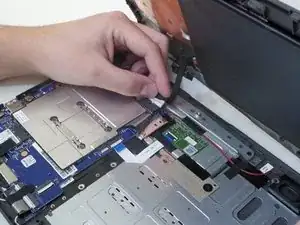
Unplug the cable that connects the battery to the motherboard.
-
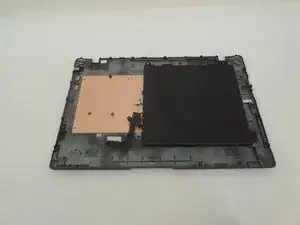
Detach the back panel, which still includes the battery.
-
To reassemble your device, follow these instructions in reverse order.
