Einleitung

  1. mKrRwd51L5IjTL4n
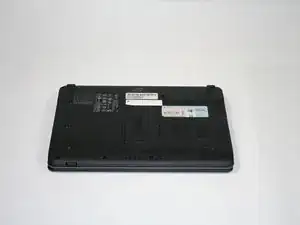
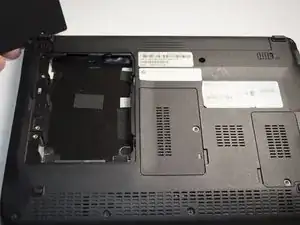
    • Place the computer face down on a flat surface.

  2. En3cbyS5xGLn6moM
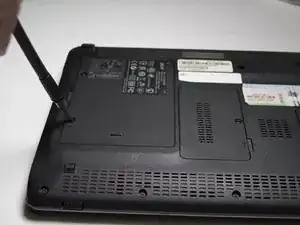
    • Unscrew the Largest panel using a Philips PH1 screwdriver in a counterclockwise motion.

  3. 5HQog6HMydKkIHJa
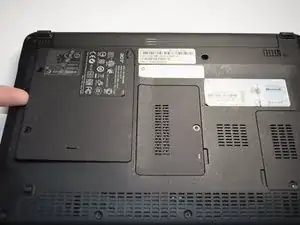
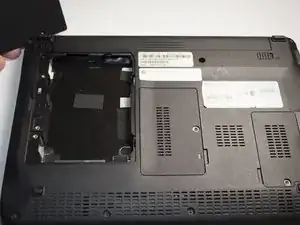
    • Lift the panel with your finger to reveal the hard drive.

    After Step 3, you must remove the single black screw to release the aluminum drive tray, then proceed with Step 4.

    bmcd -

  4. yOUXakXdS5ggtsiE
    • Slide the hard drive towards the battery until it is no longer connected.

  5. RBoskhmtbO1wnoJj
    • Lift the hard drive out of the compartment.

    After you remove the drive from the compartment, you must remove the four (4) screws on the side of the aluminum drive tray to remove the drive.

    bmcd -

Abschluss

To reassemble your device, follow these instructions in reverse order.

Donny McKay

Mitglied seit: 04/11/16

494 Reputation

Ein Kommentar

Easier than trying to reformat it on WindowsXP

waltcs1 -