Einleitung
The stick of RAM is either faulty or has come out of its slot and is causing issues with the computer. This guide will show you how to access the RAM on your computer.
Werkzeuge
-
-
Put on an anti-static wrist band, attaching the end onto a large piece of metal.
-
Make sure the laptop is unplugged from its charging cord.
-
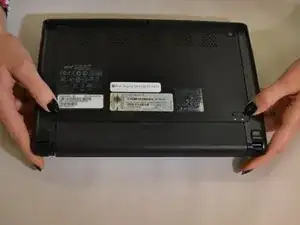
Flip the laptop over to view the underside.
-
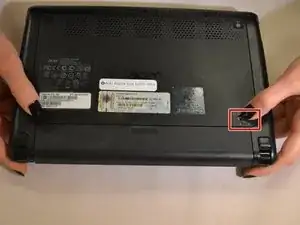
Slide the right battery lock/unlock button to unlock, sliding the tab outward to unlock.
-
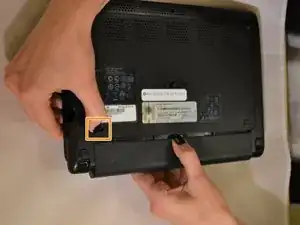
At the same time, slide the left tab outwards while placing thumb on the grip strips of the battery and pull the battery outwards until it slides out.
-
-
-
Flip the device over so bottom is exposed.
-
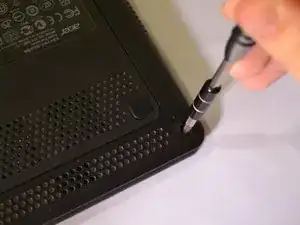
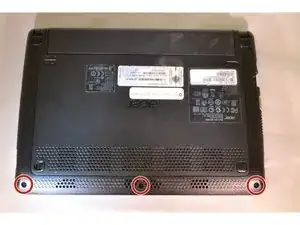
Remove the three screws at the front edge of the device using a Phillips #1 screwdriver.
-
-
-
Flip the device so it is front-side up.
-
Lift the screen open.
-
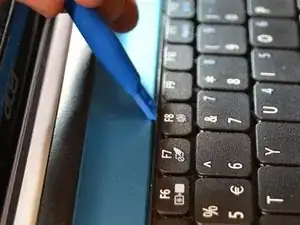
Insert the plastic opening tool above the F8 key.
-
Pull towards yourself in an upward motion to push the keyboard up.
-
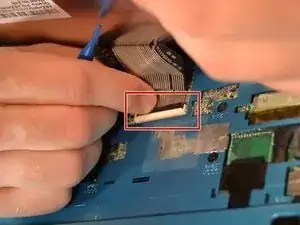
Disconnect the ribbon cables attached to bottom of keyboard.
-
-
-
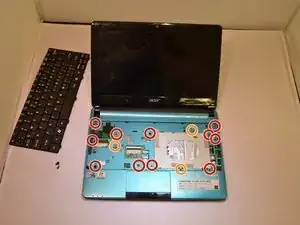
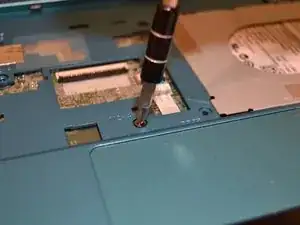
Unscrew the screws holding the blue casing to the motherboard using a Phillips #1 screwbit:
-
Eleven 2mm Phillips #1 screws
-
Three 2mm Phillips #1 screws
-
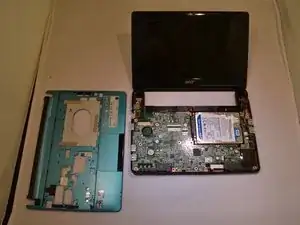
Use the plastic opening tool on the left side of device to pop off blue casing and slide along the edge to loosen the casing.
-
Separate the blue casing from the rest of the device.
-
-
-
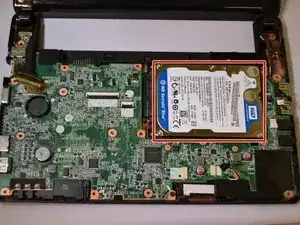
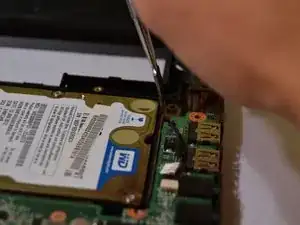
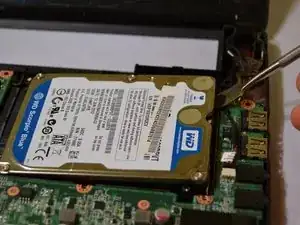
Use the plastic opening tool to lift the back right corner of the hard drive.
-
With the hard drive in your hand, use your thumb and index finger to grasp the power/data cable.
-
Pull the power/data cable away from the drive to unplug the cable.
-
-
-
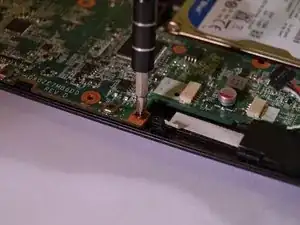
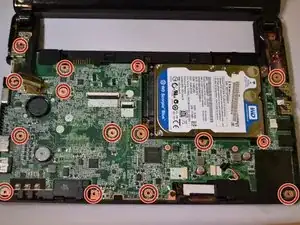
Remove the fourteen 2mm JIS #1 screws holding the motherboard to the device.
-
Carefully dissconnect any cables attached to the motherboard.
-
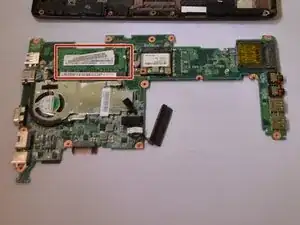
Remove the motherboard from the rest of the device.
-
-
-
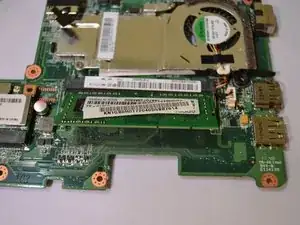
Push down and out on the prongs holding the stick of RAM in place.
-
Grip the stick of RAM between your thumb and index finger to pull it out.
-
To reassemble your device, follow these instructions in reverse order.
