Einleitung
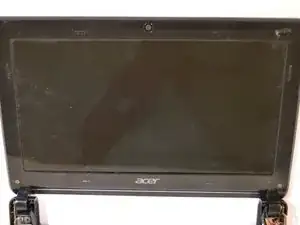
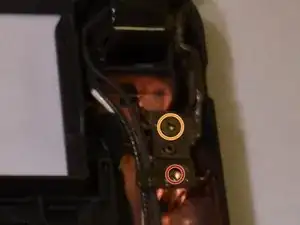
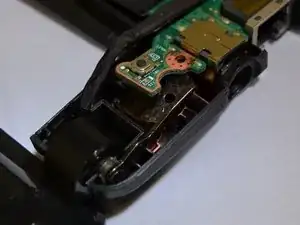
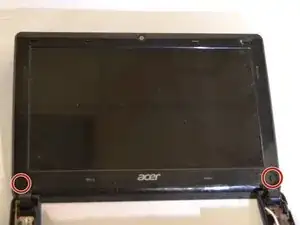
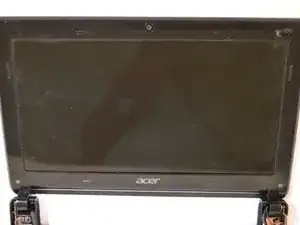
In this guide, we will be replacing a broken screen using the proper tools needed to take apart the screen. We will then guide you through each step to help the reader take apart the screen, discard the old screen, and place a new LCD screen into the computer.
Werkzeuge
-
-
Put on an anti-static wrist band, attaching the end onto a large piece of metal.
-
Make sure the laptop is unplugged from its charging cord.
-
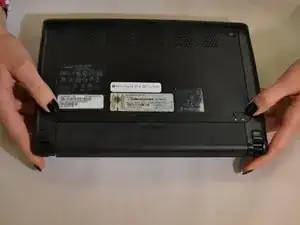
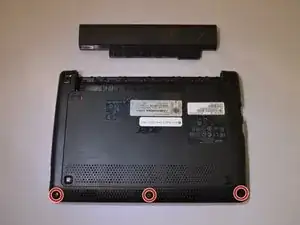
Flip the laptop over to view the underside.
-
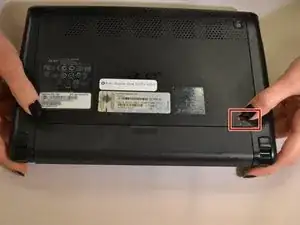
Slide the right battery lock/unlock button to unlock, sliding the tab outward to unlock.
-
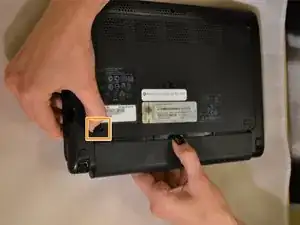
At the same time, slide the left tab outwards while placing a thumb on the grip strips of the battery and pull the battery outwards until it slides out.
-
-
-
Using a Phillips #00 screwdriver, unscrew the three 2mm screws on the bottom of the laptop,
-
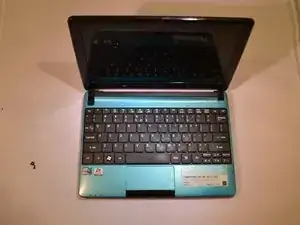
Flip the laptop over right-side up and open the laptop.
-
-
-
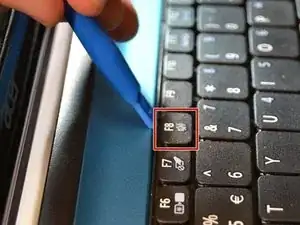
Carefully insert the blue plastic opening tool between the F8 key and the blue plastic covering.
-
After insertion, carefully slide the tool popping the keyboard out.
-
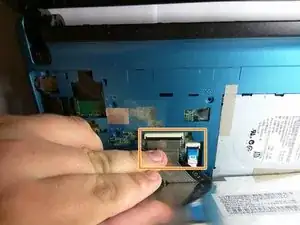
On the bottom of the keyboard, gently pull the ribbon cable out of the cable holder.
-
-
-
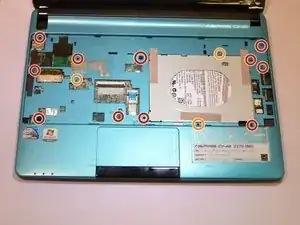
Using a Phillips #00 screwdriver, remove each screw:
-
Eleven 2mm Phillips #00 screws
-
Three 2mm Phillips #00 screws
-
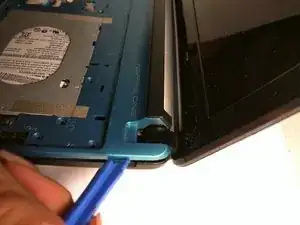
Using the opening tool, gently insert it into the crack of the blue casing and the bottom of the laptop.
-
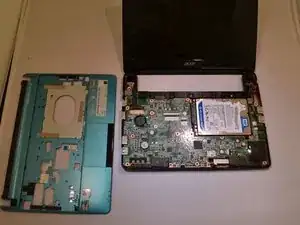
Begin separating the two until the blue casing is fully off.
-
-
-
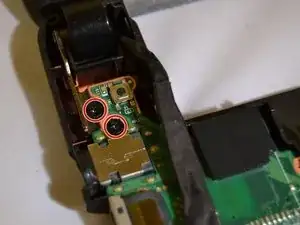
Using a Phillips #00 screwdriver, remove the screws on the hinges holding the laptop screen and the keyboard together:
-
Three 2mm Phillips #00 screws
-
One 2mm Phillips #00 screws
-
On the left hinge, gently lift up the motherboard and carefully pull out the hinge.
-
-
-
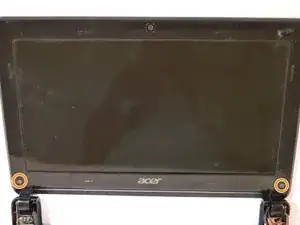
Using a #1.0 flat head screwdriver, remove the two black circle covers on bottom corners of the screen.
-
Remove the two 2mm Phillips #00 screws holding the screen casing to the screen.
-
-
-
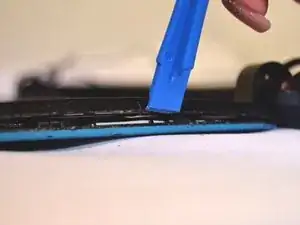
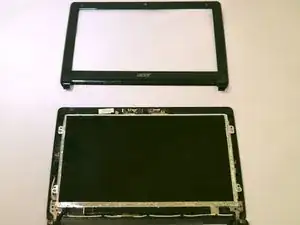
Insert the opening tool between the screen casing and the back casing.
-
Begin separation until the casing and the back is fully separated.
-
-
-
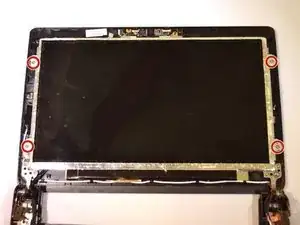
Remove the four 2mm Phillips #00 screws holding the screen in place.
-
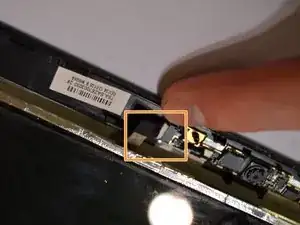
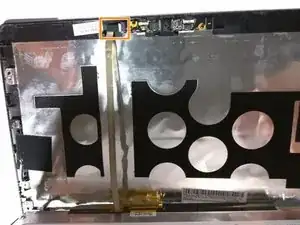
Gently lift the screen up while holding down the cable cord at the top of the screen.
-
Gently remove the cable cord from its outlet.
-
-
-
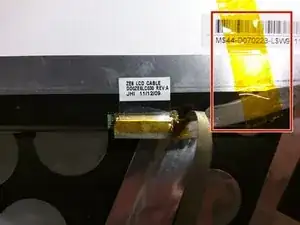
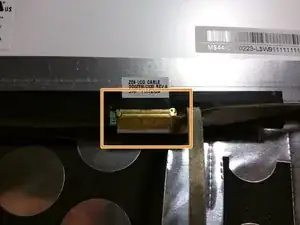
Remove the yellow sticky tape at the bottom of the screen.
-
Gently pull the cable at the bottom of the screen, detaching all wires and the tape from screen.
-
Remove the screen.
-
To reassemble your device, follow these instructions in reverse order.
