Einleitung

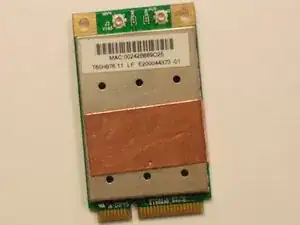
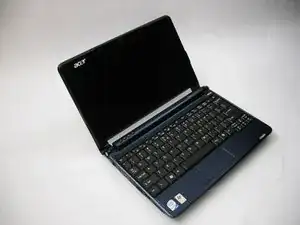
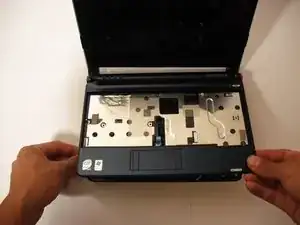
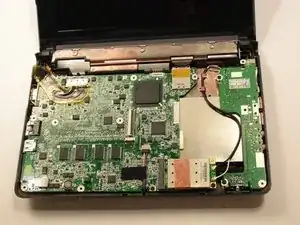
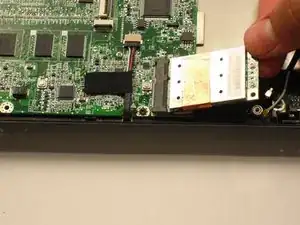
After removing the top case, it is easy to get to the internal wireless card.

  1. naTflZh26KaS3x6V
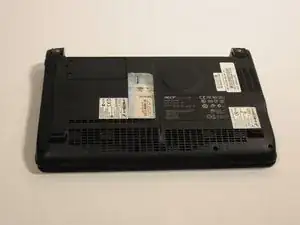
    • Turn the netbook upside down with the battery at the top, facing away from you.

  2. DRgkWXRoFNEbXDOk
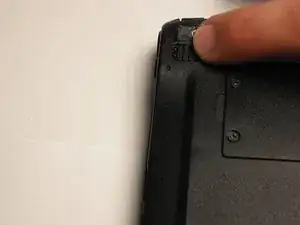
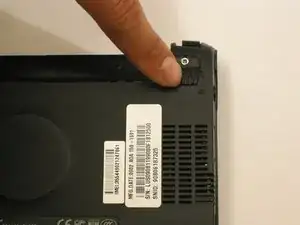
    • Unlock the battery by sliding the switch located near the left hinge to the left "unlocked" position.

  3. p4BamwCYLJNZLTYA
    • Slide the latch located on the opposite hinge from the lock while pushing the battery up.

  4. mypM1auXeDVeYjnu
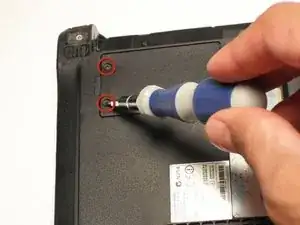
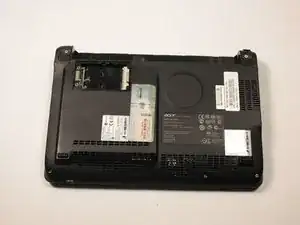
    • Gently loosen the two Phillips #0 screws in the small panel that covers the wireless card.

    • These screws are built into the panel and aren't meant to be completely removed.

  5. X4SIiJCBljpxjDr6
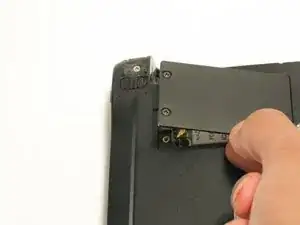
    • Lift up the panel and remove it from the case.

  6. BdmrwVTHpIP1CHO5
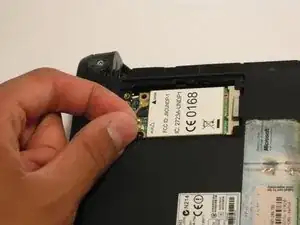
    • Disconnect the two antenna cables from the left side of the wireless card.

  7. tPSSajWYXVnh1fus
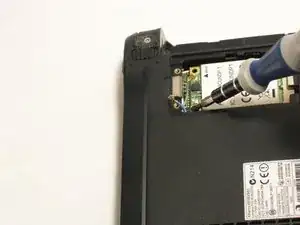
    • Remove the single 3.9 mm Phillips #1 screw from the bottom left of the wireless card.

  8. FHVmVmsqBrUb6WWr
    • Gently lift up the left side of the wireless card and slide the card out of its socket.

    mi lap NO tiene wireless card

    gustavo cordova -

  9. d5xwUQms1MVp42yn
    • Turn the netbook over and open the display so that the keyboard is facing you.

  10. QJ5RKJgepO116E6u
    QJ5RKJgepO116E6u
    XbSbdGRLKmBBxbtq
    QCsmKrWRNgagra5O
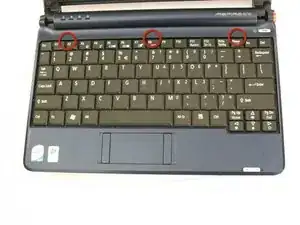
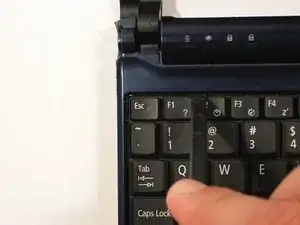
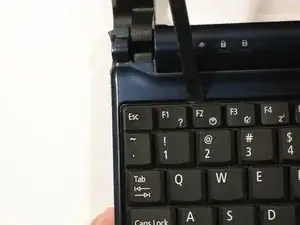
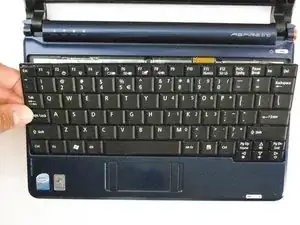
    • There are three tabs located on the top of the keyboard.

    • Start with the spudger pointing towards the display and pry up to push each tab off the keyboard.

    • As you move to the next tab, ensure the previous tab doesn't reset itself.

  11. aNpF5efmQ4OZxbBO
    aNpF5efmQ4OZxbBO
    4SWWULjBYZwT5j3b
    • Lift top of keyboard up. If it doesn't lift easily, there may be tabs on the sides - use the tool to ease them aside and/or shift the keyboard from side to side.

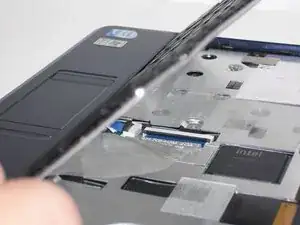
    • There is a short ribbon cable connecting the keyboard to the netbook.

  12. G1tECahc6AUGXUHx
    G1tECahc6AUGXUHx
    sOG5RGecLhOOADGN
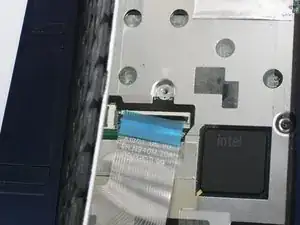
    • Disconnect the ribbon by lifting the black plastic hinge and removing the clear blue cable.

    my keyboard ribbon face damaged. how to repair?

    musa musa -

  13. D24TnM65sGihuGBf
    • Close the display and turn the ZG5 over so that the battery compartment faces away from you.

  14. GjhxNByu6vrepNHc
    GjhxNByu6vrepNHc
    rXGajilxKPWSrwXp
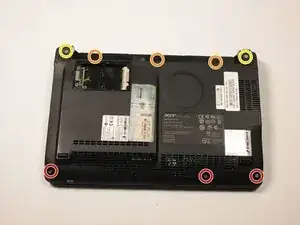
    • Remove three 5.8 mm Phillips #0 screws from the bottom of the case

    • Remove three 3.9 mm Phillips #1 screws from the battery compartment.

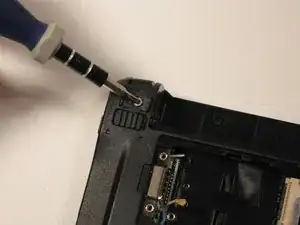
    • Remove two 5.8 mm Phillips #0 screws from underneath the feet near the hinges.

  15. ApcTINtvUyKsGPEe
    • Turn the netbook back over and open the display with the keyboard cavity facing you.

  16. A4pySPYGCUXIgxON
    A4pySPYGCUXIgxON
    yJY5LB2yDGTqSLaU
    KEWZQA1QQQAKrj1M
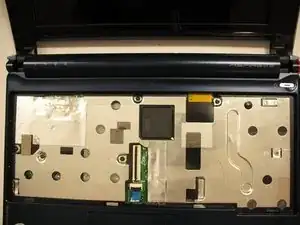
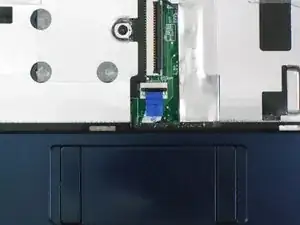
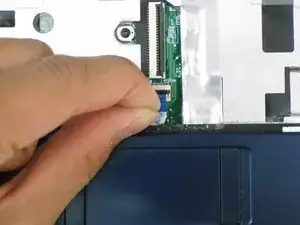
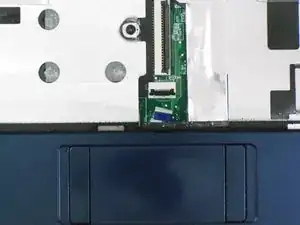
    • Flip up the retaining flap on the trackpad ribbon cable ZIF connector.

    • Using the blue tab, pull the trackpad ribbon cable from its socket on the motherboard.

  17. o1Y5eQeDY6QMIMjp
    o1Y5eQeDY6QMIMjp
    tOxkXVDBWIZQkaKC
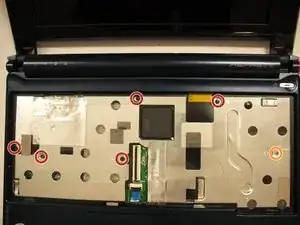
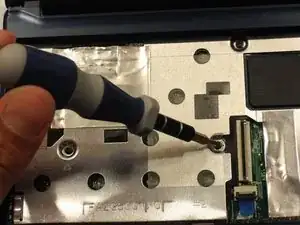
    • Remove the five black 4.7 mm Phillips #0 screws from the metal casing.

    • Remove the single silver 4.3 mm Phillips #00 screw from the right side of the metal casing.

  18. JlC1mokVJKXSE46A
    JlC1mokVJKXSE46A
    1W65s1XhyAZHKp2u
    • Starting at the red rings along the hinge, insert a spudger or plastic opening tool into the seam between the two halves of the case.

    • Slide the spudger toward the front of the device, releasing the small clips that hold down the top case.

    • Gently lift off the top case.

  19. fZXrhDHDkbaJeoAQ
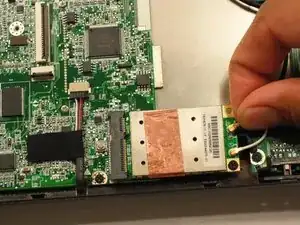
    • Disconnect the two antenna cables from the right side of the wireless card.

  20. DocloY6JdjAUHqHg
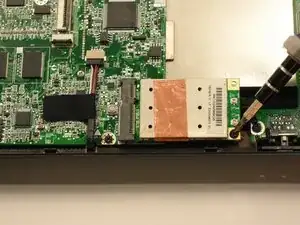
    • Remove the single 3.9 mm Phillips #1 screw from the wireless card.

  21. NWsBUSWHRhxXvAPL
    • Gently pull the wireless card to the right and slide it out of its socket.

Abschluss

To reassemble your device, follow these instructions in reverse order.

Doug Gallatin

Mitglied seit: 05/10/10

6337 Reputation

Ein Kommentar

Este modelo tiene dos tarjeta de red? Es que adentro tiene una y esa donde se quita la tapita es otra?

marvoly -