Einleitung

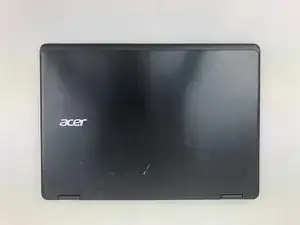
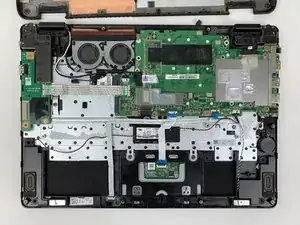
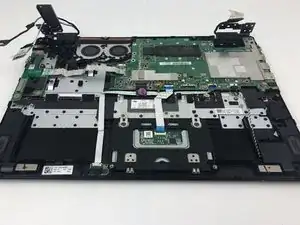
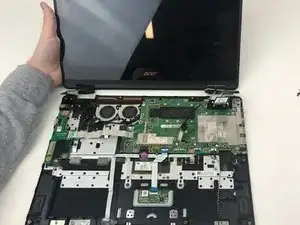
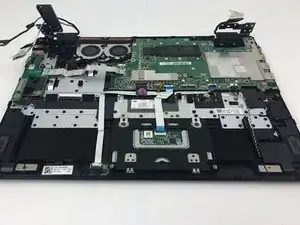
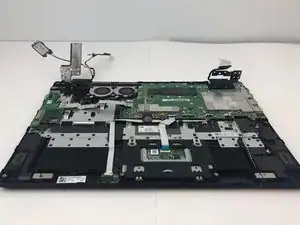
If your Acer Aspire R R5-471T-51UN display assembly is cracked or unresponsive, you will need to follow these steps on how to replace it.

Before using this guide, inspect that the replacement display assembly is void of cracks or defects. Then proceed through the given instructions.

Step 8 requires you to disconnect the coaxial cables on the Wi-Fi card by pinching the ends of the cables and slowly pulling them out. Proceed with caution on this step.

Before beginning, make sure to power off your PC completely and disconnect from any external power source.

  1. TOQ3bsXGCUAZPhlX
    TOQ3bsXGCUAZPhlX
    KTP2GWlCaoCSEnBL
    4nWhBYBLfXQXwgen
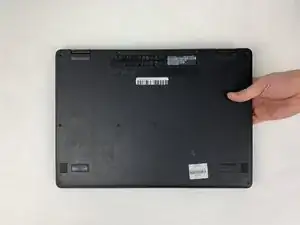
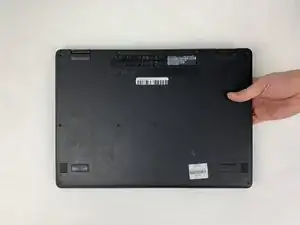
    • Flip your laptop over so the bottom is facing you.

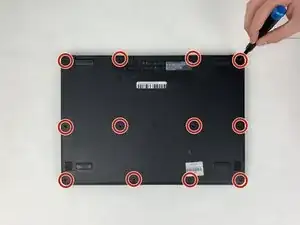
    • Remove the twelve 5 mm screws with a Phillips #0 screwdriver.

  2. sUxhEbCWaIAybeiT
    sUxhEbCWaIAybeiT
    HRN3UMkHEpPhgUPT
    6UK1cUdvVtyKGt4e
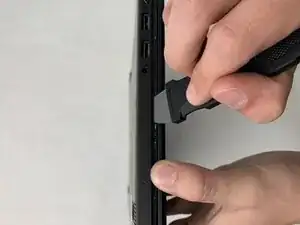
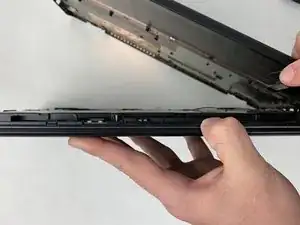
    • Insert the Jimmy between the back cover of the laptop and the base of the laptop and then slowly use the Jimmy to pry off the back cover of the laptop.

  3. NNjjVKnQCpFwITlw
    NNjjVKnQCpFwITlw
    UbmB3YCDA25WHNUQ
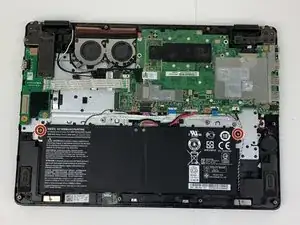
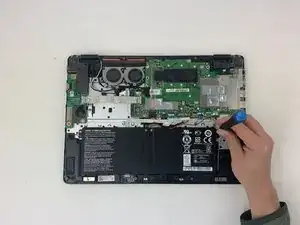
    • Use your Phillips #0 screwdriver to remove the two 3mm screws on the battery.

    Note that iFixit prefers first-person shots to these kinds of side shots.

    Alex Watkins -

  4. 5nQkQ4FvYeY3MgSy
    5nQkQ4FvYeY3MgSy
    oH2qVT3adxvWd4An
    FLoyWOWEFBsvMdkA
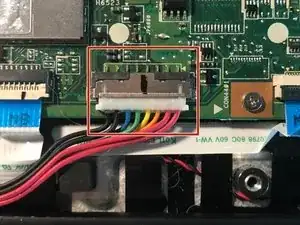
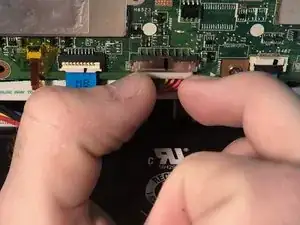
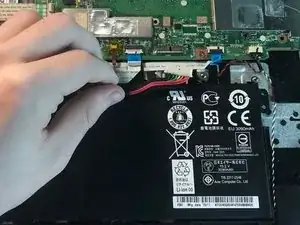
    • Gently and cautiously pinch the white ends of the battery connector cable and slowly pull it from the motherboard.

    Do you have a further out shot you can markup to show where on the device this is?

    Alex Watkins -

    I might also add that the connector cable is connecting the battery to the motherboard.

    Alex Watkins -

  5. mGa6hZEl5DxuUSPV
    mGa6hZEl5DxuUSPV
    vkwiWG2aQAJexHji
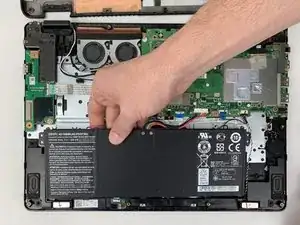
    • Gently lift the battery out of the laptop.

    • Be cautious with the lithium ion battery as you remove it.

    How can I remove the battery? Note that remove is a nonspecific verb, so either add description or use a stronger verb if there are multiple ways to do something.

    Alex Watkins -

    There is actually no need to remove the battery. I just did it , going from 256 GB sata M.2  to 1TB  without removing the battery.

    hector bedorsky -

  6. SGLS6ALI1qEEfvGw
    SGLS6ALI1qEEfvGw
    NOnDltgmpkMA5LSY
    pncUSrcVlUjkBRVc
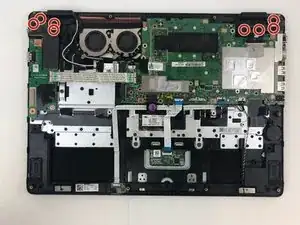
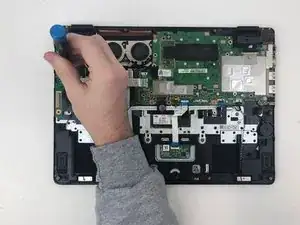
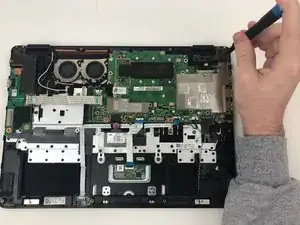
    • Using the Phillips #0 screwdriver, unscrew the eight 5mm screws securing the screen brackets in place.

  7. T4Wc5tp31mlFmYpE
    T4Wc5tp31mlFmYpE
    mPBQwMjCtdohgdHB
    e26uyWXhxMSkBIY4
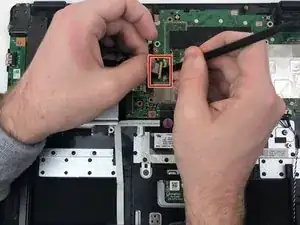
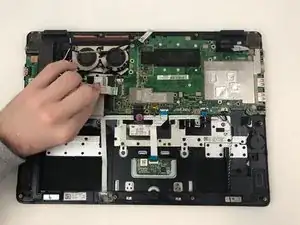
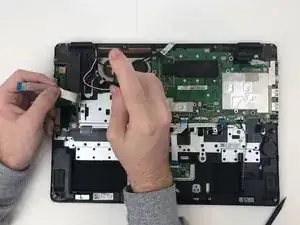
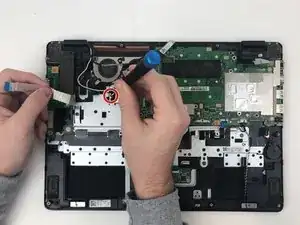
    • Using the spudger, push up the locking tab of the ZIF interconnect cable so that the ribbon cable pops out.

    How should I use the spudger? I would replace the last two shots with shots that are further zoomed in like the first shot.

    Alex Watkins -

  8. denurbFKQDrNeoZ5
    denurbFKQDrNeoZ5
    TZFbfJh1ufkcLBKL
    • Disconnect the coaxial cables on the Wi-Fi card by pinching the ends of the cables and slowly pulling them out.

    • Using the Phillips #0 screwdriver, unscrew the 3mm screw holding the Wi-Fi card in place and take out the card.

    • Pry up the display brackets so they are clear of the motherboard and case.

    These pictures are a bit too far out to see, and it’s not clear about how to disconnect the cable.

    Alex Watkins -

  9. iK1xoiu5PWBR4wMT
    iK1xoiu5PWBR4wMT
    DRC5dQw2KPiisoAc
    KeEfmGSAeDTNFtBf
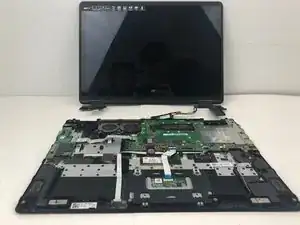
    • Gently pull off the display assembly so that it comes apart from the rest of the laptop.

Abschluss

To reassemble your device, follow these instructions in reverse order.
John Sandor

Mitglied seit: 26/01/20

688 Reputation

0 Kommentare