Einleitung

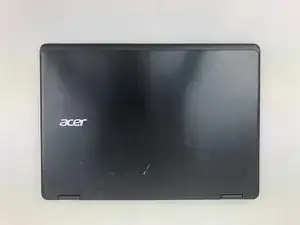
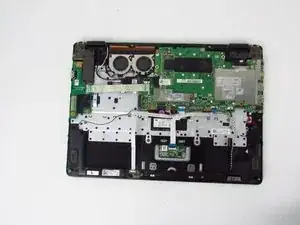
If you ever need to replace the SSD in your Acer Aspire R R5-471T-51UN, then this guide is for you. Here, you will be using tools like the Jimmy and the Phillips #0 screwdriver to disconnect certain components. Step 5 asks you to be cautious when removing the battery. Before you begin, power off the device and disconnect from any external connections.

  1. TOQ3bsXGCUAZPhlX
    TOQ3bsXGCUAZPhlX
    KTP2GWlCaoCSEnBL
    4nWhBYBLfXQXwgen
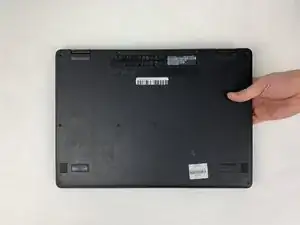
    • Flip your laptop over so the bottom is facing you.

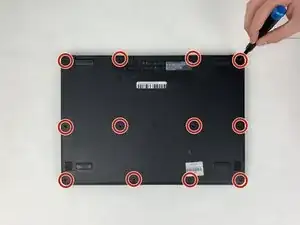
    • Remove the twelve 5 mm screws with a Phillips #0 screwdriver.

  2. sUxhEbCWaIAybeiT
    sUxhEbCWaIAybeiT
    HRN3UMkHEpPhgUPT
    6UK1cUdvVtyKGt4e
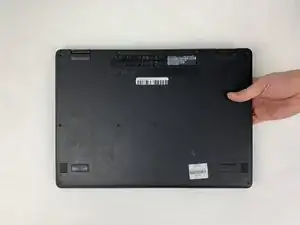
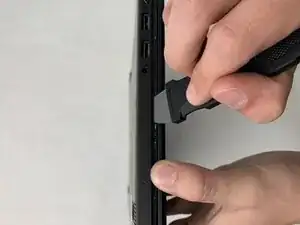
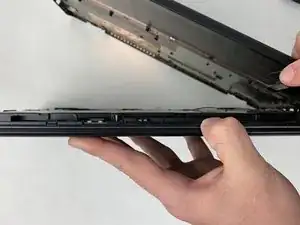
    • Insert the Jimmy between the back cover of the laptop and the base of the laptop and then slowly use the Jimmy to pry off the back cover of the laptop.

  3. NNjjVKnQCpFwITlw
    NNjjVKnQCpFwITlw
    UbmB3YCDA25WHNUQ
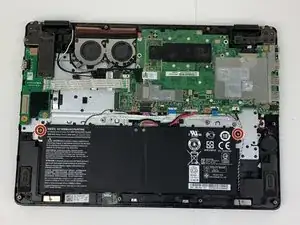
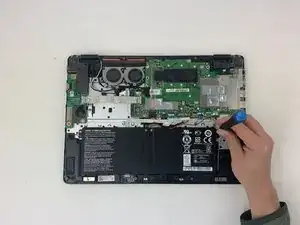
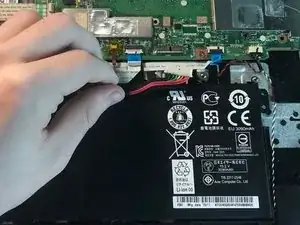
    • Use your Phillips #0 screwdriver to remove the two 3mm screws on the battery.

    Note that iFixit prefers first-person shots to these kinds of side shots.

    Alex Watkins -

  4. 5nQkQ4FvYeY3MgSy
    5nQkQ4FvYeY3MgSy
    oH2qVT3adxvWd4An
    FLoyWOWEFBsvMdkA
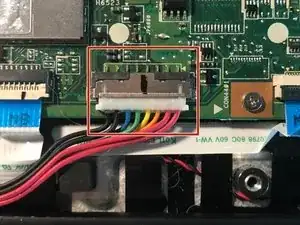
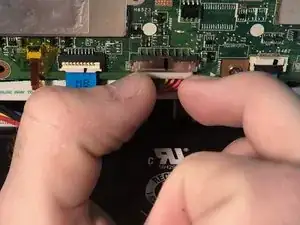
    • Gently and cautiously pinch the white ends of the battery connector cable and slowly pull it from the motherboard.

    Do you have a further out shot you can markup to show where on the device this is?

    Alex Watkins -

    I might also add that the connector cable is connecting the battery to the motherboard.

    Alex Watkins -

  5. mGa6hZEl5DxuUSPV
    mGa6hZEl5DxuUSPV
    vkwiWG2aQAJexHji
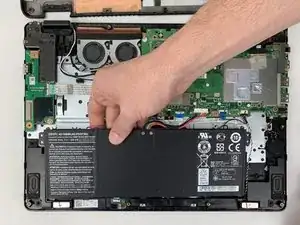
    • Gently lift the battery out of the laptop.

    • Be cautious with the lithium ion battery as you remove it.

    How can I remove the battery? Note that remove is a nonspecific verb, so either add description or use a stronger verb if there are multiple ways to do something.

    Alex Watkins -

    There is actually no need to remove the battery. I just did it , going from 256 GB sata M.2  to 1TB  without removing the battery.

    hector bedorsky -

  6. tODfucU6o44IA2or
    tODfucU6o44IA2or
    iXpfGEg6nwdb1JLF
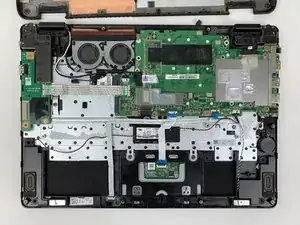
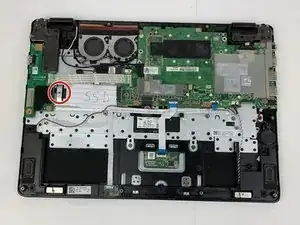
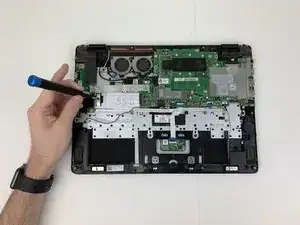
    • Using the Phillips #0 screwdriver, unscrew the single 5mm screw holding the SSD in place.

    What is the difference between the first and third picture?

    Alex Watkins -

  7. grdMWc42UY1aeowQ
    grdMWc42UY1aeowQ
    BlkSLKFar25oADjT
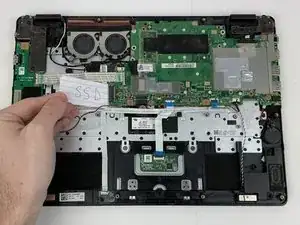
    • Gently pull the SSD to the left and out of the assembly.

    Replace blurry shots. What is the tool being used for in the first shot? How should I remove the SSD?

    Alex Watkins -

Abschluss

To reassemble your device, follow these instructions in reverse order.
John Sandor

Mitglied seit: 26/01/20

688 Reputation

0 Kommentare