Einleitung
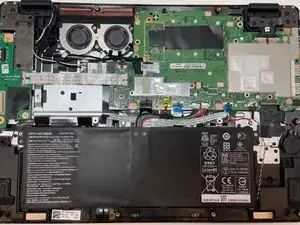
This is a motherboard replacement guide for the Acer Aspire R5-471T-52EE. The following guide gives step by step instructions on how to remove and replace your motherboard. The mother board is a vital piece of technology in this device that allows the CPU, RAM, and a sum of other hardware components to communicate with each other. Motherboard related issues include: system not displaying anything; an error code appears; one or more beeps occur; the system locks; the system reboots; a Windows BSOD (blue screen of death) appears; or one or more of the ports, expansion slots, or memory modules fails. If any of these problems are frequently occurring, you may want to consider using this guide to replace your motherboard. Keep in mind that the motherboard is the most vital piece of technology in any laptop, so it is clinical that you handle every step with care.
Werkzeuge
-
-
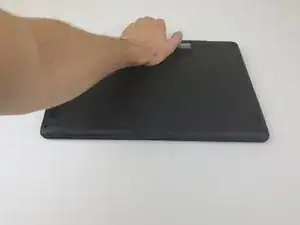
With the hinges of the laptop pointing away from you, gently begin to pull on the portion between the two hinges towards yourself until you feel the cover pop off.
-
Remove the back cover from the device.
-
-
-
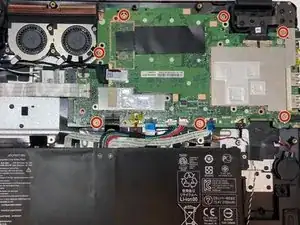
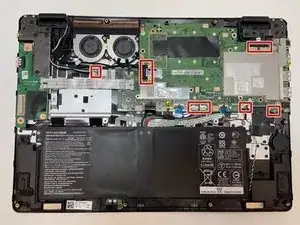
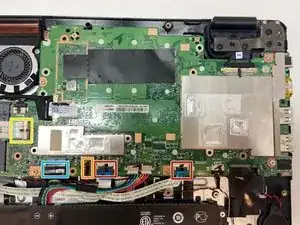
Flip up the small black portion the connectors are connected to and disconnect them from the motherboard.
-
Grab the yellow piece of tape to easily remove the connection from the motherboard with nothing more than some gentle force.
-
Remove the large black ribbon wire by gently pulling on the white tab towards yourself.
-
Remove the large white ribbon wire by pulling up on the small black tab.
-
To reassemble your device, follow these instructions in reverse order.
