Einleitung

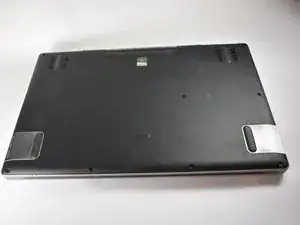
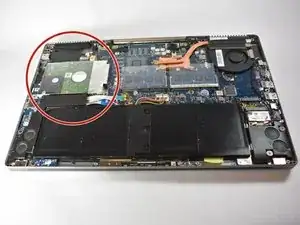
The Hard Drive is internal, and requires some disassembly to replace. Make sure you have a way to keep all of the screws you'll be taking out sorted, and be careful with the internal parts of the computer -- they can be fragile!

  1. TsYVr6CprCJRIrlZ
    • Turn off the laptop and disconnect the power adapter before attempting this guide. Failure to do so can result in a shock hazard.

  2. g1O3H6hiKjum51MG
    g1O3H6hiKjum51MG
    yyduUSxQeoVbYD3P
    quY5ZRiZ1TdxMZTA
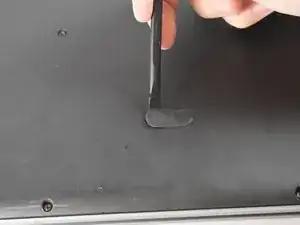
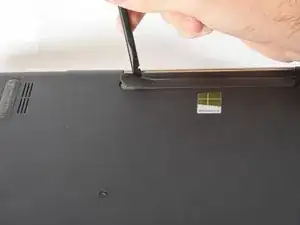
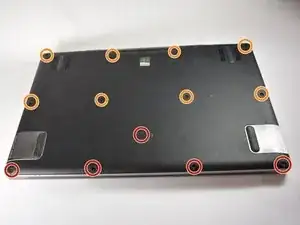
    • Remove the top and middle grips that conceal 3 additional screws.

    • Remove the 5 6mm T9 screws.

    • Remove the 8 10mm T9 screws.

  3. pRMQQn6KaCNDewWd
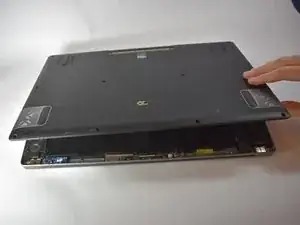
    • Remove the back cover.

  4. MkChQeNPkABXXtB1
    MkChQeNPkABXXtB1
    SGVVvqcABPprhTjH
    eCLLFTKxduPJCUhv
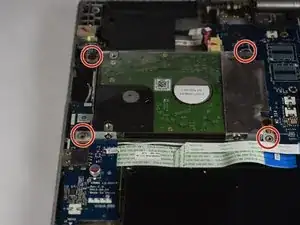
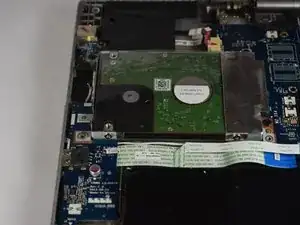
    • Unscrew the four 4mm PH0 screws holding the hard drive in place.

  5. TIuTLARAyAGUlcAW
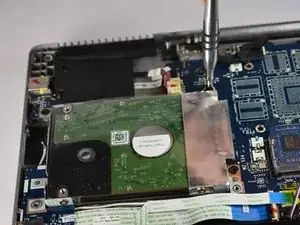
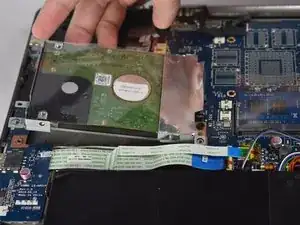
    • Tilt the hard drive up and pull it away and out of its base.

    • Do not use too much force on the hard drive or tilt it so much that the base is broken.

Abschluss

To reassemble your device, follow these instructions in reverse order.
Daniel Dempsey

Mitglied seit: 10/09/18

177 Reputation

0 Kommentare