Einleitung
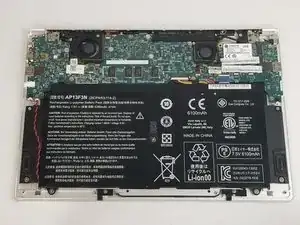
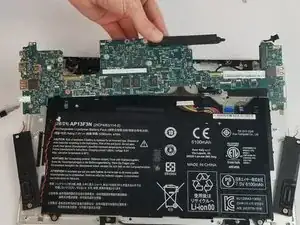
In this guide you will be shown how to replace the motherboard in the Acer Aspire. The motherboard is the most essential part of a computer and is paramount to the functions of your device. To determine whether the motherboard needs to be replaced, please refer to the troubleshooting page of this device.
Werkzeuge
-
-
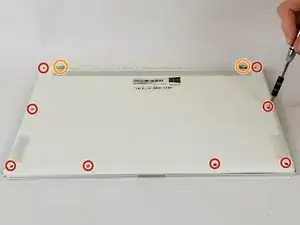
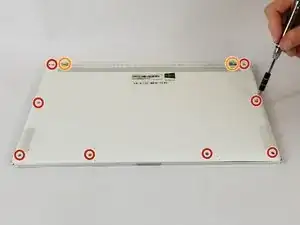
Remove all marked 3mm screws from the back panel of the device using a T6 Torx screwdriver.
-
Remove the orange marked screws using a T6 Torx screwdriver. Note that these screws are 4mm in length.
-
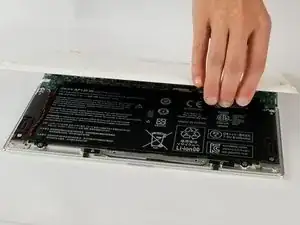
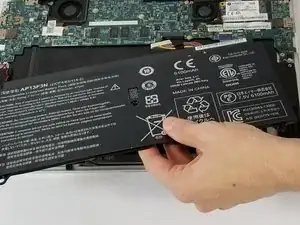
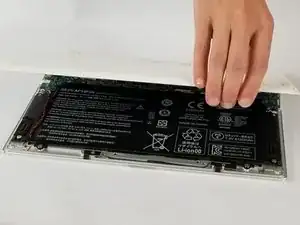
After all marked screws have been removed, lift up back panel to expose internal parts.
-
-
-
Remove the back panel by unscrewing all marked 3mm screws with a T6 Torx screwdriver.
-
Remove these screws with a T6 Torx screwdriver, but note that these feet screws are 4mm in length.
-
-
-
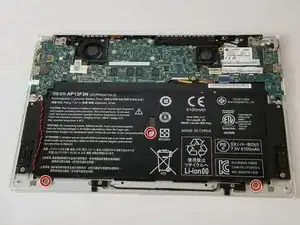
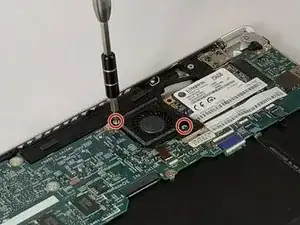
Unscrew the marked 2mm screws with a Phillips #01 screwdriver.
-
Remove the fan by disconnecting the marked tabs.
-
-
-
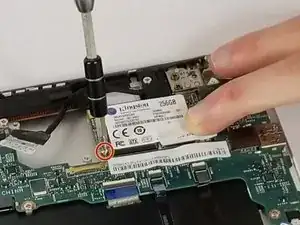
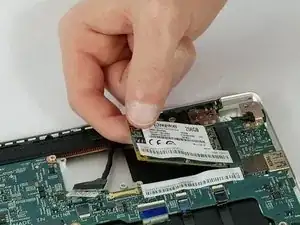
Remove all marked 2mm screws using a Phillips #1 screwdriver.
-
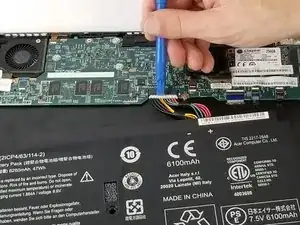
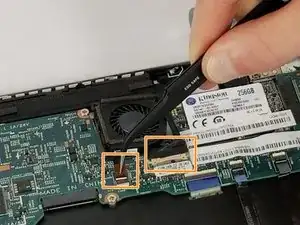
Disconnect the orange marked connectors.
-
To reassemble your device, follow these instructions in reverse order.
Ein Kommentar
Hi Nicholas.
I was wondering if you really changed yours or just opened it. I need to change now mine and I’m not sure that the new one will be able to read my SSD which is Raid 0 without losing my data… Acer is famous for its stupidity of having a 1 drive Raid 0,
Thanks
Mr Man -
