Einleitung
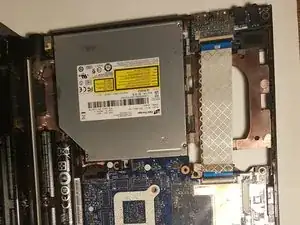
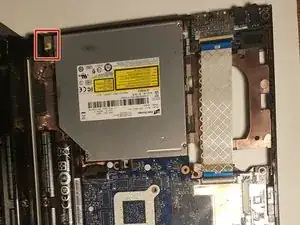
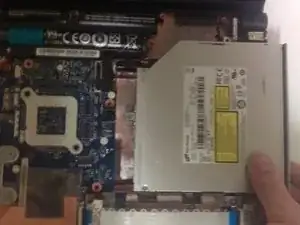
In order to complete this replacement guide, you must first remove the back panel, front panel, and keyboard in order to gain access to the power plug itself. Be sure that the device is powered off and in a safe working area before starting any disassembly.
Werkzeuge
-
-
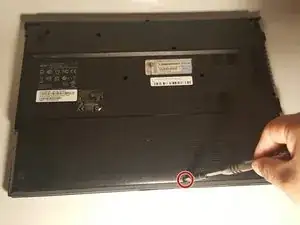
Remove the single screw with a Phillips #0 screwdriver.
-
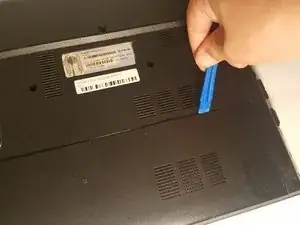
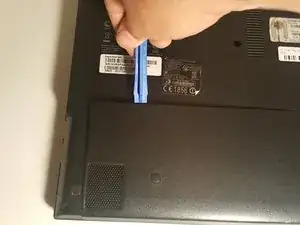
Use a plastic opening tool on the upper part of the panel to remove it and access the RAM.
-
-
-
Remove the eleven screws that hold that back panel to the laptop using a J0 Phillips screwdriver bit.
-
-
-
Place the laptop in the upright position, the lower front touchpad panel should be easily detatched at this point.
-
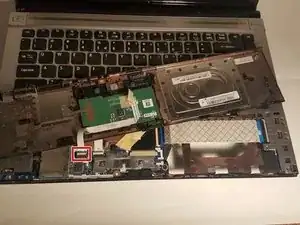
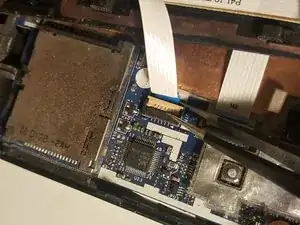
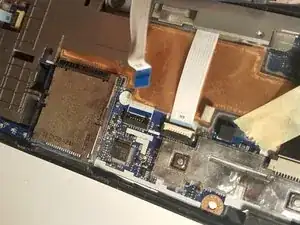
Remove the lower front touchpad panel by using an angled tweezers to disconnect the only wired tape connected to the motherboard.
-
-
-
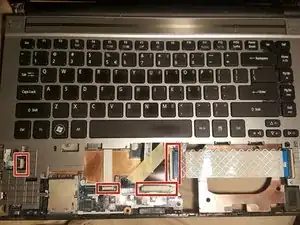
Next, disconnect the 4 wired tapes of the keyboard from the motherboard just like we did with the lower front touchpad panel.
-
-
-
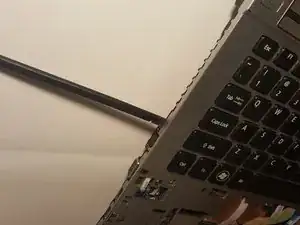
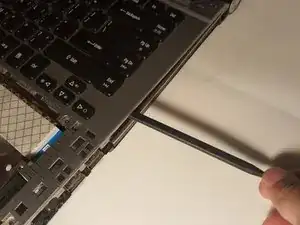
Finally, using an opening tool, gently pry along the edge of the keyboard to separate it from the laptop.
-
-
-
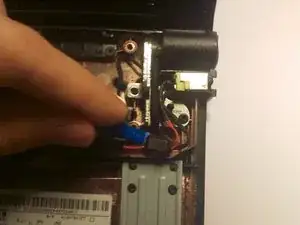
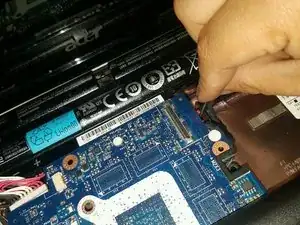
The rubber block is attached with a mild adhesive. Use the spudger tool to loosen it
-
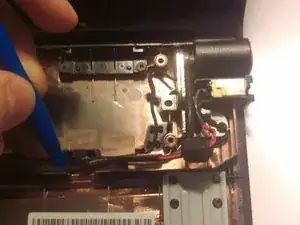
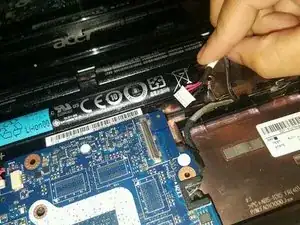
Once the block is loose, use the spudger to unhook the wires from their guides.
-
-
-
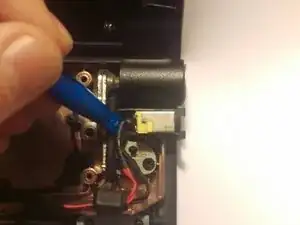
The body of the plug is glued to the computer. Use the spudger tool to wiggle the plug until it comes loose.
-
-
-
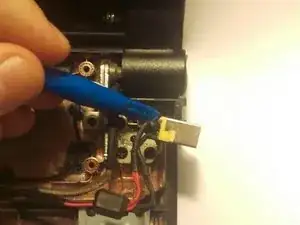
Use gentle pressure to pull the plug from its socket on the motherboard. Once the plug is loose, you can pull the entire plug assembly from the computer.
-
To reassemble your device, follow these instructions in reverse order.
