Einleitung
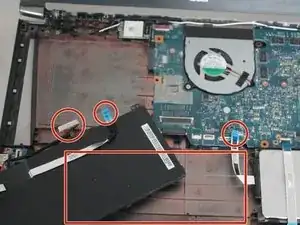
Battery power degrades over time, which reduces the portability and function of laptops.
Use this guide to replace the battery in yourAcer Aspire V Nitro VN7-572G laptop.
It is very important to take appropriate precautions if the battery is swollen. This has occurred if the top of the battery is curving, rather than flat, and can be seen as a misshapen keyboard.
Be sure to power down your laptop and unplug from the external charger prior to starting this repair.
Werkzeuge
Ersatzteile
-
-
Flip the laptop over so the bottom is exposed.
-
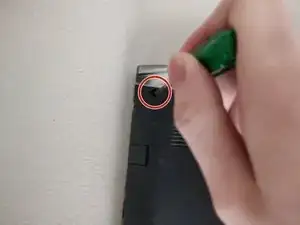
Use the Phillips #00 screwdriver to remove the two 8 mm screws at the top-left and top-right of the laptop.
-
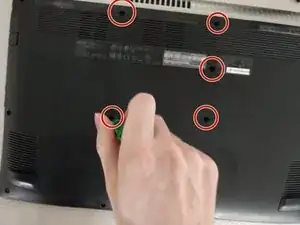
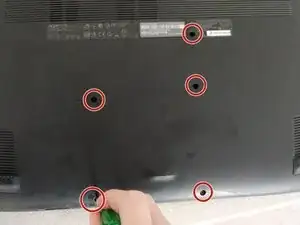
Remove the remaining 7 mm screws from the bottom of the laptop using the Phillips #00 screwdriver.
-
-
-
Open the laptop and press the power button to drain any residual power.
-
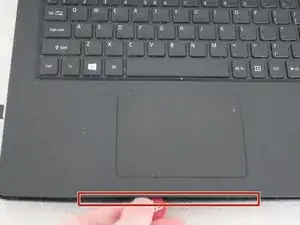
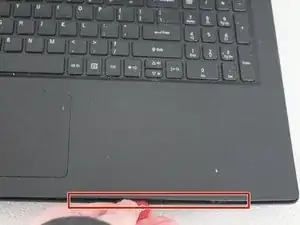
Use a pick or spudger and insert it between the base and the palm rest. Slide it around the edge to undo the clips holding them together.
-
-
-
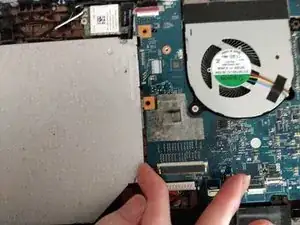
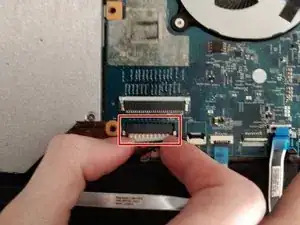
Disconnect the keyboard flex cable by pushing each side of the locking tab to release the connector from the board.
-
Release the keyboard backlight connector from the board by levering up the tab with a finger.
-
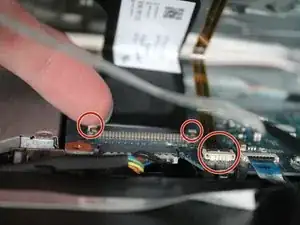
Release the touchpad ZIF connector.
-
-
-
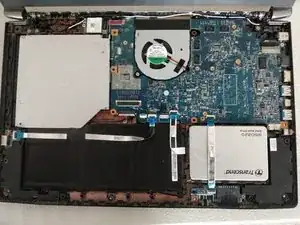
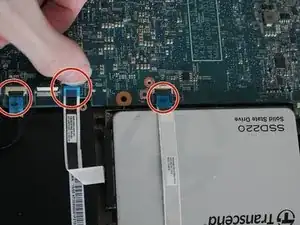
Release the SATA hard drive and USB ZIF connectors from the board.
-
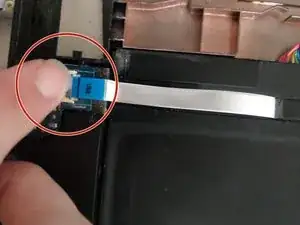
Release the USB ZIF connector from the breakout board.
-
-
-
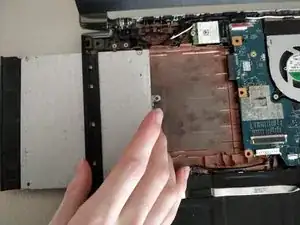
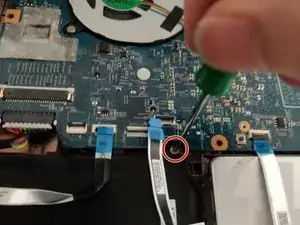
Use the Phillips #00 to remove the screw holding the battery in place.
-
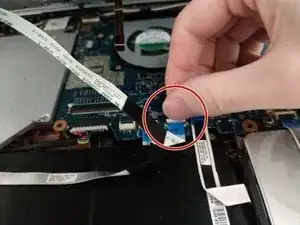
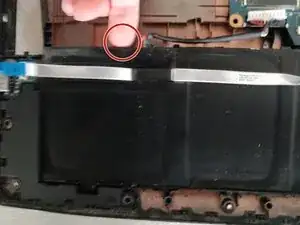
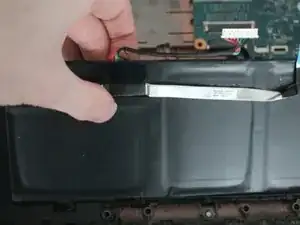
Disconnect the battery connector from the board. Grasp it between two fingers and slowly pull it loose.
-
-
-
Install new battery in the same spot as the old one.
-
Reconnect all cables and tighten all hardware back up.
-
Once everything is reconnected and back together try powering the laptop on.
-
To reassemble your device, follow these instructions in reverse order.
Dispose of old Lithium-ion batteries appropriately.
- Note that the keyboard connector can be difficult to align and reconnect properly. It should be easier with good visibility. It is recommended to insert the connector flat, parallel to the motherboard, rather than in an angled position between the user’s fingers.
If the user wishes to test the keyboard before closing up the device completely, they can connect the laptop to the AC adaptor, which will allow it to power on. Consider using caution.
