Einleitung
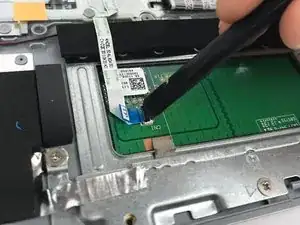
The touchpad can become unresponsive or just break all together. This guide will show how to safely remove and replace the touchpad in your Acer Aspire laptop.
Werkzeuge
-
-
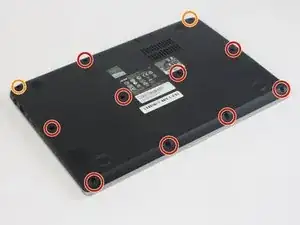
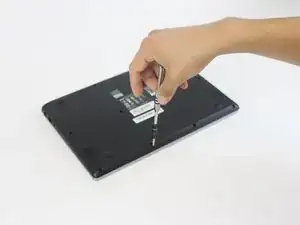
Remove the nine 4mm screws with a PH0 screwdriver.
-
Remove the two 6mm screws with a PH0 screwdriver.
-
-
-
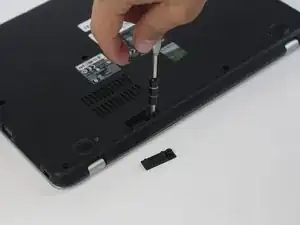
Remove the black rubber tab on the back of the computer
-
Remove the 4mm screw hidden underneath the black tab with a PH0 screwdriver.
-
-
-
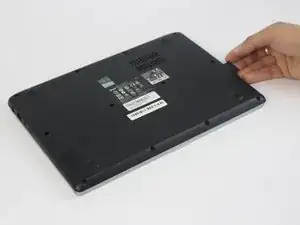
Orient the computer upside down, with the hinges facing away from you.
-
Find the black plastic piece in the SD card slot on the right side of the computer.
-
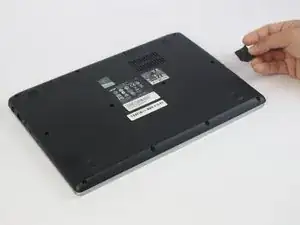
Remove the plastic piece by sliding it out of the SD card slot.
-
-
-
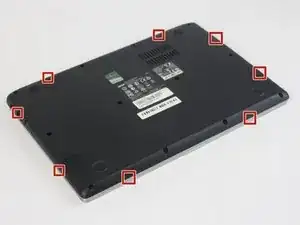
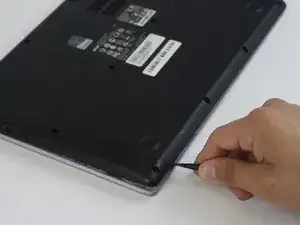
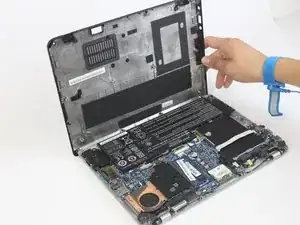
Insert a spudger at these eight locations to disengage the plastic tabs from the housing cover, and pry apart.
-
Continue around the entire perimeter of the cover with the spudger.
-
-
-
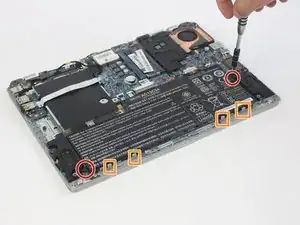
Remove the two 4mm screws using a PH0 screwdriver.
-
Depress the tabs holding the battery with a spudger.
-
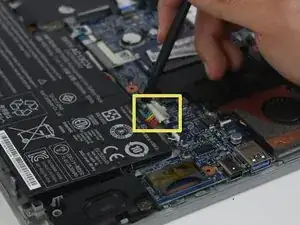
Disconnect the battery connector from the motherboard using a spudger.
-
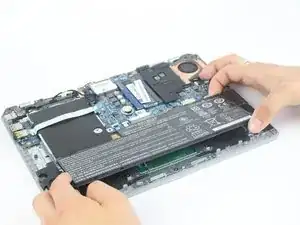
Pull the battery up and away from the laptop to remove.
-
-
-
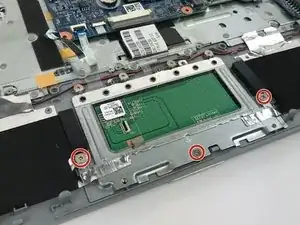
Remove the three 2mm PH #0 screws.
-
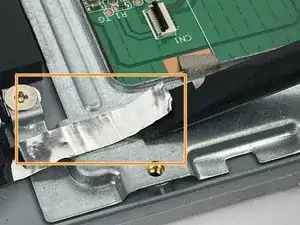
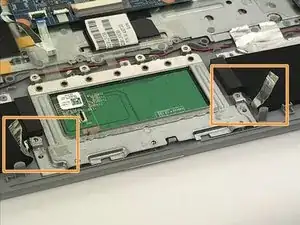
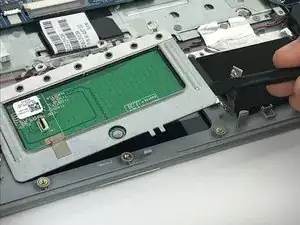
Lift the metal tape up and off of the mounting bracket.
-
-
-
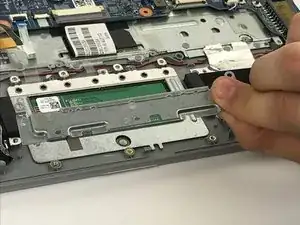
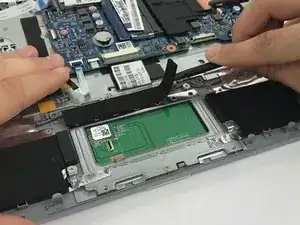
Carefully remove the foam pad from along the top edge of touchpad using a spudger.
-
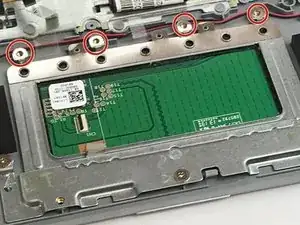
Remove the four 2mm PH #0 screws.
-
To reassemble your device, follow these instructions in reverse order.
