Einleitung
Your network needs to be replaced but you do not know how to? You are afraid to miss up something in your laptop in the process of replacing your network card? This guide is here to teach you how to replace your network card without harming your laptop from the inside.
Werkzeuge
-
-
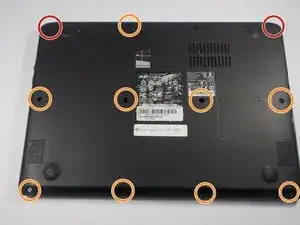
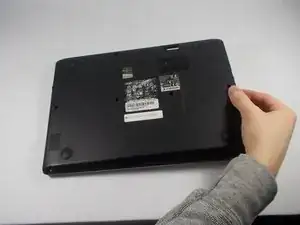
Start the process of removing the bottom cover of the laptop by unscrewing the 8mm screws in the top right and left corners.
-
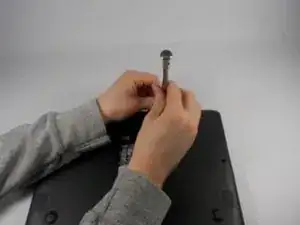
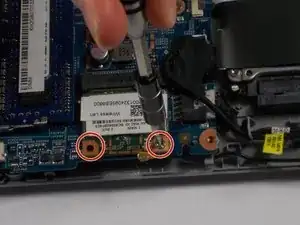
Remove the remaining 9 visible screws, which are 5mm in length.
-
-
-
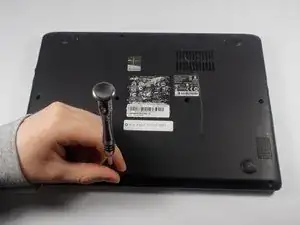
Towards the top right corner of the laptop, there is a rubber piece covering the final screw holding the cover on, as well as a set of pins. Use your fingernail to remove this piece of rubber, and then unscrew the hidden 5mm screw.
-
-
-
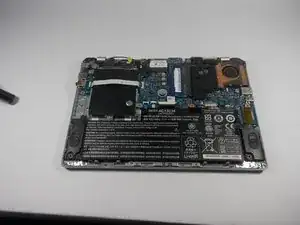
Going around the edges of the laptop, apply light to moderate amounts of pressure away from the laptop to unseat the cover so that it can be removed. Once you have removed the cover, place it face-up in a safe place to avoid getting the inside of the cover dirty.
-
-
-
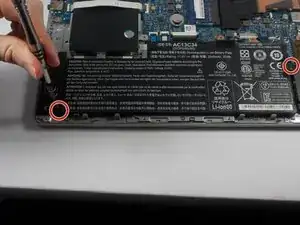
Carefully use light upward pressure to unseat the battery from the case, but do not pull on the cord or try and completely remove the battery from the case.
-
-
-
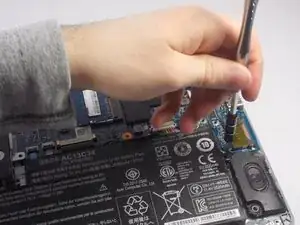
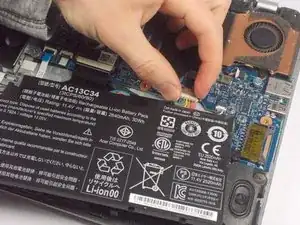
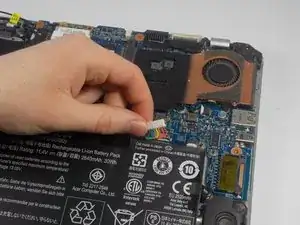
Finally, disconnect the battery from the motherboard by undoing the power connector. To undo the connector, simply apply light to moderate pull on the sides of the connector.
-
-
-
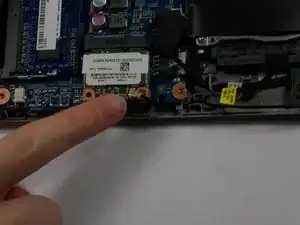
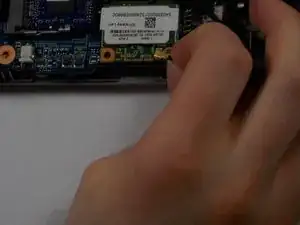
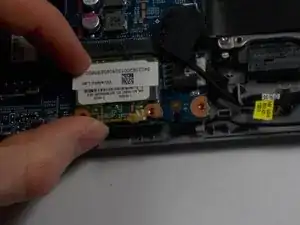
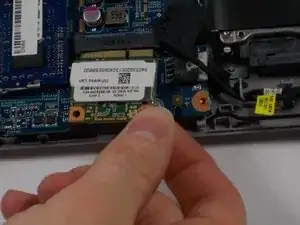
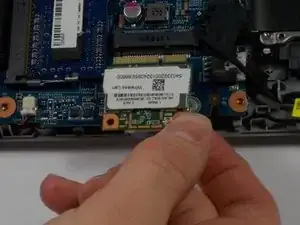
Carefully remove the network card by pulling it backwards, out of the slot that it is plugged into.
-


To reassemble your device, follow these instructions in reverse order.