Einleitung

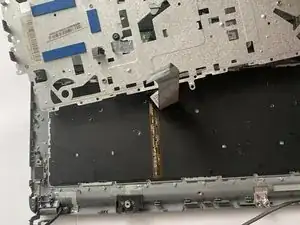
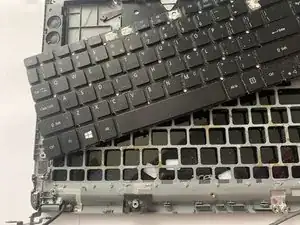
The keyboard is a primary input component in the laptop which uses buttons to enter data and control other components like the brightness of the screen and the volume of the speaker. The keyboard consists of a frame which is the upper part that has keys which is the part we can see and the keyboard is underneath it, both of them are placed on a metal plate.

 Sometimes, pressing hard on the keys or manufacturing errors will cause the keys to break or the entire keyboard to simply stop functioning. If you have this problem you will need first to take a look at the troubleshooting page to check if your problem can be fixed without the need to replace the keyboard.

You can start the Acer Aspire V5-473P-5602 keyboard replacement by following the guide steps. The compatible part numbers for the keyboard are NK.I1713.00W, MP-11F5, MP-11F53U4-4424, 904VM0701D.


  1. CNJJhBONCe5JdMbe
    CNJJhBONCe5JdMbe
    E5SjSad4EUVQqRhu
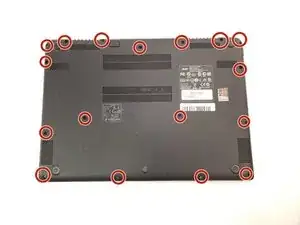
    • Flip the laptop over so the back panel is facing upwards.

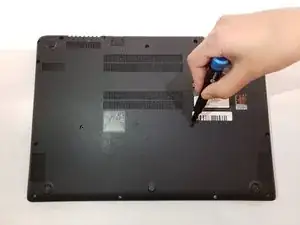
    • Use the Phillips #0 screwdriver to remove seventeen 2.5mm screws.

    • Remove the back panel from the laptop using an iFixit opening tool.

  2. gmSSVGrOVXOnlXeB
    gmSSVGrOVXOnlXeB
    aFfpGj65hOvZCIfn
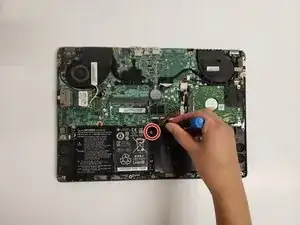
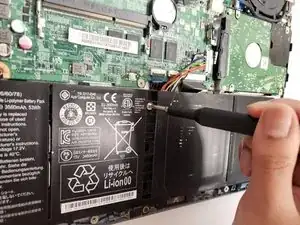
    • Remove the Phillips #0 screw from the middle of the battery.

  3. DT6FxTbKGwuhLvDH
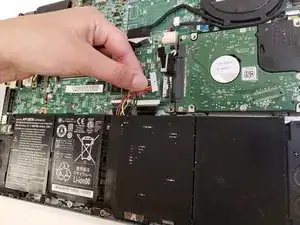
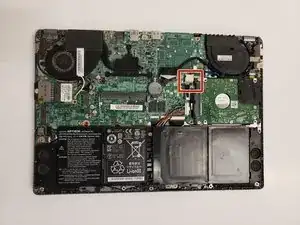
    • Unplug the battery from the motherboard.

  4. yeRWRTwBPTrJ6VSI
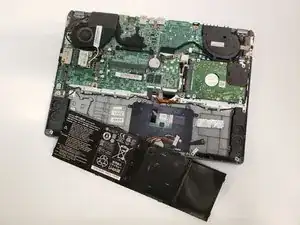
    • Carefully take the battery out of the device.

  5. tgUHQ5ZLEKZbcppb
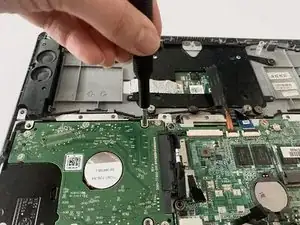
    • Remove the four Phillips #0 screws from the hard drive.

  6. yIRj1P5IsmCYruoO
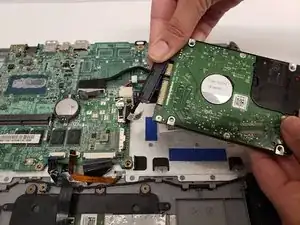
    • Gently unplug the hard drive connector.

  7. HDHRPqOxIOAAsgor
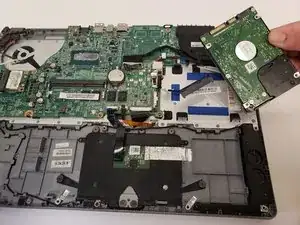
    • Remove the hard drive from the laptop.

  8. THCULFbFgFj1GEaH
    THCULFbFgFj1GEaH
    phHJpjSs5jVZLM6t
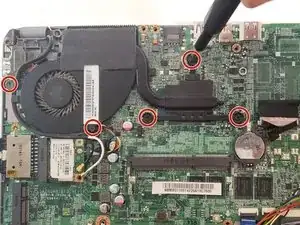
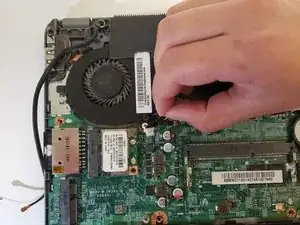
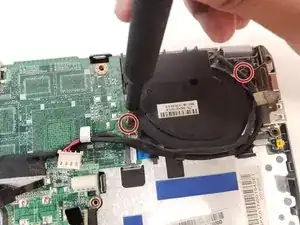
    • Remove the five Phillips #0 screws that are holding the fan down to the base.

  9. ULntERWCdGX1dh4r
    ULntERWCdGX1dh4r
    iwm21QV4gTIwmDBG
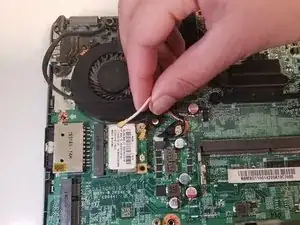
    • Gently unplug the cables from the Wi-Fi card.

  10. FcbsjMVakachBjhQ
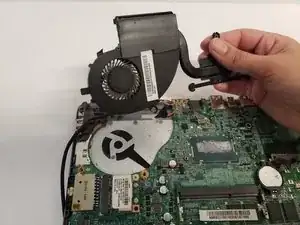
    • Remove the fan from the laptop.

  11. hrsBtYGTEPj5SbKY
    hrsBtYGTEPj5SbKY
    QITueJMqjSrOKG4E
    • Unplug the cable that connects to the fan to motherboard.

  12. PP51AwaaTn6VWrgP
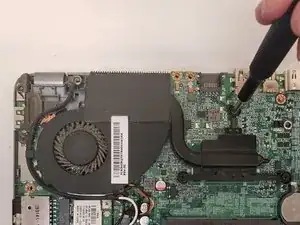
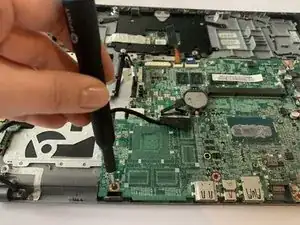
    • Remove the two Phillips #0 screws that secure the fan to the base.

    • Remove the fan from the laptop.

  13. SSNlOm5mAqUIDRBN
    SSNlOm5mAqUIDRBN
    N3buTf6LQR6RAght
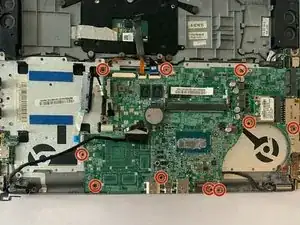
    • Remove the ten Phillips #0 screws that attach the motherboard to the keyboard.

  14. GqO5LlQXY5ykWvix
    GqO5LlQXY5ykWvix
    5OgUC1LBfFIhFpkM
    BusYErEgwTMgOFEs
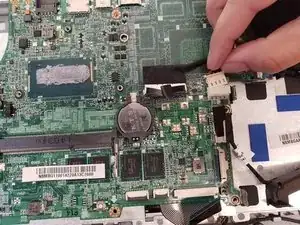
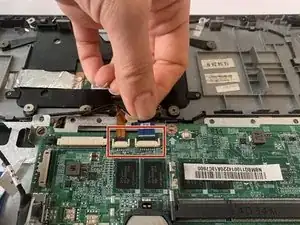
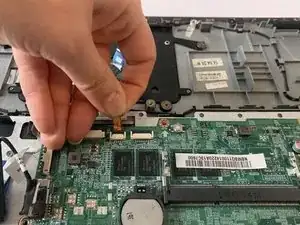
    • Unplug the two data cables that attach the keyboard to the motherboard.

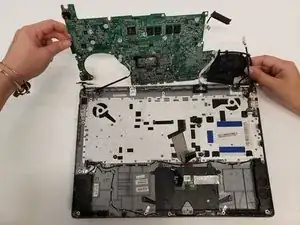
    • Remove the motherboard from the laptop.

  15. oFuAQOnxQtKYEWQa
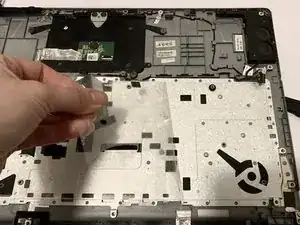
    • Pull the clear plastic sheet from the top of the metal upper part of the keyboard.

  16. fMfq1CL1VI6sL13Z
    fMfq1CL1VI6sL13Z
    QDGh64LqoCynOoPj
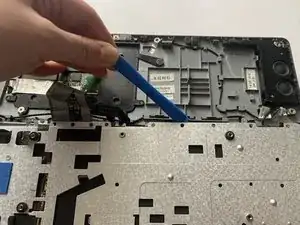
    • Detach the keyboard clips using an iFixit opening tool.

  17. nISLOToHAThiX6pK
    • Remove the keyboard from the laptop.

Abschluss

To reassemble your device, follow these instructions in reverse order.
Noora Al-loos

Mitglied seit: 22/01/20

259 Reputation

0 Kommentare