Einleitung
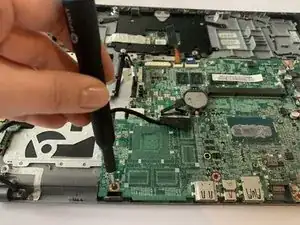
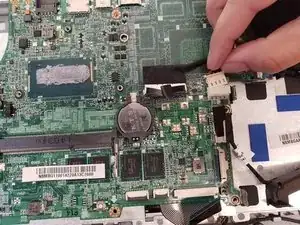
How to replace a faulty motherboard in your Acer Aspire V5-473P-5602
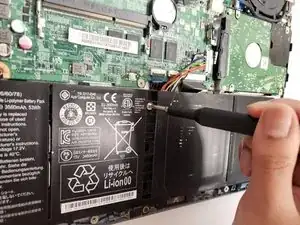
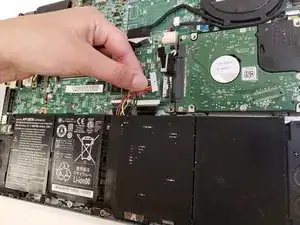
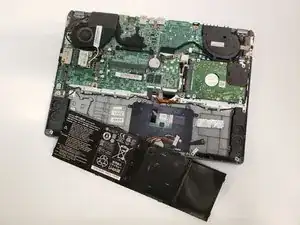
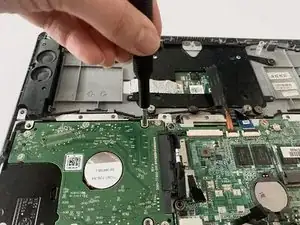
The motherboard is the brain of the computer, and a faulty motherboard is a brain-dead system. Fans and drives may work if the motherboard is dead, but most of the time, nothing happens when you turn on the power. A number of things can cause the problem such as a burnt-out graphic chip or a damaged power jack. Check the power supply before disassembling your motherboard. It may be as simple as a bad power connection. If it does not work after using another power source, the motherboard is more than likely faulty.
- Keep yourself grounded to avoid shocking your components by using an anti-static mat OR an anti-static wristband.
- Carpet creates static, so if you do NOT have an anti-static mat or wristband, wear rubber sole shoes while standing on a hard surface floor.
- All computer components should remain in the anti-static bags they came in until ready for installation.
- Complete all 14 steps in order.
- Taking photos as you complete each step will help you keep track of where each component should be.
Werkzeuge
Ersatzteile
-
-
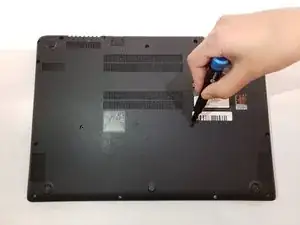
Flip the laptop over so the back panel is facing upwards.
-
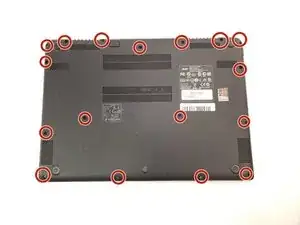
Use the Phillips #0 screwdriver to remove seventeen 2.5mm screws.
-
Remove the back panel from the laptop using an iFixit opening tool.
-
-
-
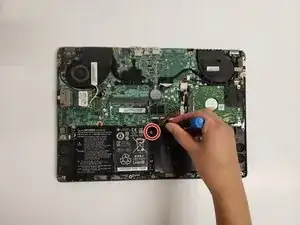
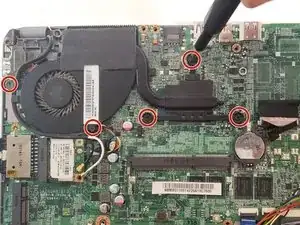
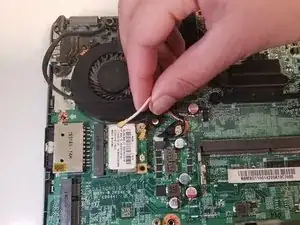
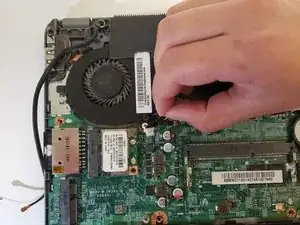
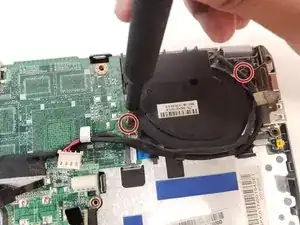
Remove the two Phillips #0 screws that secure the fan to the base.
-
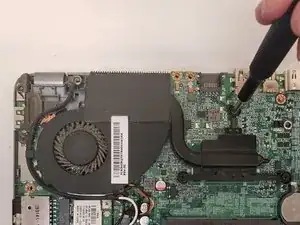
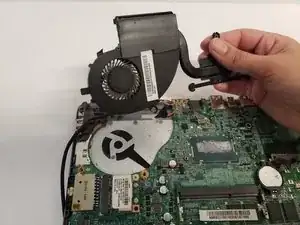
Remove the fan from the laptop.
-
-
-
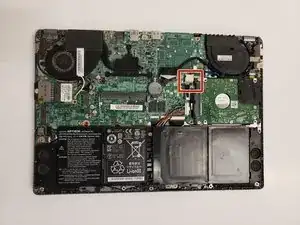
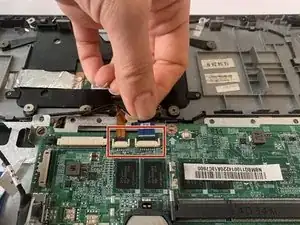
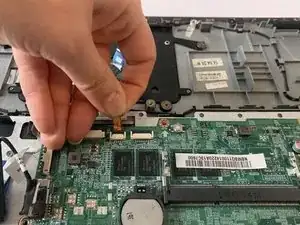
Unplug the two data cables that attach the keyboard to the motherboard.
-
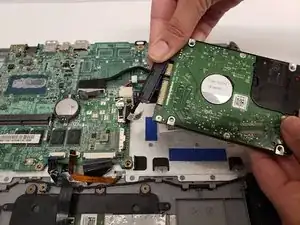
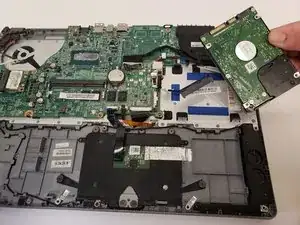
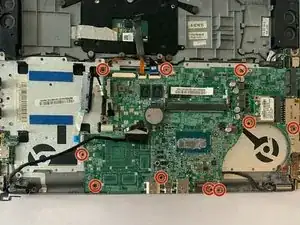
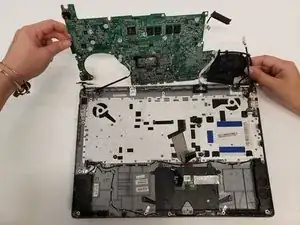
Remove the motherboard from the laptop.
-
To reassemble your device, follow these instructions in reverse order.
