Einleitung

How to replace the SATA HDD Cable.

____________________________________________________________________________

  1. FyaJlcsBiKUiCRkJ
    FyaJlcsBiKUiCRkJ
    mhJK4y6O15LtLHVB
    FrNQPBFqGXuwL5ZC
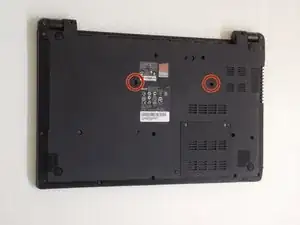
    • Turn off the laptop and remove the battery.

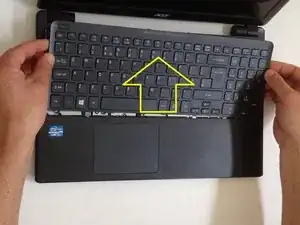
    • Remove two screws securing the Keyboard.

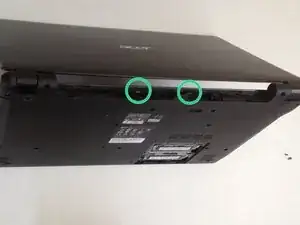
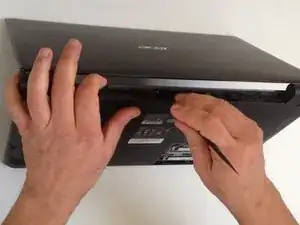
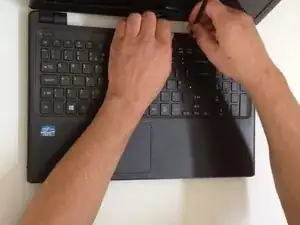
    • The Keyboard is held by two locking clips, under the battery. Use the sharp tip of a plastic tool to release the keyboard.

  2. HCSfFlDNLlcmDLm2
    HCSfFlDNLlcmDLm2
    kmTdBs6EXEghaMlM
    TQGl1OejYatyQNh1
  3. 3MyVkRgFmxurcOd2
    3MyVkRgFmxurcOd2
    jm6o45xN2O2E51od
    hivB5gPvlYK2NnoP
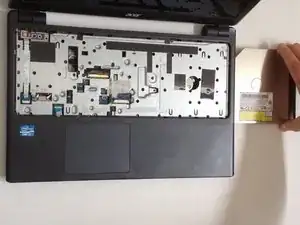
    • Remove the screw securing the Optical drive and gently press the drive to show slightly as at the second pic.

    • Slide the drive to the left and remove it.

  4. KwZlPgb4gCwlEMwa
    KwZlPgb4gCwlEMwa
    DyWeEl2Bo4b6ZdMZ
    n1w3bVqOYHLnTZQG
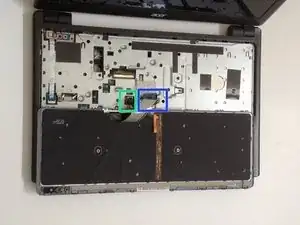
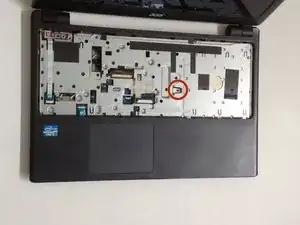
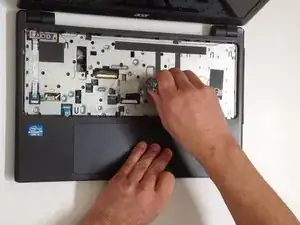
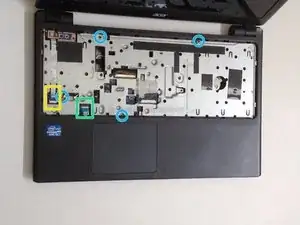
    • Remove 4x phillips screws and disconnect:

    • Power On button flex cable

    • Touch pad flex cable

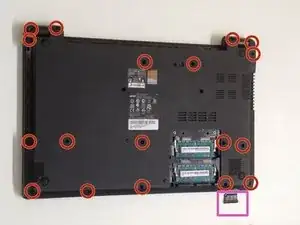
    • Remove 18x Phillips screws from the bottom cover.

    • Remove any memory SD Card from the Card reader.

    • Start opening with a plastic opening tool.

    After removing the 18x Phillips screws, the laptop is VERY fragile in the hinge area. The bottom cover will easily crack or break in the hinge area when opening the laptop with no screws, particularly the left side near the power button. Possibly this step should be revised to recommend opening the laptop 90 degrees before removing the 18x screws. Or, advise extreme caution when opening the laptop with no screws.

    jonnyquest -

    Hi, do you know where buy screws that you mention in step 4? “Remove 18x Phillips screws from the bottom cover.”

    I am italian. Thank you anyway.

    Sara Caruso -

    The laptop I have included 6x screws from inside and 16x screws from the bottom. This seems to be a minor variation from model to model.

    William Fulton -

  5. G5HJONTYW2GMIDeP
    G5HJONTYW2GMIDeP
    VMghNQJFv3UsauRc
    i3XtIg5LZLfurgAX
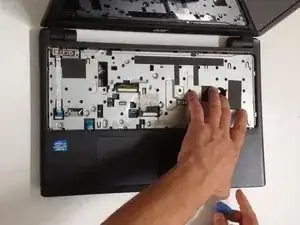
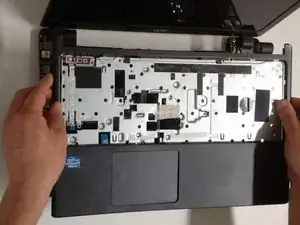
    • Carefully separate the upper cover and remove it.

    In my unit, there was also a screw holding the DVD drive in place, just toward the center from the drive itself. This screw also had to be removed to be able to remove the upper cover

    Ken Hill -

  6. EZPB4NGEYMwVpQZi
    EZPB4NGEYMwVpQZi
    kdmuDq1hOW3VKW5l
    Wao4XiiKPfunLdem
  7. E4rrNykDAcGPecw1
    E4rrNykDAcGPecw1
    yCxROOurgGgRW3BL
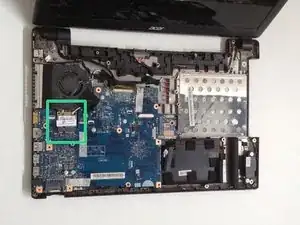
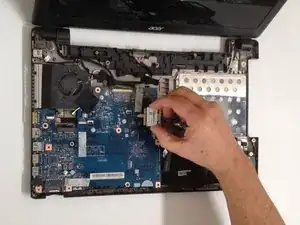
    • Remove one Phillips screw, securing th WLan card and disconnect the two coaxial antenna cables.

    • Remove the Wi-Fi card.

  8. pLGXNILtpPIFFO2v
    pLGXNILtpPIFFO2v
    ENWGADpd6OWngfuV
    JSdTHYcRQOHscyMQ
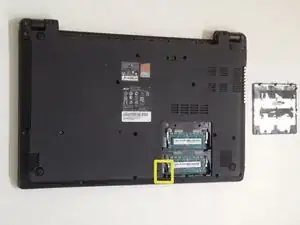
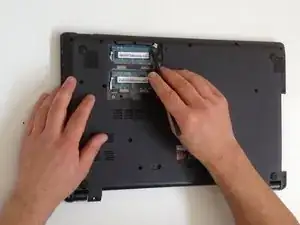
    • Remove the Memory Cover.

    • Disconnect the Loudspeaker cable connector.

  9. y4grYxEgnPTfaYxe
    y4grYxEgnPTfaYxe
    tVZGmcsnliHiFxbf
    4QANHCYcCHuLWOZE
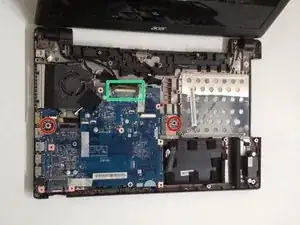
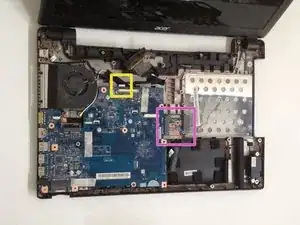
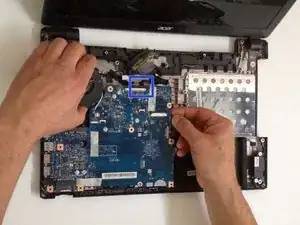
    • Remove two Phillips screw from the Mother board and from the Optical drive SATA adapter.

    • Disconnect the LCD Display flex cable.

    • Disconnect the DC Jack cable.

    • Carefully remove the Optical drive SATA adapter.

    • We will disconnect the battery cable when we pick up the board.

  10. cLyIptIlPRG4vb2F
    cLyIptIlPRG4vb2F
    SAnjYHuv1gtLPpt6
    ZVlKkBcKVYtlbTWl
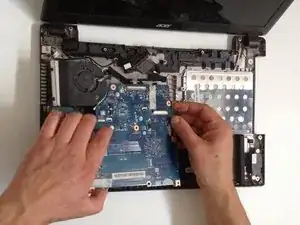
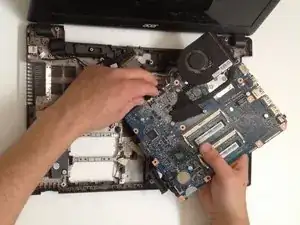
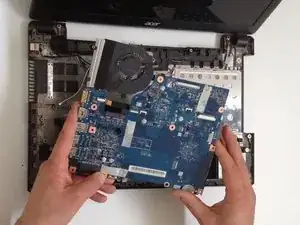
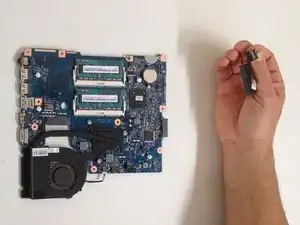
    • Carefully pick up the Mother board and disconnect the Battery cable.

  11. C3mKDrRMqxhj41Wm
    C3mKDrRMqxhj41Wm
    RexaFtvtoC6IyfVe
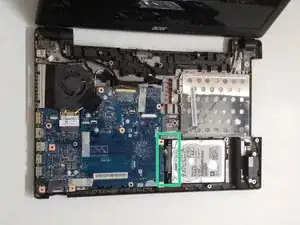
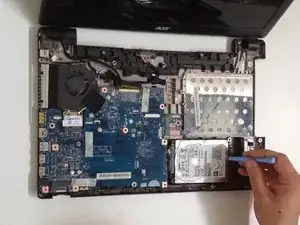
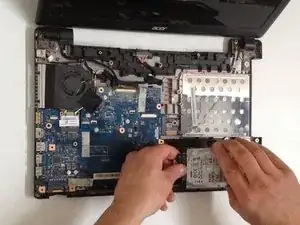
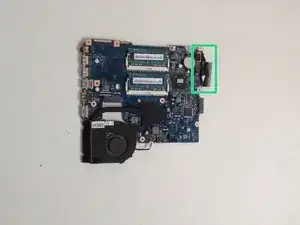
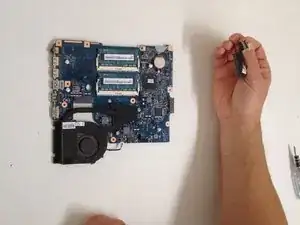
    • 13 pin SATA HDD Cable Adapter.

    • .

    • .

    • .

    • .

    • .

    • Did you do it successfully?

Abschluss

To reassemble your device, follow these instructions in reverse order.
ZFix

Mitglied seit: 09/12/13

188213 Reputation

0 Kommentare