Einleitung
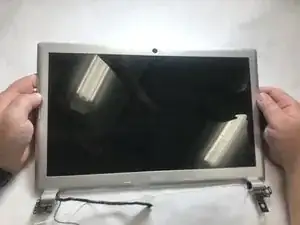
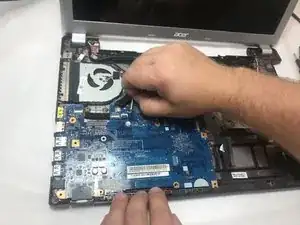
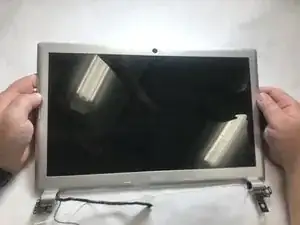
This guide will show you how to replace the display assembly of the Acer V5-571-6889 laptop. The display assembly will need to be replaced if the laptop screen is cracked, damaged, or just not working properly. Some common problems include a flickering laptop screen or completely blank screen.
Before getting to work replacing the display assembly, it is important to make sure that the display assembly is the cause of the problem. A laptop screen will also be completely blank if there is a power failure causing the laptop to not turn on. To verify this is not the cause, try to listen for a whirring sound, meaning the hard drive is spinning. Also, check to see if any other lights on the laptop are lit. For more information on troubleshooting, this link provides a detailed guide:
It is important to note that the replacement of the display assembly is moderately difficult. To ensure no damage is sustained, carefully disconnect cables and verify that the power is off before beginning.
Werkzeuge
Ersatzteile
-
-
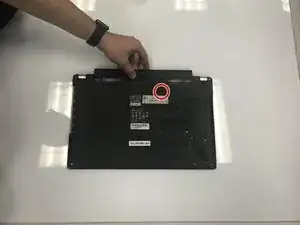
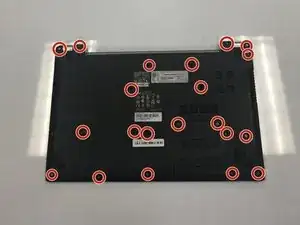
Flip laptop over so that the back is facing upward.
-
Push switch to the right.
-
Pull battery away from the laptop.
-
-
-
Flip laptop back over.
-
Open the laptop.
-
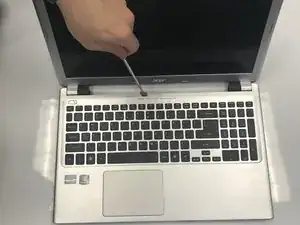
Wedge a prying tool between the keyboard and laptop body seam to remove keyboard.
-
-
-
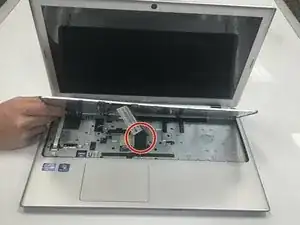
Disconnect the two ribbon cables at the near left.
-
Remove six screws: ⁃ one by the left most ribbon cable connector ⁃ one mid-right center ⁃ one on the near edge left of center ⁃ three across the back
-
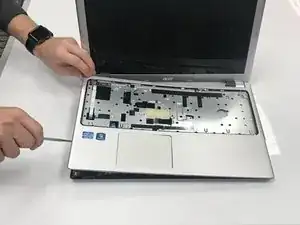
Use a prying tool to remove the upper cover.
-
-
-
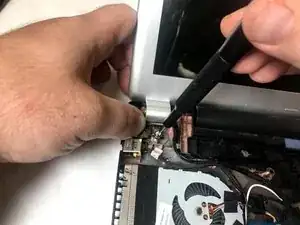
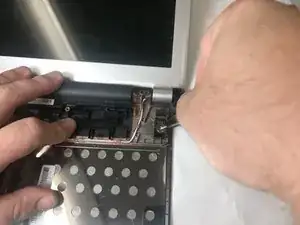
Remove the top left screw that is connecting the display assembly and the body of the laptop.
-
Remove the 2.5 mm by 5 mm screw by using #0 Phillips head screw driver.
-
-
-
Using a #0 Phillips screw driver, remove the other 2.5 mm by 5 mm phillips screw that holds the display assembly.
-
-
-
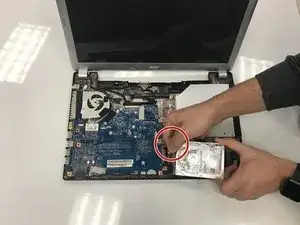
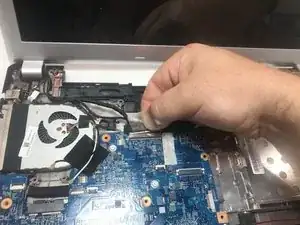
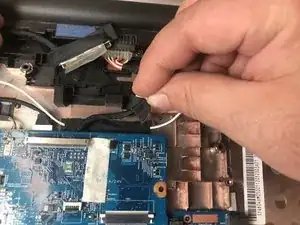
Gently disconnect the display cable connector between the display assembly and the motherboard.
-
To reassemble your device, follow these instructions in reverse order.
