Einleitung
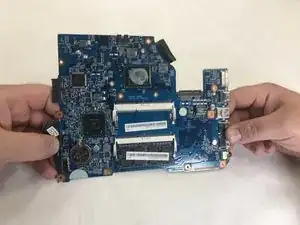
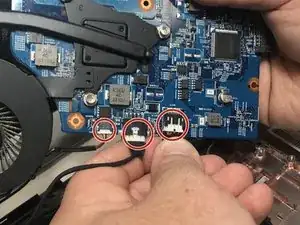
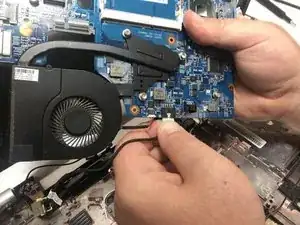
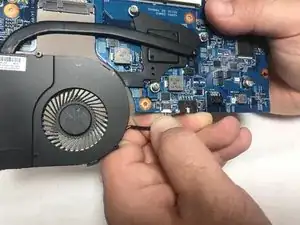
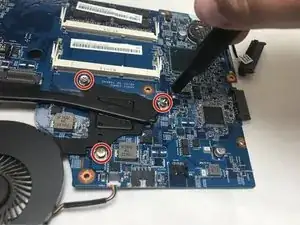
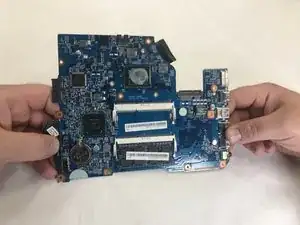
This guide shows the necessary steps to replace the Acer Aspire V5-571-6889 motherboard, the central network of the computer which all components are connected to and use for communication with one another. Motherboards most often need replacement in an everyday use laptop if they have sustained damage from overheating or from the normal wear of all electrical components over time. However, upgrading a motherboard can have other benefits such as increased speed of the overall computer for gaming and increased quality of streaming content.
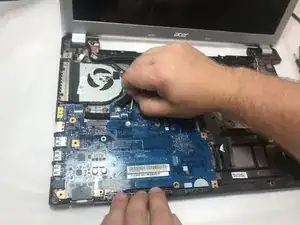
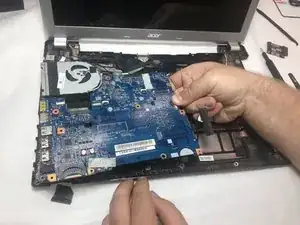
This guide will walk through the steps necessary for removing the motherboard starting from removing the top cover and keyboard to expose the motherboard, disconnecting the components in their recommended order, and finally removing the motherboard from the computer housing.
Before continuing with this guide, please make sure the computer is off and unplugged from all external power sources and follow the steps out of the reach of children.
Werkzeuge
Ersatzteile
-
-
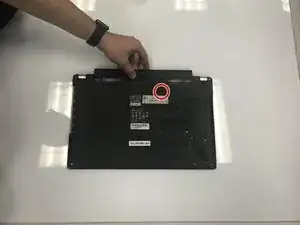
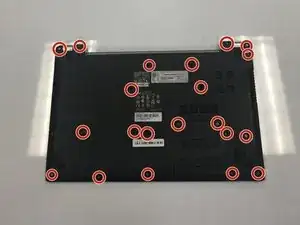
Flip laptop over so that the back is facing upward.
-
Push switch to the right.
-
Pull battery away from the laptop.
-
-
-
Flip laptop back over.
-
Open the laptop.
-
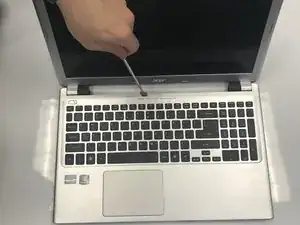
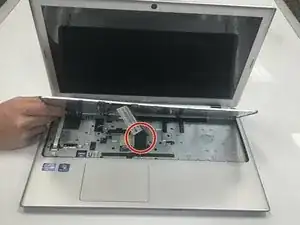
Wedge a prying tool between the keyboard and laptop body seam to remove keyboard.
-
-
-
Disconnect the two ribbon cables at the near left.
-
Remove six screws: ⁃ one by the left most ribbon cable connector ⁃ one mid-right center ⁃ one on the near edge left of center ⁃ three across the back
-
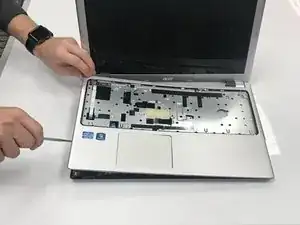
Use a prying tool to remove the upper cover.
-
-
-
Use #0 Phillips screw driver to remove the 2.5 x 5 mm with screw attached to the Motherboard.
-
-
-
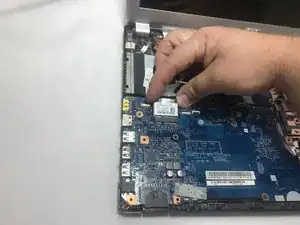
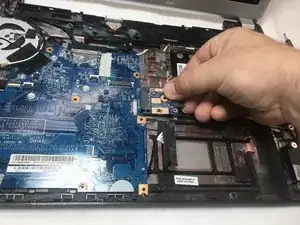
Use #0 Phillips screw driver to remove the two 2.5 x 5 mm Phillips #0 screws connecting the Wi-Fi card to the Motherboard.
-
-
-
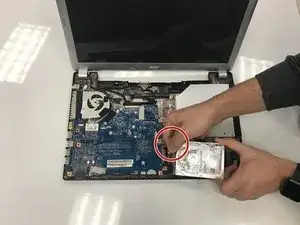
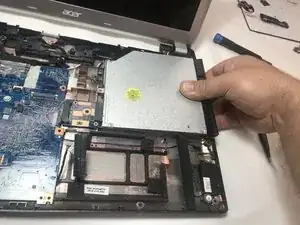
Use #0 Phillips screw driver to remove the 2.5 x 5 mm Phillips #0 screw on the CD-ROM Drive.
-
-
-
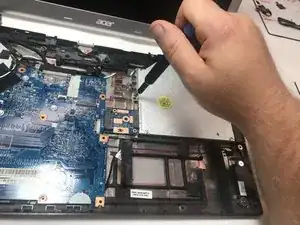
Use #0 Phillips screw driver to remove the 2 x 3 mm Phillips #0 screw holding down CD-ROM connector.
-
-
-
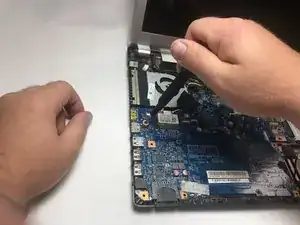
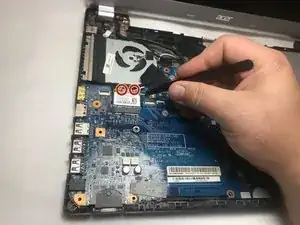
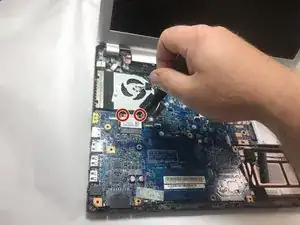
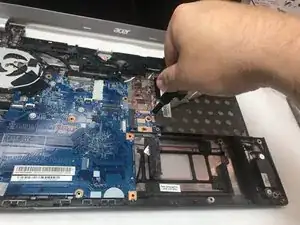
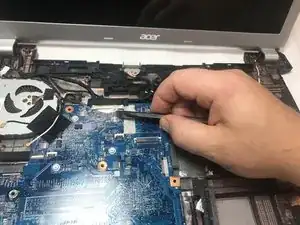
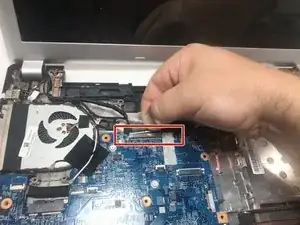
Use Tweezers to remove the tape covering the display cable connector.
-
Gently disconnect the display cable connector.
-
-
-
Use #0 Philips screw driver to unscrew the three 2.5 mm x 4 mm screws connecting the CPU fan to the Motherboard.
-
To reassemble your device, follow these instructions in reverse order.
