Einleitung
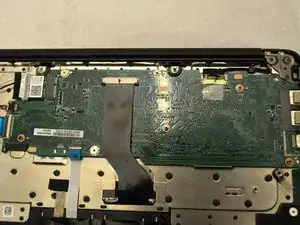
One of the most common complaints about the Acer Chromebook 14 CB3-431-C3WS is that it has a short life span. This can be due to a few reasons, one being that the motherboard may have gone out. A common misconception is that once the motherboard goes out, the entire Acer Chromebook needs to be replaced. Following the steps in this guide may not only save you money on replacing your whole laptop but will also help save the planet from additional technology waste.
Before attempting to replace your motherboard, check the troubleshooting guide to see if there may be an easier solution.
Make sure the laptop is powered off and disconnected from any external power source before beginning any repairs.
Werkzeuge
-
-
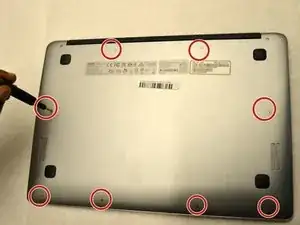
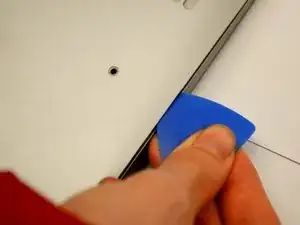
Insert an opening pick between the back panel and the sides of the computer to begin lifting the back off.
-
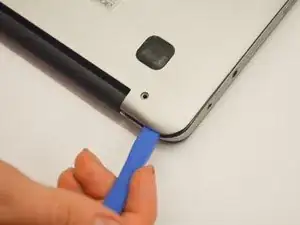
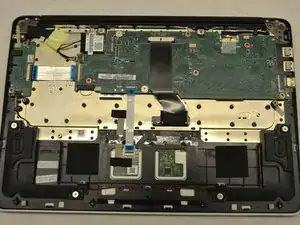
After the sides have been lifted, use the opening tool to finish opening the back cover.
-
-
-
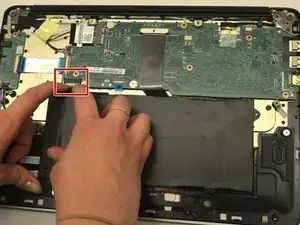
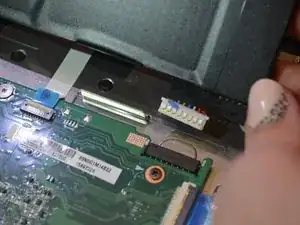
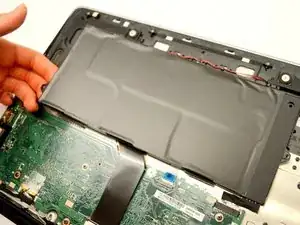
Pull the white tab connected to the battery out of the black tab that connects to the motherboard.
-
-
-
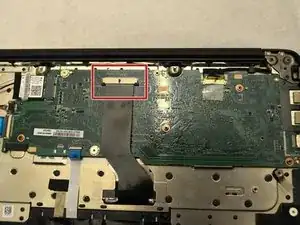
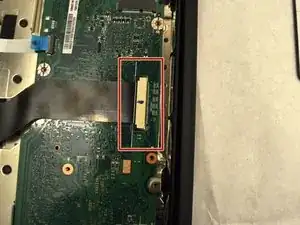
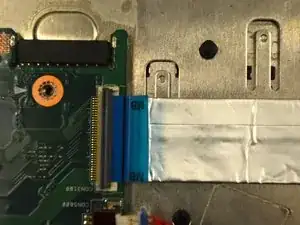
Disconnect the LCD cable from the motherboard by removing the tape on the LCD connector, then gently pulling out the ribbon cable.
-
-
-
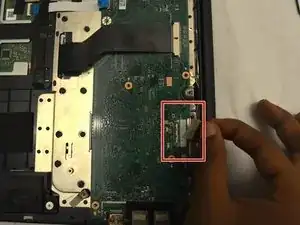
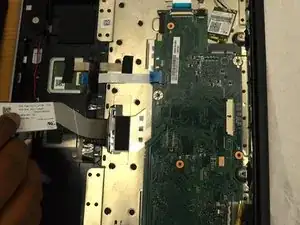
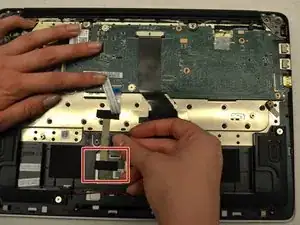
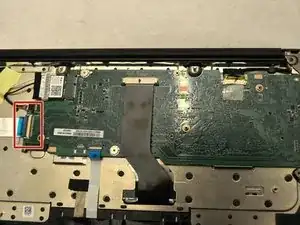
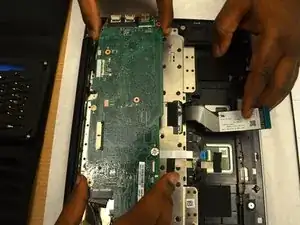
Disconnect the daughterboard from the motherboard by gently removing the daughterboard cable from the motherboard connector.
-
-
-
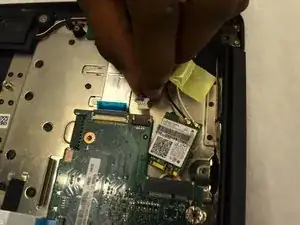
Remove the electrical tape covering the screw that holds the Wi-Fi card in place.
-
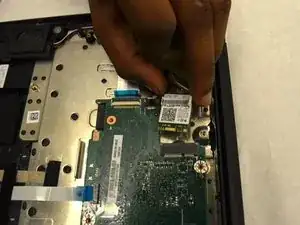
Remove the single 4mm JIS #0 screw that holds the Wi-Fi card in place.
-
To reassemble your device, follow these instructions in reverse order.
