Einleitung
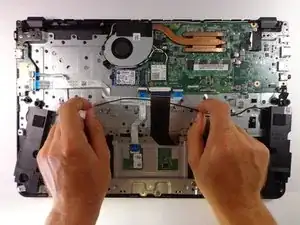
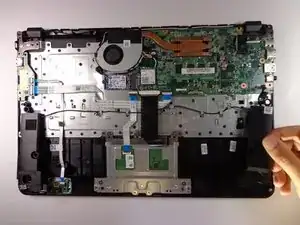
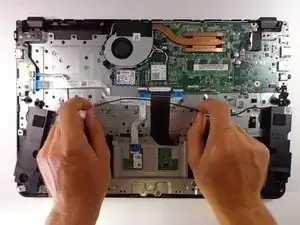
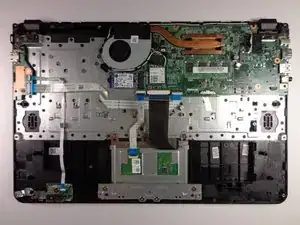
Use this guide to replace the speakers.
Werkzeuge
Ersatzteile
-
-
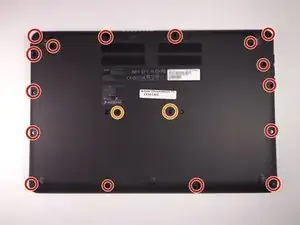
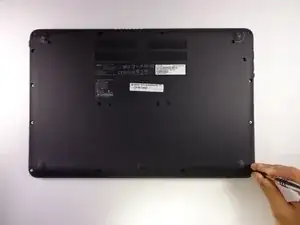
Turn the Chromebook onto its backside and unscrew the the following Phillips #1 screws:
-
Sixteen 5mm Phillips screws located around the border.
-
Two 5mm Phillips screws located in center.
-
-
-
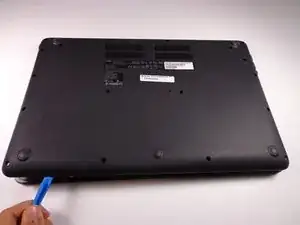
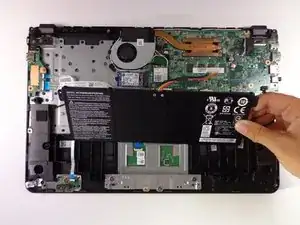
Remove the back cover by carefully prying each side with an iFixit Opening Tool.
-
Set aside back cover.
-
-
-
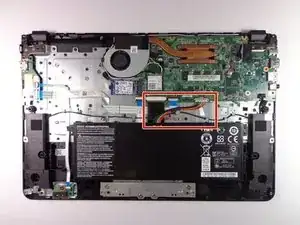
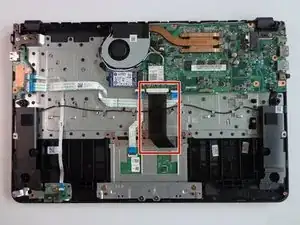
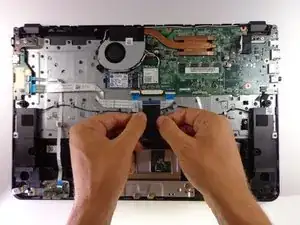
Carefully eject the black ribbon from the white base by squeezing inward at the base and gently pulling backwards.
-
Gently pull black ribbon out.
-
-
-
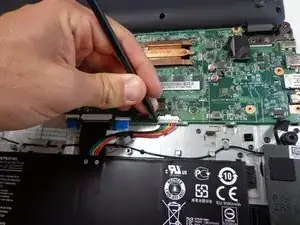
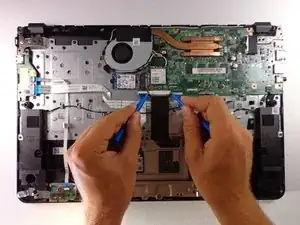
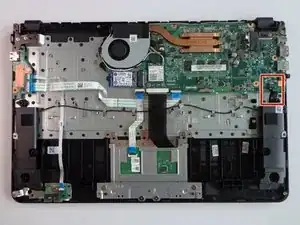
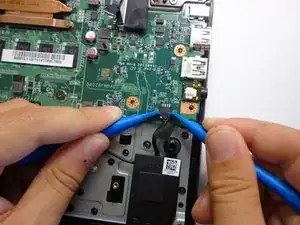
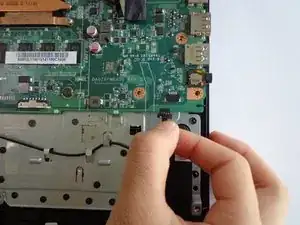
Disconnect the black wires where the speakers are connected to the motherboard by pulling down on both sides with two iFixit Opening Tools.
-
-
-
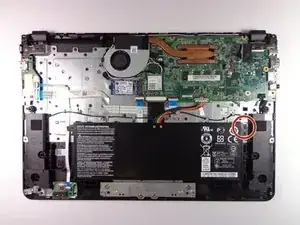
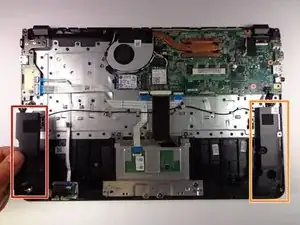
Gently pull the right speaker, FYHZRF-R, upward, unlatching it from its 2 rubber joints.
-
Repeat with left speaker, FYHZRF-L.
-
-
-
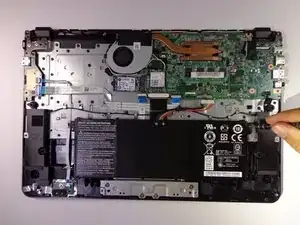
Lift left and right speakers up and untangle the connecting wire from the metal notches.
-
Remove the speakers.
-
To reassemble your device, follow these instructions in reverse order.
