Einleitung
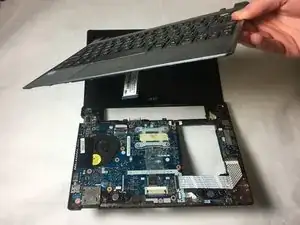
With use, the SD card reader of your laptop may stop reading SD cards. The SD card reader might need to be replaced if your computer does not recognize when a SD card is inserted. It is a good idea to attempt inserting multiple SD cards to ensure that the SD card reader is the problem, not the SD card itself. Replace the reader with this guide.
Werkzeuge
-
-
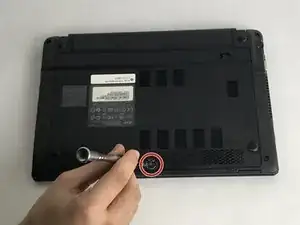
Remove the 6 mm Phillips #00 screw that holds the back cover on.
-
Carefully lift the cover off.
-
Place the cover and screw safely to the side for now.
-
-
-
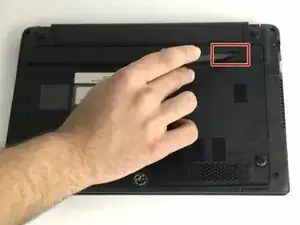
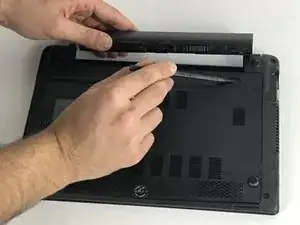
Using the spudger or your finger, slide the battery release slider and hold in place as shown.
-
-
-
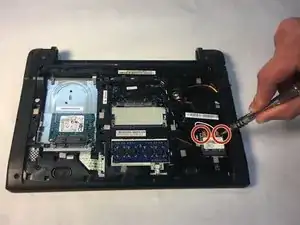
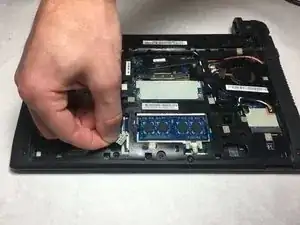
Remove the two 3 mm Phillips #00 screws located on the WiFi card.
-
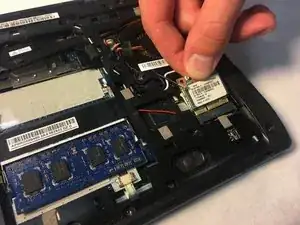
Pop the wires off the WiFi card.
-
Tilt the WiFi card up and remove it by pulling.
-
-
-
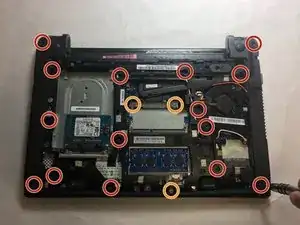
Remove the fifteen 6 mm Phillips #00 screws holding on the plastic backing panel.
-
Remove the five 3 mm Phillips #00 screws holding on the plastic backing panel.
-
-
-
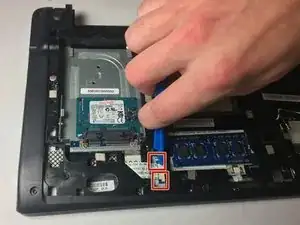
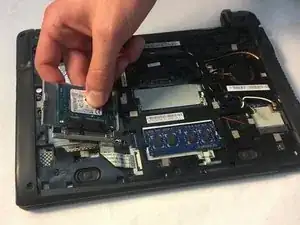
Use the opening tool to pull the tabs back for the ribbon cable of the Solid State Drive.
-
Gently pull the ribbon cable out.
-
Remove the Solid State Drive.
-
-
-
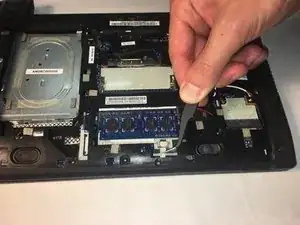
Use the opening tool to pull the tabs back for the ribbon cable located under the RAM board.
-
Gently pull the ribbon cable out from under the RAM board using the angled tweezers.
-
-
-
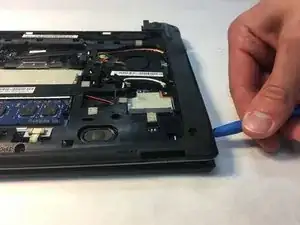
Use the opening tool to pry apart the seam around the outer perimeter of the back casing.
-
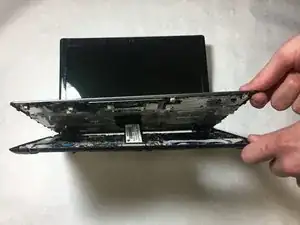
Pry apart the back casing from the keyboard housing.
-
-
-
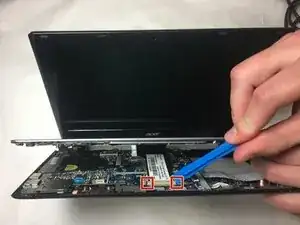
Use the opening tool to pull back the tabs on the ribbon cable still connecting the keyboard and the back panel.
-
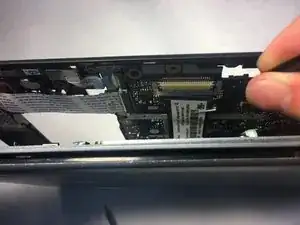
Use the angled tweezers to gently remove the ribbon cable.
-
-
-
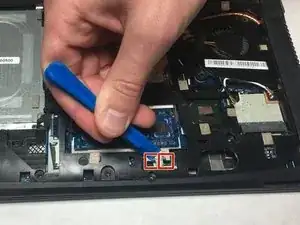
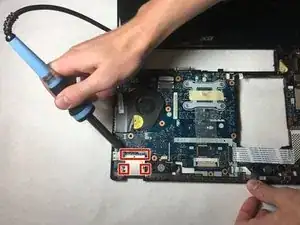
Use a soldering iron to de-solder the nodes shown on the SD Card Reader. There will be 11 nodes above (see the wide red rectangle), and one node on each side (see two red squares).
-
Remove and replace the SD Card Reader.
-
To reassemble your device, follow these instructions in reverse order.

