Einleitung

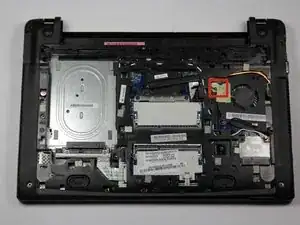
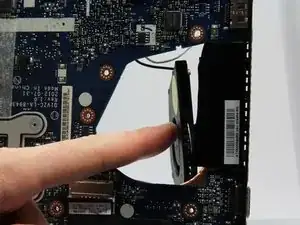
As a computer is used, it generates heat. The cooling fan pulls air through the device to cool it down. If it becomes clogged with dust or breaks, the computer will overheat.

  1. csbOZVWi3FdBx3Zd
    csbOZVWi3FdBx3Zd
    layfRUOb1TDiqVJD
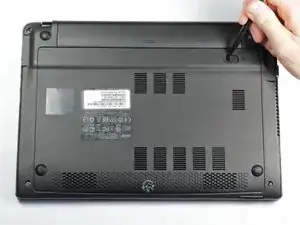
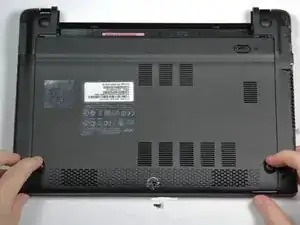
    • Place the laptop on a flat surface with the bottom side facing up.

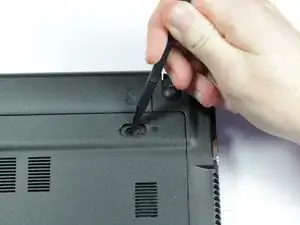
    • Place the tip of a spudger or finger into the hole on the battery release slider.

  2. JpM3KwOTEgMMrW4Q
    JpM3KwOTEgMMrW4Q
    6p2CFGlmdKYMRoaO
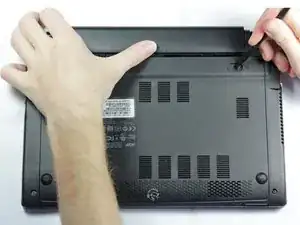
    • Use the spudger to move the slider to the right and hold it there.

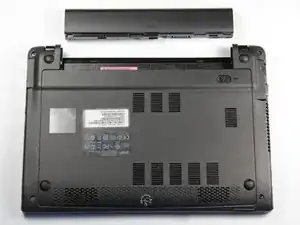
    • With the slider held, use your other hand to pull the battery back away from the laptop.

  3. FsSZGKrDfsHpJFGn
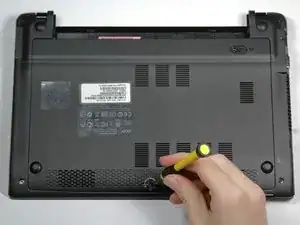
    • This step will void your device warranty.

    • Use the screwdriver to pierce the warranty sticker.

    • Unscrew and remove the #0 6mm Phillips screw and set it aside.

    Bradley,

    If I replace the chrome os Hard drive with one that has a Linux distro already installed will the linux work normally or is there something built in to stop it.

    It's something I do with an old dell I use for checking out distros.

    Regards,

    Jack

    jack martin -

    I guess it's too late to answer this question now, but C710 is not IBM PC-compatible so standard linux distros do not run normally on it without any modifications.

    You can flash a IBM PC-compatible bootloader(coreboot+SEABIOS) on it to run other linux distros.

    cdac1234 -

    Any suggested source for getting the 4 Gb RAM upgrade? Does this RAM have a model number?

    rwells78 -

    What is the hard drive called, or it's specific name, so that I may search around for a replacement, before taking my laptop apart?

    Jennifer Munoz -

    Mine is a Seagate ST320L T020

    Marshall Gates -

    do not so what the second picture shows and leave the battery in!

    brayton1234567 -

  4. HAnaSjUVNaoB3Ijq
    HAnaSjUVNaoB3Ijq
    iEXq4XoafSv3B6A3
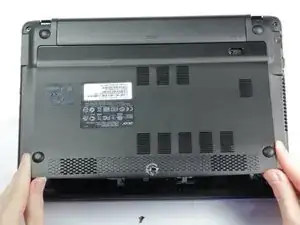
    • Slide the back panel towards you. The best spots to place your fingers are on the bumpers.

    • Lift on the front edge to remove the panel.

  5. HRdpbIIfHfNFnHC1
    HRdpbIIfHfNFnHC1
    32jTkOfW6PnEpTZF
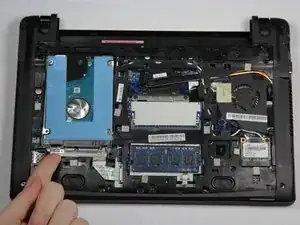
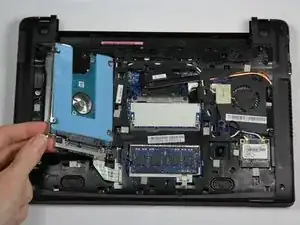
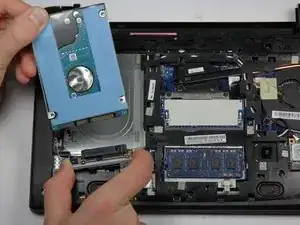
    • The hard drive assembly is attached to the laptop by a ribbon cable. Only lift the side of the drive facing you about an inch above the laptop. If you tear the ribbon cable the laptop will need to be serviced by a professional.

    • Use one finger to lift up the hard drive assembly from the bottom left corner.

  6. GPSJBPMt25PfAvLY
    GPSJBPMt25PfAvLY
    xT1pA2IWNGGbaT5r
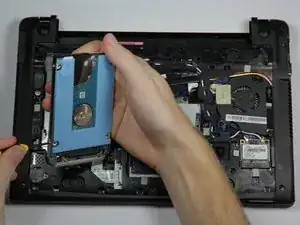
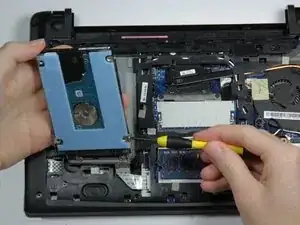
    • Hold the hard drive assembly keeping the end closest to you near the laptop. It's ok to tilt the far end of the drive up towards you.

    • Unscrew the two silver #0 3mm Phillips screws on the left and right sides of the hard drive.

  7. IyGuNO6NgAdAWIUa
    IyGuNO6NgAdAWIUa
    SJWoT6c5VdhV5XEH
    JBg2FHEf2LYQIjvE
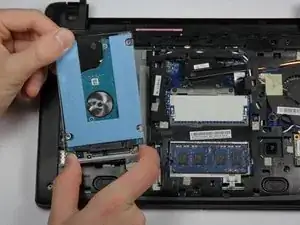
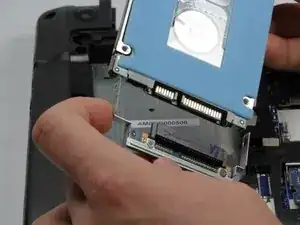
    • Hold the base of the hard drive in your right hand.

    • Use your left hand to pull the hard drive away from its housing. Don't let the housing tug on the ribbon cable.

  8. oxURfWsjEwNeCpl5
    oxURfWsjEwNeCpl5
    PA3WEPoaqTQwe4p1
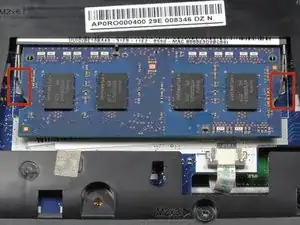
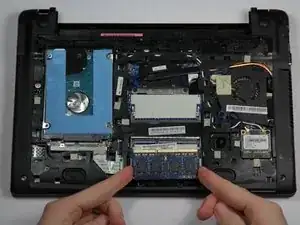
    • Pull the metal tabs sideways away from the memory stick.

    • The RAM stick will pop up.

  9. 4UkLRqSJKGnKfu2v
    4UkLRqSJKGnKfu2v
    wpUJiKWDC6VNmHtZ
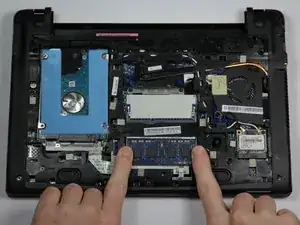
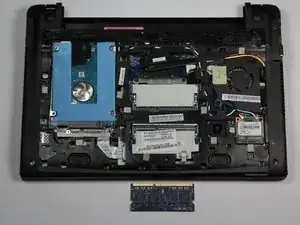
    • Pull the RAM stick up and away from the laptop.

    Who manufactured the chrome book C710 factory ram ?

    Meme bru -

  10. xgIMZmU2PmsJfUC2
    xgIMZmU2PmsJfUC2
    PwuLlbRfOydEPtHr
    W1BTPL6Yn3bXv5Zg
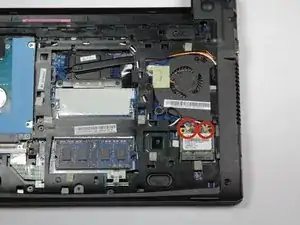
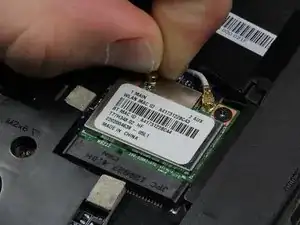
    • Use a spudger or your fingernails to lift up and unclip the two gold connectors on the top of the wireless card.

  11. 4vZxRrXu5XfngvE2
    • Unscrew the black #0 3mm Phillips screw at the top right of the wireless card.

  12. FMN2iV5OvKHnWWXh
    FMN2iV5OvKHnWWXh
    tqhlmB3XlYfapRZe
    • The wireless card will spring up.

    • Pull the wireless card up and out to remove it.

  13. GQ5B45dKsjnFKeXP
    GQ5B45dKsjnFKeXP
    JtIBMYxXe33OkOhU
    • Remove the SD card or placeholder by pressing the card in until it clicks and pops out.

    • Pull the card out.

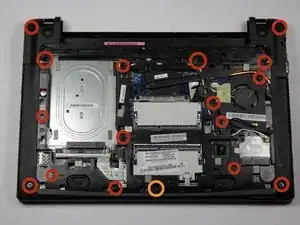
    • Remove the screws.

    • Sixteen #0 6mm Phillips screws

    • One #0 3mm screw

  14. abgPsrQRiEXxQgRh
    abgPsrQRiEXxQgRh
    4WZsBjHndvKL6dlx
    C1ThEbITKJ26eEfi
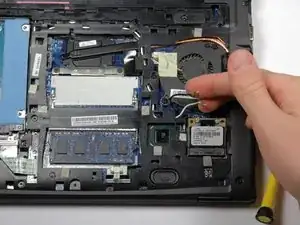
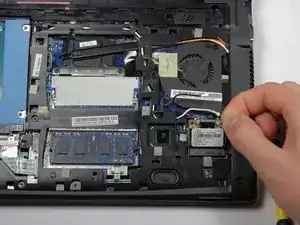
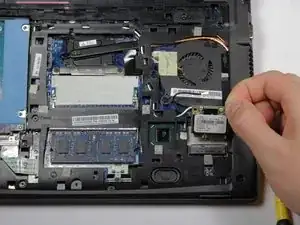
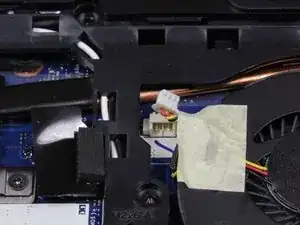
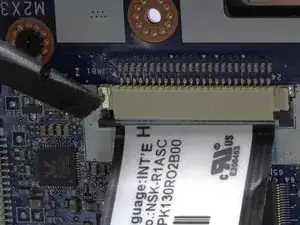
    • Unplug the fan power cable by pulling the cable towards you using a spudger to help pop off the connection.

  15. QUDTdYrqVPESG4iR
    QUDTdYrqVPESG4iR
    bipUJXWZ1HsDNgDP
    ckJTtaaGZwMqq6WC
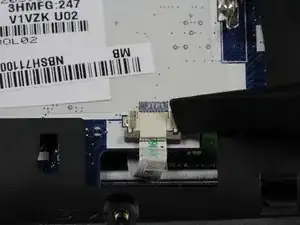
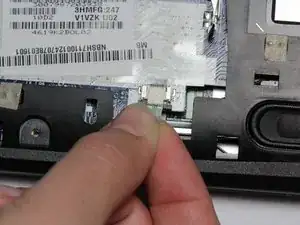
    • Unplug the cable below the lower RAM slot by using the spudger to slide the two brown clips towards you.

    • Gently pull the cable towards you using the clear plastic tab.

  16. 2cgfWwYEn4K1Abdm
    2cgfWwYEn4K1Abdm
    E2VJ6rLVGWf3GcIE
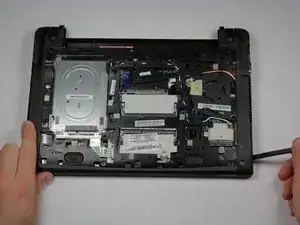
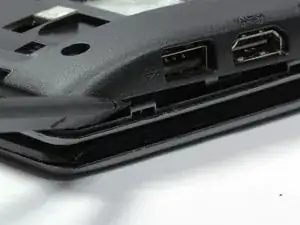
    • Unclip the bottom half of the case from the laptop by using a spudger and starting at the USB port on the right side of the laptop. Then work your way clockwise around the laptop.

  17. MGTeoYSEsnjXYchY
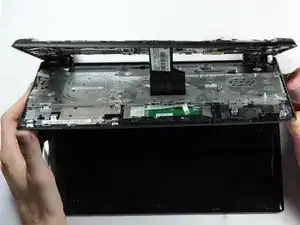
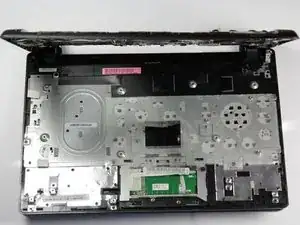
    • Open the laptop hinge about 45 degrees.

    • Lowering the keyboard assembly too far will damage the keyboard ribbon cable. Do not let the cable stretch.

    • Lower the keyboard assembly halfway between the case and the screen.

  18. 52KcEDD4C4keGBYA
    52KcEDD4C4keGBYA
    FCvtMt1YKhGkTe6F
    fX6xIMvs5iFJmA2H
    • Push down on the black tabs with a spudger to free the ribbon cable from the case.

    • Gently pull the ribbon cable out of its slot.

  19. vLPabcVBJmXJjwue
    • Lower the keyboard assembly towards the screen until the clips near the hinges detach.

    • Set the keyboard assembly aside.

  20. roWL61EwVgWRZ6WG
    roWL61EwVgWRZ6WG
    Rr1s5UHVaFEUHa6g
    Jj6CQuZOAaoF5XAI
    • Open the hinge to about 90 degrees.

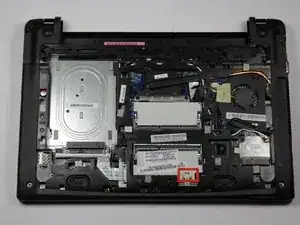
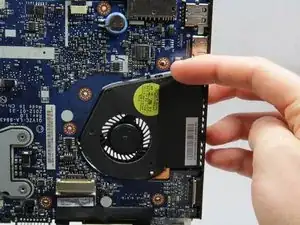
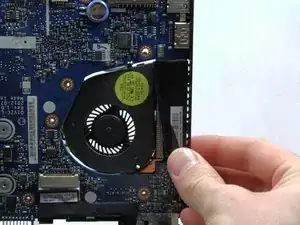
    • Lift up the left edge of the tape holding the fan on the right side of the motherboard.

    • Push the fan out of the back of the laptop.

Abschluss

To reassemble your device, follow these instructions in reverse order.
Bradley Pavy

Mitglied seit: 30/09/13

1257 Reputation

0 Kommentare