Einleitung
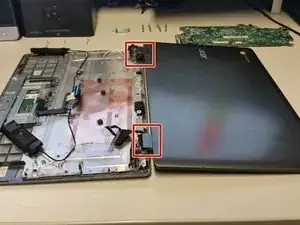
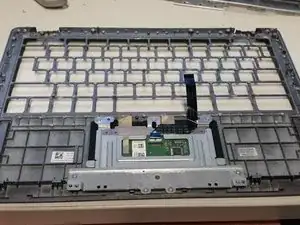
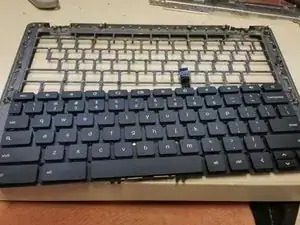
This guide shows the steps on how to replace a keyboard in an Acer Chromebook C730 Series. (C730-C4V9)
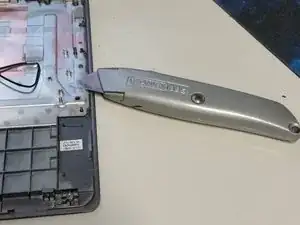
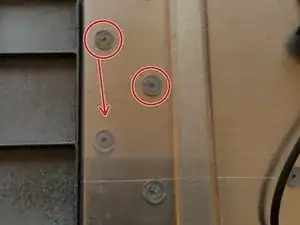
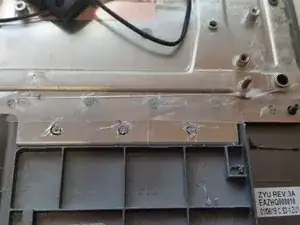
PLEASE NOTE: The Chromebook Keyboard isn't supposed to be replaced! This guide involves breaking plastic clips to successfully replace the keyboard! It is recommended to replace individual keys or purchase a new device but if you wish to keep your Chromebook or the keyboard is too far gone, follow this guide.
Werkzeuge
Ersatzteile
-
-
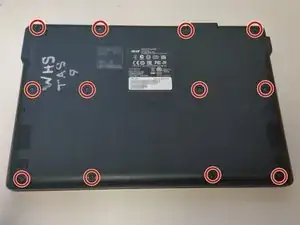
Flip the device over and remove the twelve screws.
-
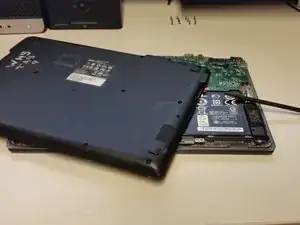
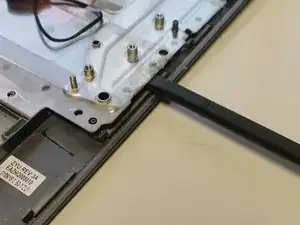
Using a spudger slowly pry the case open by inserting the plastic opening tool at the hinges and wedging it between the Back cover and the body.
-
-
-
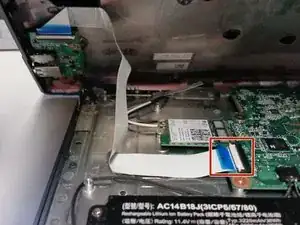
Remove the USB Ribbon cable by opening the connector on the motherboard and sliding the cable out.
-
-
-
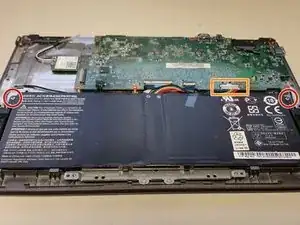
Remove the two screws on the sides of the battery.
-
Carefully slide the battery forward and the lift up
-
Unplug the battery from the motherboard to prevent shortages.
-
-
-
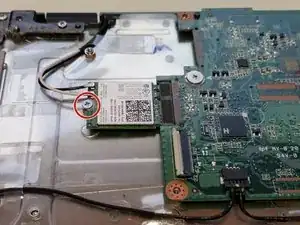
Remove the screw from the Wi-Fi chip
-
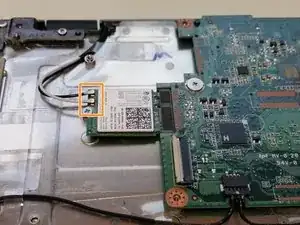
Unplug the aerials
-
Slide the chip away from the motherboard
-
-
-
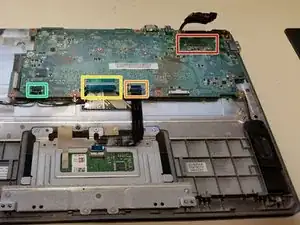
Remove the screen cable by using the tab and pulling up.
-
Remove the track pad cable by opening the connector and sliding the cable away from the motherboard.
-
Remove the keyboard cable by opening the connector and sliding it away from the motherboard.
-
The speaker cable can be a bit tricky, with the assistance of the plastic opening tool, pull/pry the plug towards you (Carefully!)
-
-
-
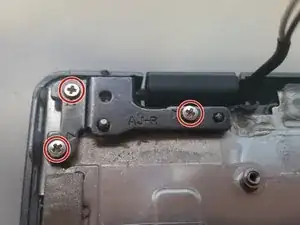
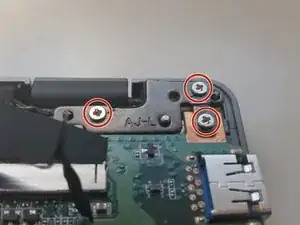
Using the plastic opening tool, slide it under the right hinge and lift the hinge up so its not sitting on the motherboard.
-
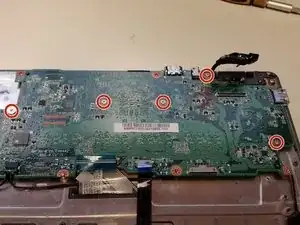
Remove the five screws holding the motherboard in.
-
Lift the motherboard up slowly.
-
-
-
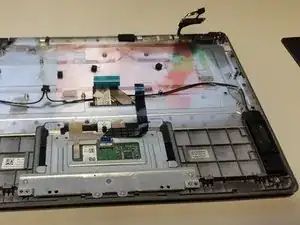
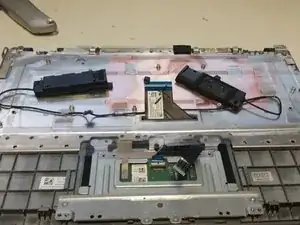
Using the plastic opening tool, insert it under the speakers in the middle and pry them up
-
-
-
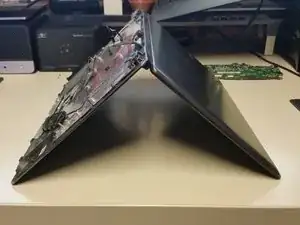
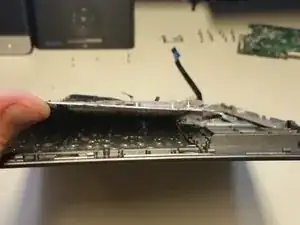
While holding your thumbs on the hinges to keep them in place, open the screen slowly
-
Once the screen is almost flat you should feel the hinges come loose.
-
Lift the screen up from the body and it should separate.
-
-
-
Work your way along the edges of the plate and attempt to remove the top off every single pen if possible.
-
-
-
After removing as many pins as possible work your way around the plate and pry it up.
-
Start working your way under the plate to disconnect it from the keyboard.
-
-
-
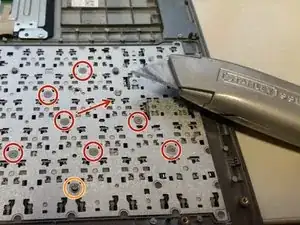
Work your way along the edges of the keyboard and attempt to remove the top off every single pen if possible.
-
Do not cut the pins that stick out above the keyboard, these are for the motherboard plate.
-
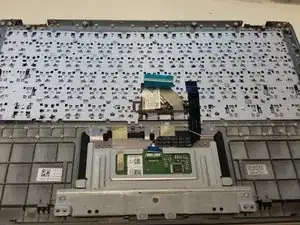
After you have removed the top off every pin, using the plastic opening tool work your way around the keyboard, it should lift right out.
-
-
-
Place the new keyboard in the frame and ensure it is sitting nicely.
-
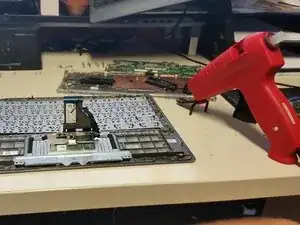
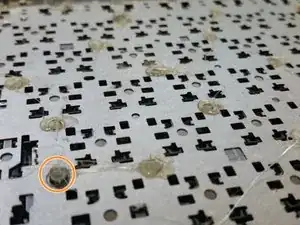
Once in place, using a hot glue gun start putting small drops of glue on the pins you cut off the keyboard.
-
Avoid gluing the pins that are risen! This will affect the fitment of the motherboard plate.
-
-
-
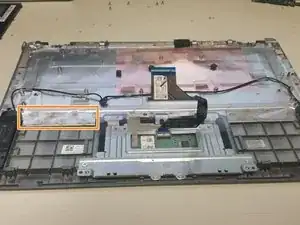
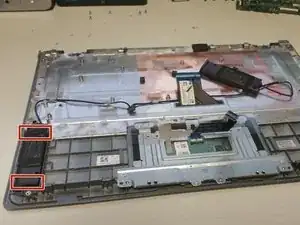
Put a dab of glue at the top and bottom of the speaker (Where the old double sided tape is)
-
Place speaker into position.
-
To reassemble your device, follow these instructions in reverse order.
Ein Kommentar
Your detailed and well explained instructions have let me replace the keyboard with success. So many thanks!!!!!
