Einleitung
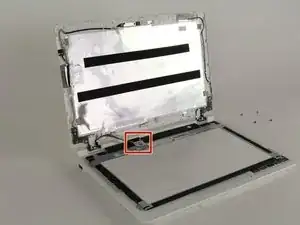
You will be removing the plastic that borders the laptop's screen in order to access the screws and plug necessary to replace the screen. Be careful when you separate the screen from the laptop in the last step. Follow through the instructions so you can make sure you are not damaging your device.
This replacement is meant to be done if you are experiencing issues with your screen such as the ones outlined in this troubleshooting guide.
Werkzeuge
-
-
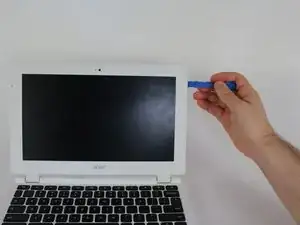
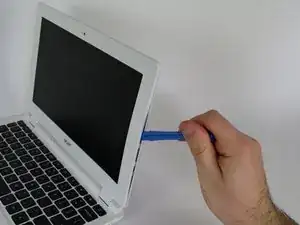
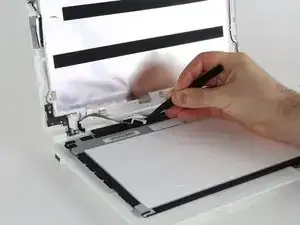
Insert the plastic opening tool into the slit on the outer edge of the laptop's screen to remove the plastic piece that borders the screen. Work the plastic opening tool all the way around the screen until the plastic cover has been removed.
-
-
-
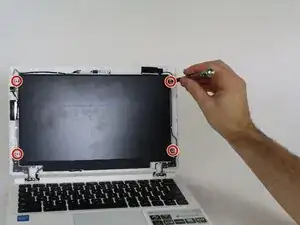
Locate and remove the four 4.2mm screws holding the screen in place by using a Phillips #1 screwdriver.
-
-
-
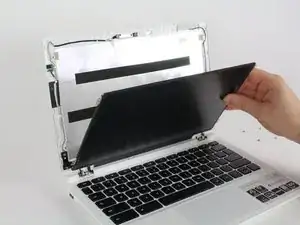
Pull away the screen from the plastic backing. Lay the screen face down onto the keyboard.
-
Use tweezers to peel of the sticker securing the cable to the laptop behind the screen.
-
Unplug the cable to separate the screen.
-
To reassemble your device, follow these instructions in reverse order.
