Einleitung

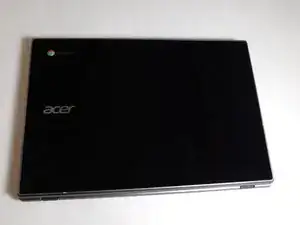
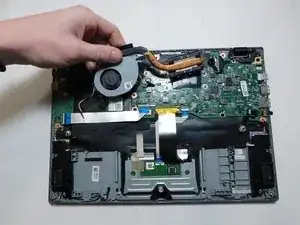
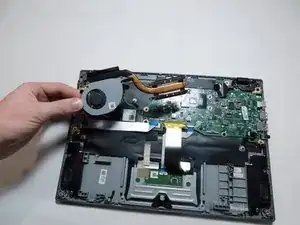
This guide will show you how to remove the Acer Chromebook CP5-471-C0EX fan for replacement or repair. The fan and cooling system is an integral part of the computer. A poorly functioning fan may cause the system to slow down or cease entirely by overheating.

Make sure to power down your device and disconnect from any power sources before you begin.

  1. rSCuF1GQl2OlhMax
    rSCuF1GQl2OlhMax
    GoZZGTRhsmJLyOIG
    • Turn off the laptop before starting.

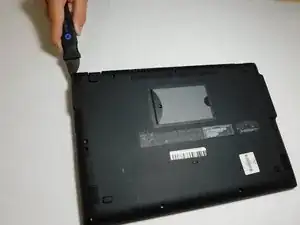
    • Flip the laptop over so the model stickers face the ceiling.

  2. fIHBYLiwrwxjb6Eh
    fIHBYLiwrwxjb6Eh
    Ix4TyH21QpN6LyRu
    BtZaYUIKuMuQQB4n
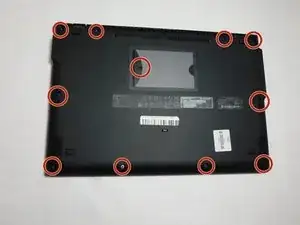
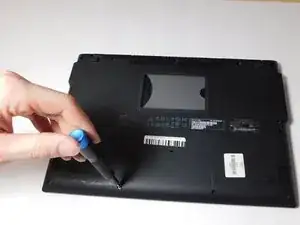
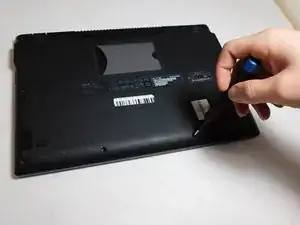
    • Remove twelve 7 mm screws from the back of the laptop using a Phillips #1 screwdriver.

  3. xNVjN1KqKAmPq5CJ
    xNVjN1KqKAmPq5CJ
    iR3MrZFEnIHUpDOB
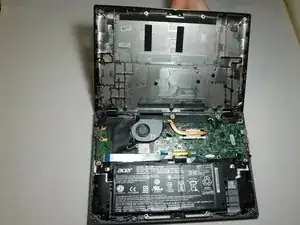
    • Use a Jimmy to pry apart the bottom of the case from the laptop.

    • Be careful not to warp or crack the case.

  4. 6tXeYVRULDQ33vCP
    6tXeYVRULDQ33vCP
    sTqZQsSU2WunDtLI
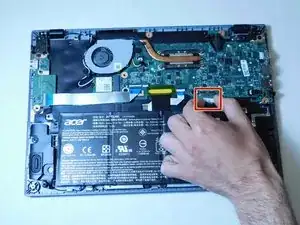
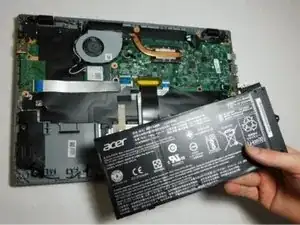
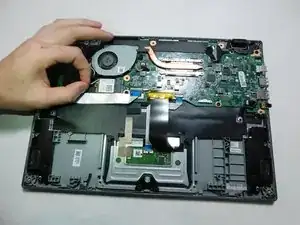
    • Carefully detach the ribbon cable connecting the battery and the motherboard.

  5. mgJW3hLVSfTQDiE5
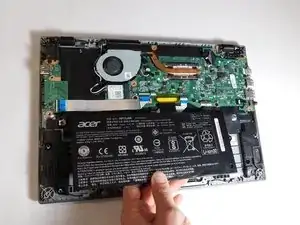
    • Use your hands to lift the battery out of the device.

  6. rCIPx5UsbmPuFryL
    rCIPx5UsbmPuFryL
    qth2vuqgBhnGVLo3
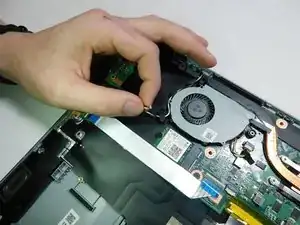
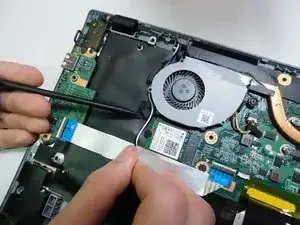
    • Gently pull the black and white cables up to disconnect them from the Wi-Fi card.

  7. SVpsPD4wnOCeyp2S
    SVpsPD4wnOCeyp2S
    cyiI6jiR4ECI6IHq
    ghMBAVYSVBeIFwO1
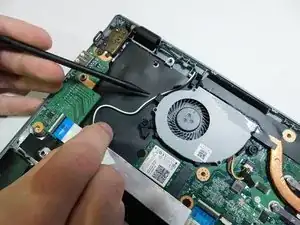
    • Unwind the Wi-Fi card wires from the side of the fan.

    • The wires need to be pulled down and around the first hook, as seen in image two.

    • Pull the black and white cables under the second hook and away from the fan.

  8. KrjYdNeqiKHYhGWW
    KrjYdNeqiKHYhGWW
    mSOUOcaunELgMRUJ
    mg3PX2WlqrgmUROm
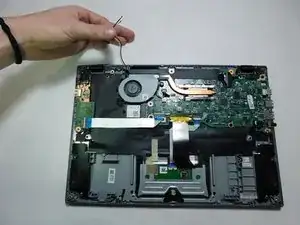
    • Pull wires so they are out the way.

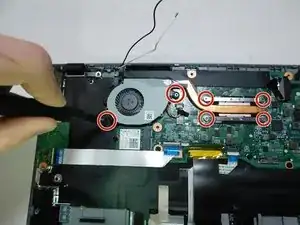
    • Loosen the six screws from the fan and heat sink.

    • The two screws closest to the fan cannot be removed from the fan, but will still loosen from the case.

  9. vBQhxgYhITCRcG5k
    vBQhxgYhITCRcG5k
    RSTWvExAXHFbN4uM
    ItsM6NCs3UTfZHtM
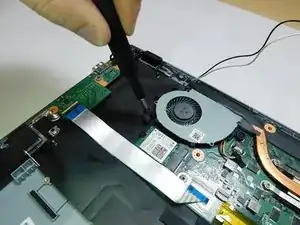
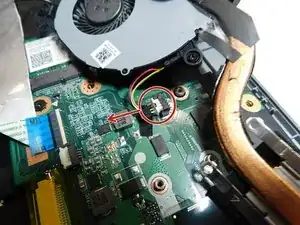
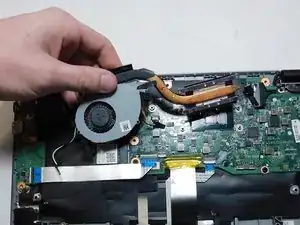
    • Gently lift the fan out of the case, but do not remove it fully; there is still one more cable attached.

    • Pull the cable out of its socket on the motherboard.

    • Remove the fan from the laptop.

Abschluss

To reassemble your device, follow these instructions in reverse order.
Cody Venne

Mitglied seit: 08/02/22

130 Reputation

0 Kommentare