Einleitung

The motherboard is the most important part of any computer, and it handles all the functions. However, if your computer is having one of these issues:

  1. Blue Screen of Death
  2. Freeze or Glitches all the time
  3. CPU Restart Abnormally
  4. PC overheats abnormally
  5. Abnormal Beeps Noises from PC
  6. Not Recognizing Hardware

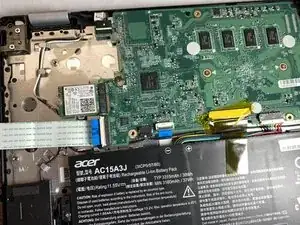
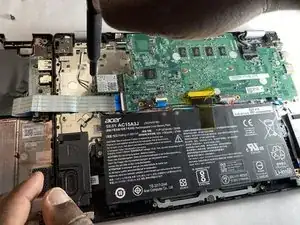
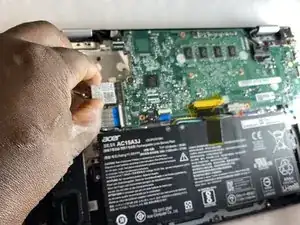
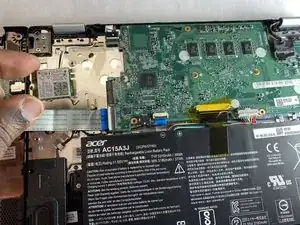
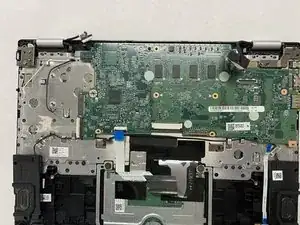
you may want to consider replacing the motherboard. This guide will provide you with simple steps on how to replace the motherboard on an Acer Chromebook R11 is C738T-C44Z.

  1. PKqT1XcATWPtm661
    PKqT1XcATWPtm661
    GtmHGoQNvOU1t3jb
    CYZQVGAASAEBsyOR
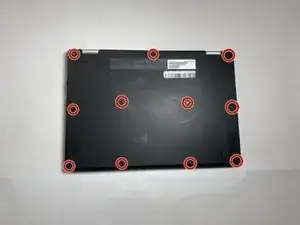
    • Lay the laptop with the back side up.

    • Use a Phillips #1 screwdriver to remove eleven 3 mm screws.

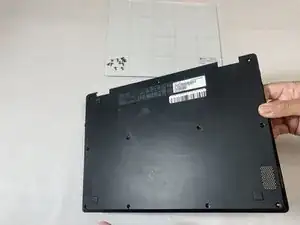
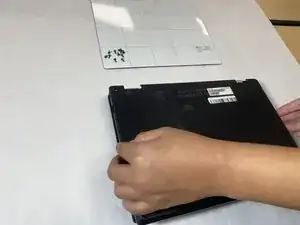
    • Use the opening tool to pry the back cover off gently by placing it in the seam and working your way around the perimeter.

  2. 1EqB2vXyRsrWOlcP
    1EqB2vXyRsrWOlcP
    263AmYAf1NOP3FWI
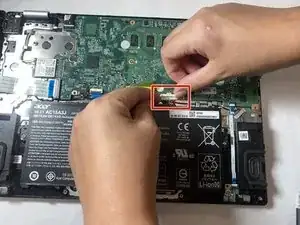
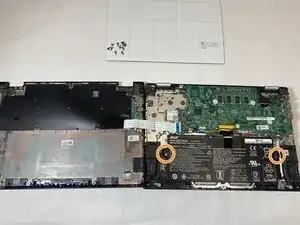
    • Unplug the battery connector from the motherboard. (The motherboard is a group of wires in rainbow colors)

    • Use a Phillips #1 screwdriver to remove the two 3 mm screws, (one on each side of the battery), that secure it in place.

  3. qPG3SAKeYq4R6F2F
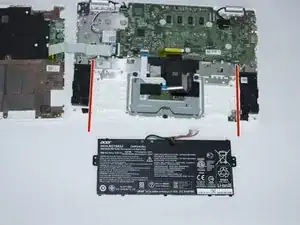
    • Remove battery from its holder by pulling it upwards from the device

    • Attempt to remove it as gently as possible to avoid damaging the Motherboard

  4. NhrP4Vev2n4vVnlG
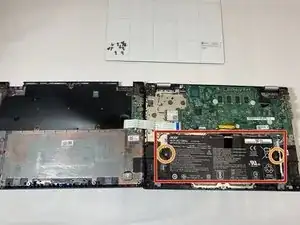
    • Install the new battery and again use a Phillips #1 screwdriver to remove the two 3 mm screws

  5. VGnGsdYEJQte2gfc
    VGnGsdYEJQte2gfc
    4qcB6cJYYCkvr6fH
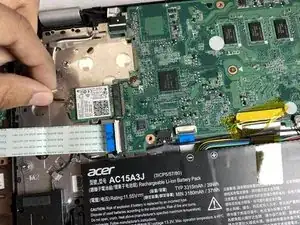
    • Disconnect the two antenna cables (one black and one white) that are attached to the wireless card.

  6. NaE3TmDpOyhFkIGb
    • Use a Phillips #1 screwdriver to remove the single 3 mm screw that secures the wireless card.

  7. RE1BUiXGCND5iJDU
    RE1BUiXGCND5iJDU
    JwIGBCBFPZSLMMEC
    • Carefully slide the wireless card out of its socket from the motherboard.

  8. VOYjmkDPIqD2uXAJ
    VOYjmkDPIqD2uXAJ
    yY3jt6LrDAR1hPE4
    31KSScG6kK2i3cjt
    • Disconnect the LED board ribbon by pulling it out gently.

    • Disconnect the speaker cable.

  9. i4LUmIRJUwwGD15L
    i4LUmIRJUwwGD15L
    DMP3SQKRcRTI1Qgl
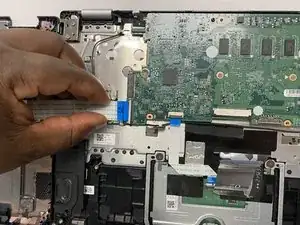
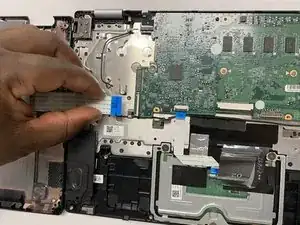
    • Disconnect the keyboard ribbon.

    • Slide it out gently to not rip it.

  10. nPpZHfOCOcDGPVIg
    nPpZHfOCOcDGPVIg
    IaPfOTFlfgayTNIB
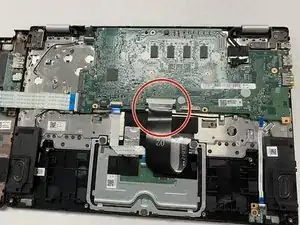
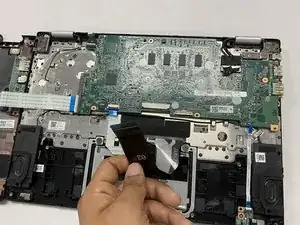
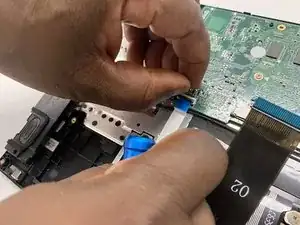
    • Disconnect the daughterboard ribbon by flipping up the white tab and pulling it out from the motherboard.

  11. Y2MVNhmZ5sBZSUna
    Y2MVNhmZ5sBZSUna
    4ZNwxWKdtyiUq3t2
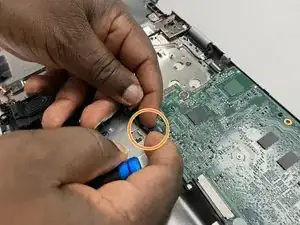
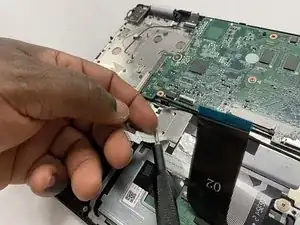
    • Disconnect the touchpad ribbon by lifting up the tab and pulling it out.

  12. 5TSHelFsKGkAbEua
    5TSHelFsKGkAbEua
    DdveEoPrDCKtd1Zk
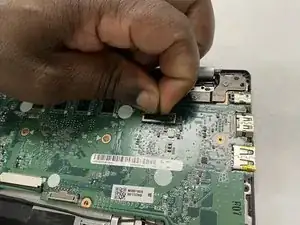
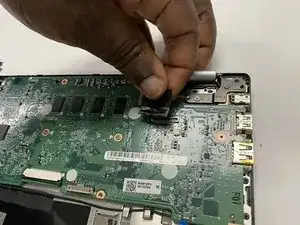
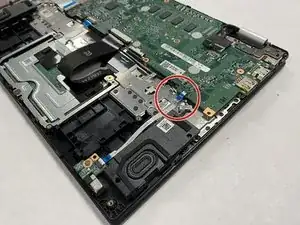
    • Disconnect the sensor cable by pulling it out.

  13. LYBOI4yIGWnBIQ1h
    LYBOI4yIGWnBIQ1h
    4h5KLUKEqpK1pbMc
    BoFm5CfLdbcgA4Ih
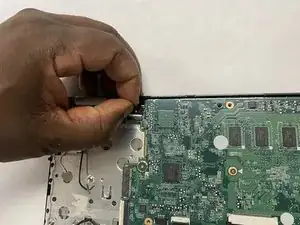
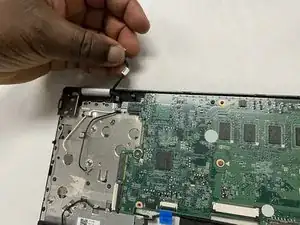
    • Disconnect the LCD cable by pinching it and lifting it off the motherboard.

  14. cAEwX1DW2PEEoPBG
    cAEwX1DW2PEEoPBG
    esMWwdhiknFqw5VZ
    • Use a Phillips #1 screwdriver to remove the two 3 mm screws that hold the hinge down.

  15. VOop3mdtftKBKMqN
    VOop3mdtftKBKMqN
    1XDfFB1Oviu4CBuJ
    5mdM113ZfOTlABRf
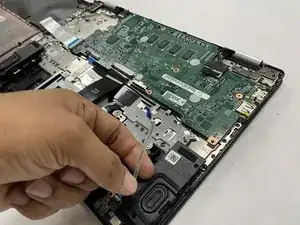
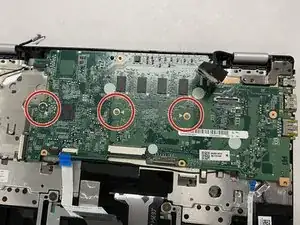
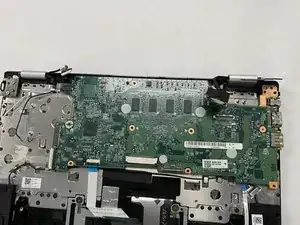
    • Use a Phillips #1 screwdriver to remove the three 3 mm screws that secure the motherboard.

  16. bTh6PiWSqYnGFQmt
    bTh6PiWSqYnGFQmt
    AYEXUfXd1MLSFr5R
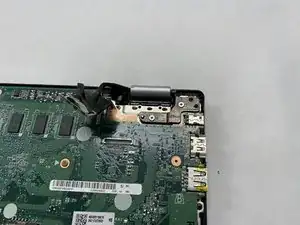
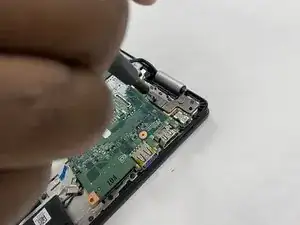
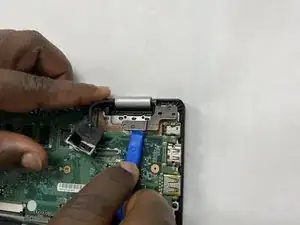
    • Slide the opening tool underneath the hinge latch to lift it up.

    • This is to free the motherboard.

  17. 1KDK3yVFlZKmOtLF
    1KDK3yVFlZKmOtLF
    isWGa2XHsfMVrqwB
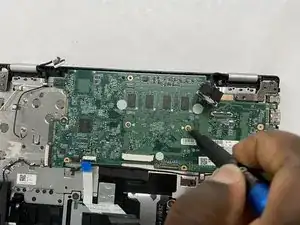
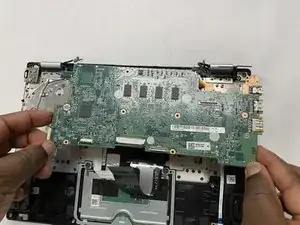
    • Grab the motherboard securely to lift and remove it.

Abschluss

To reassemble your device, follow these instructions in reverse order.
Connie Hernandez

Mitglied seit: 01/09/21

517 Reputation

0 Kommentare