Einleitung
If your Acer Chromebook Spin 11 (Model R751TN-C5P3) is not producing a proper picture and you have reason to believe that the LCD panel or cable could be the root of the problem, then use this guide to replace the assembly.
The LCD cable connects to the power source and the LCD screen to provide the picture that appears on the screen of the device. A Faulty LCD cable will not produce a proper picture or may not even produce a picture at all.
Prior to using this guide, ensure that nothing is pinching the cable when you remove the back plating from the cable. A pinched cable may not be completely faulty but may just need to be freed from whatever the source is that is hindering its productivity.
Before beginning, ensure that the device is powered off completely in order to avoid damaging the device further, or causing any personal harm.
Werkzeuge
-
-
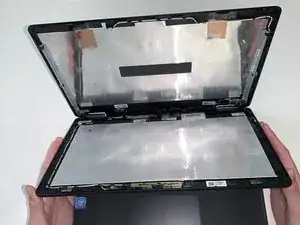
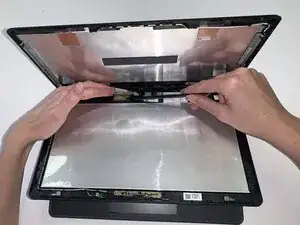
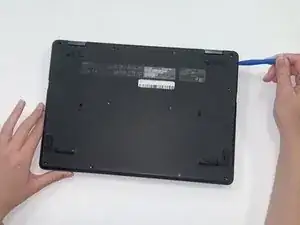
Use a nylon spudger and a metal spudger to pry open and separate the Chromebook screen casing.
-
-
-
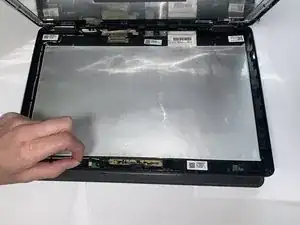
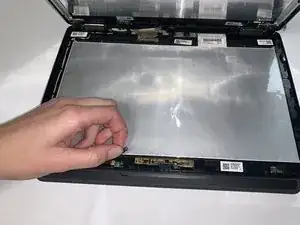
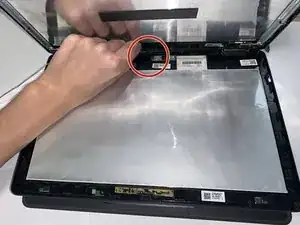
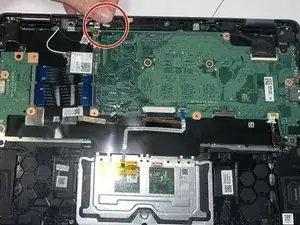
Pull the tape back, lift up the red bar laying across the connection using the spudger, and pull the connection out.
-
-
-
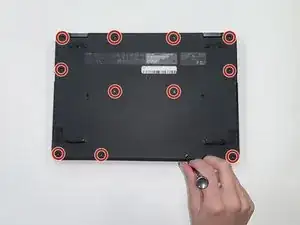
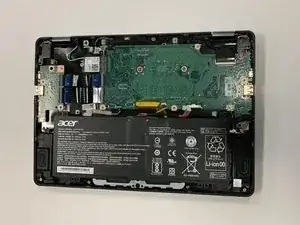
Use a Phillips #0 screwdriver to remove all twelve 6 mm screws in the bottom panel of the Chromebook.
-
-
-
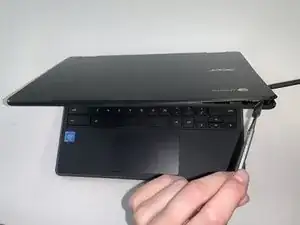
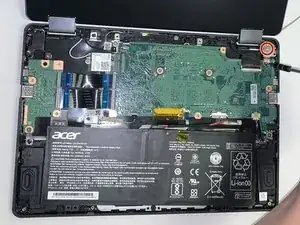
Use a Phillips #0 screwdriver to remove the 6 mm hinge screws on the right side of the Chromebook.
-
-
-
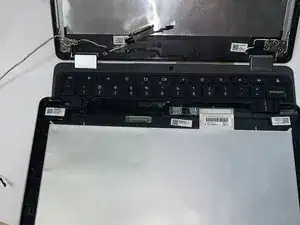
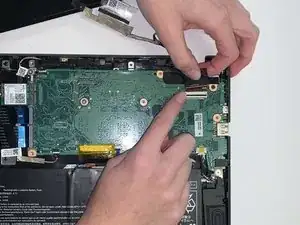
Disconnect the end of LCD cable that is connected to the motherboard. Lift the connector's ZIF tab and gently pull the ribbon cable free.
-
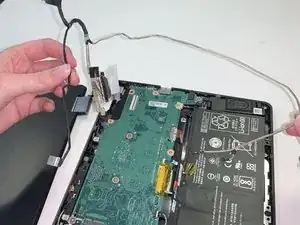
Disconnect the other end of the LCD cord from the left side of the motherboard.
-
-
-
The LCD cable has been disconnected and can be removed by guiding it out of the hooks that keeps it in placed.
-
To reassemble your device, follow these instructions in reverse order.
